Wedding Cake Dresser Makeover
An Anthropologie-Knock-Off-Attempt and my “Addiction-to-Sugar” Story
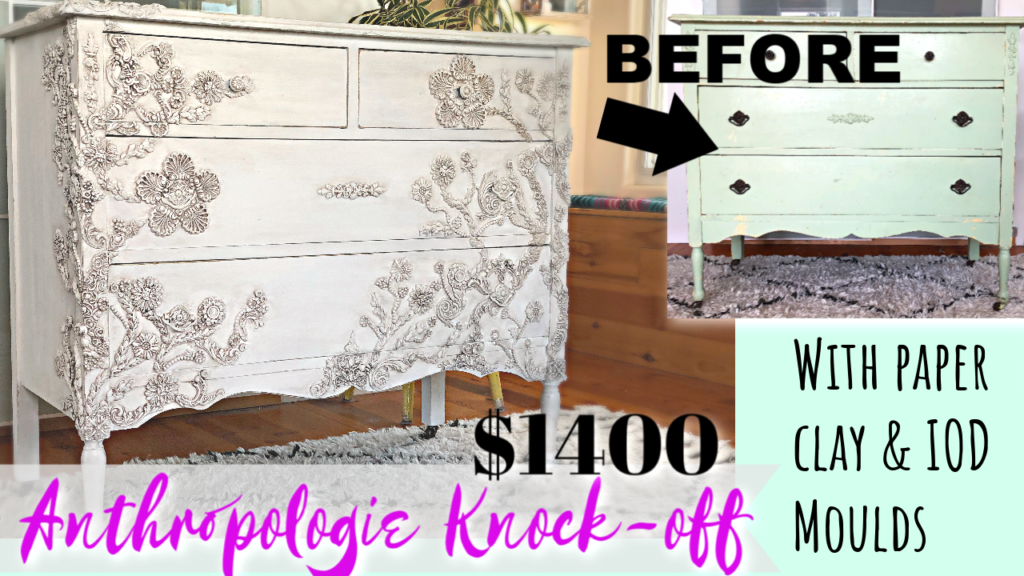
This original idea of making a dresser look like a wedding cake was conceived from my life-long addiction to sugar. However, I was initially inspired by a $1400 Anthropologie piece, which had beautiful floral designs carved into the wood of the dresser. I absolutely loved it but did not want to pay $1400! (Click HERE to see the original Anthropologie inspiration).
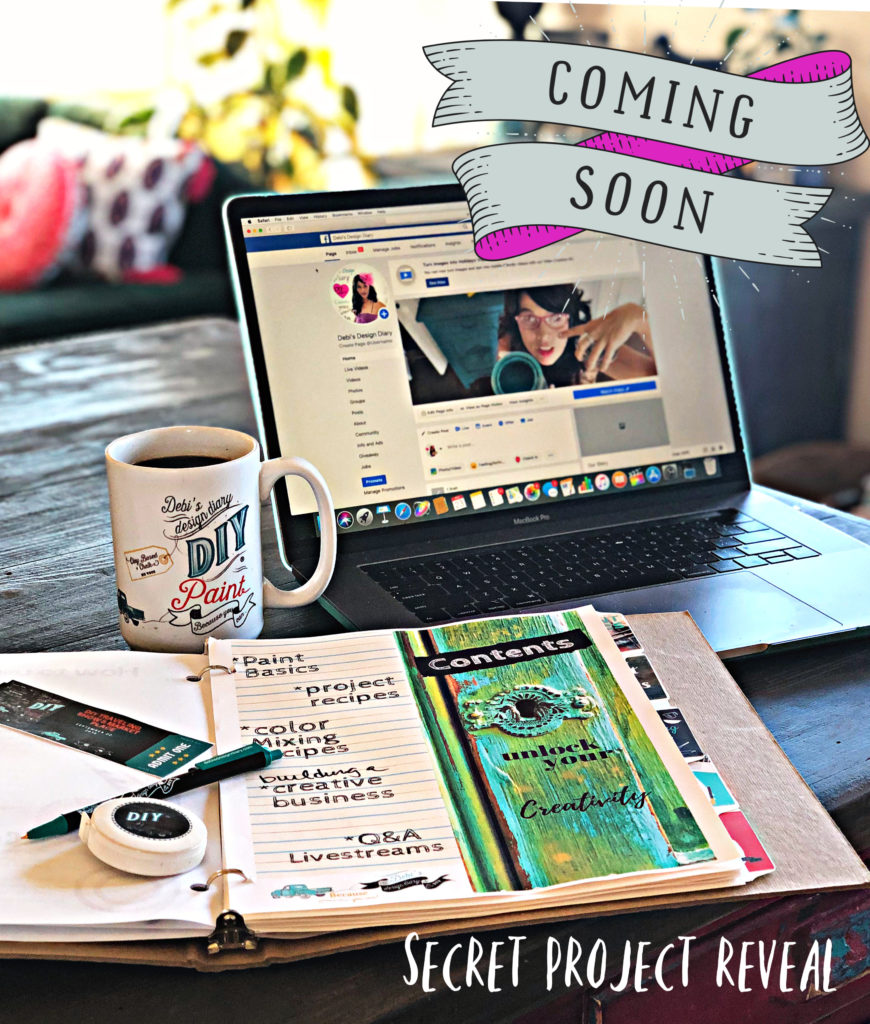
**On a quick side note…I have an exciting announcement to make! If you are interested in unlocking your creativity and/or building a creative business, I started a new membership group that is only $4.99/month. Click HERE for more details on what it includes and the video describing the group!
My brain began thinking of ideas on how I could do this on my own and I instantly came up with this idea of using paper clay and IOD moulds to create a similar piece, but with a “sweet spin” and I have my OLD sugar & frosting addictions to thank for this fabulous wedding cake design.
To hear this personal sugar-addiction story, how I eat now, as well as more detailed step-by-step instructions, you’ll have to watch my YouTube VIDEO by clicking HERE.
*This blog contains affiliate links
For this project I used the following supplies:
DIY PAINT BRUSHES
PAPER CLAY AND MOULDS BY IRON ORCHID DESIGNS (IOD)
Aileens or Wood Glue
Painter’s Tape
Water Bottle
GETTING STARTED…
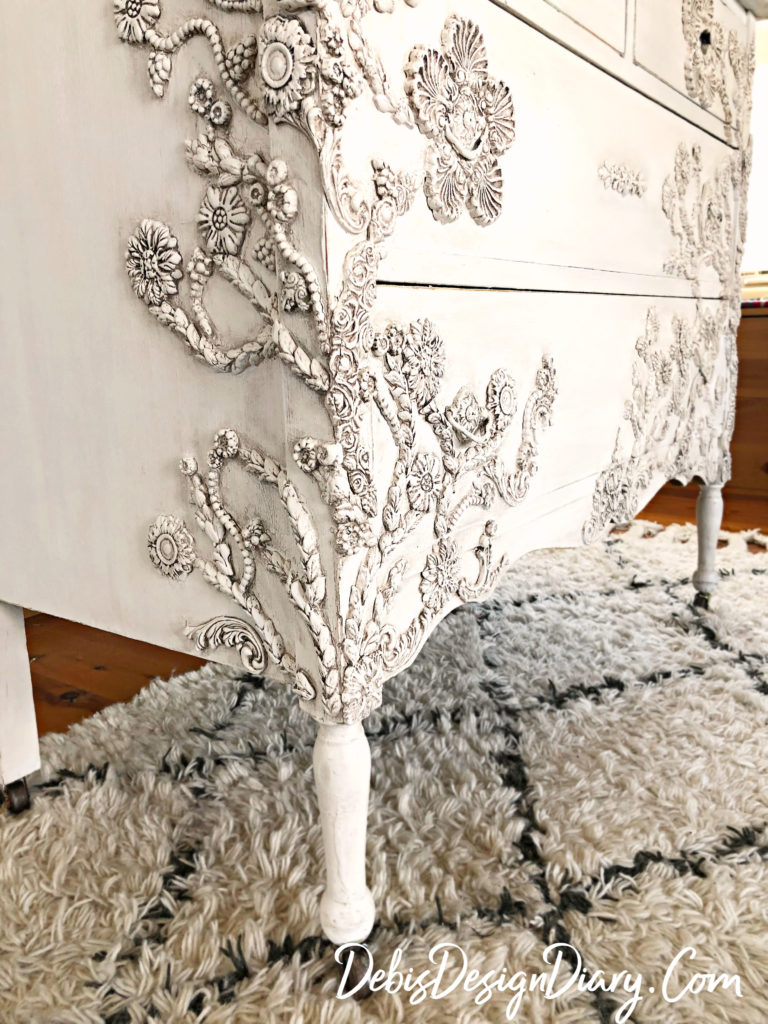
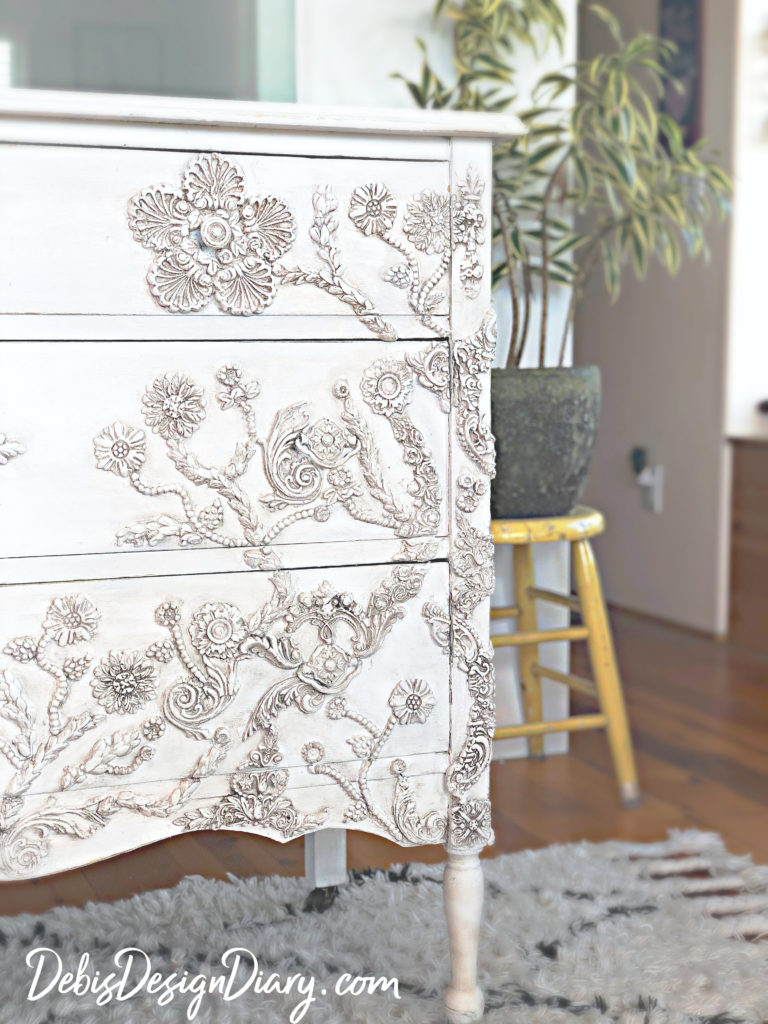
Here’s the piece I found at a local consignment shop.
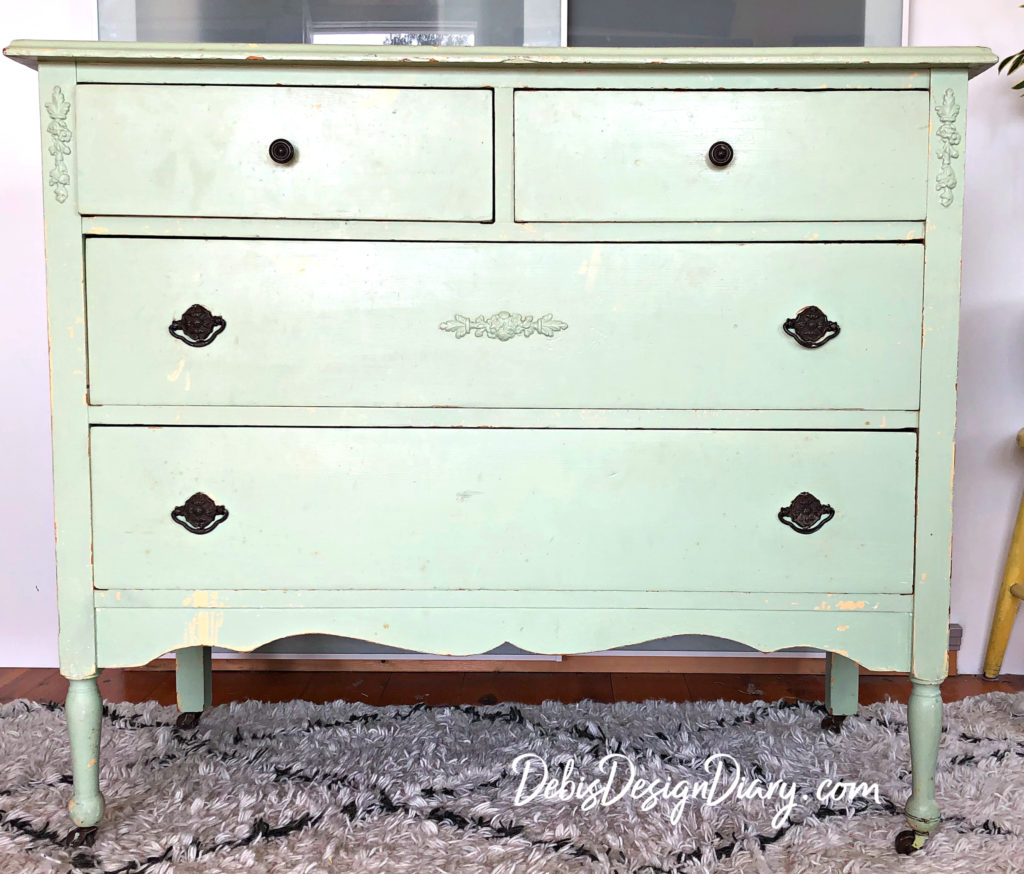
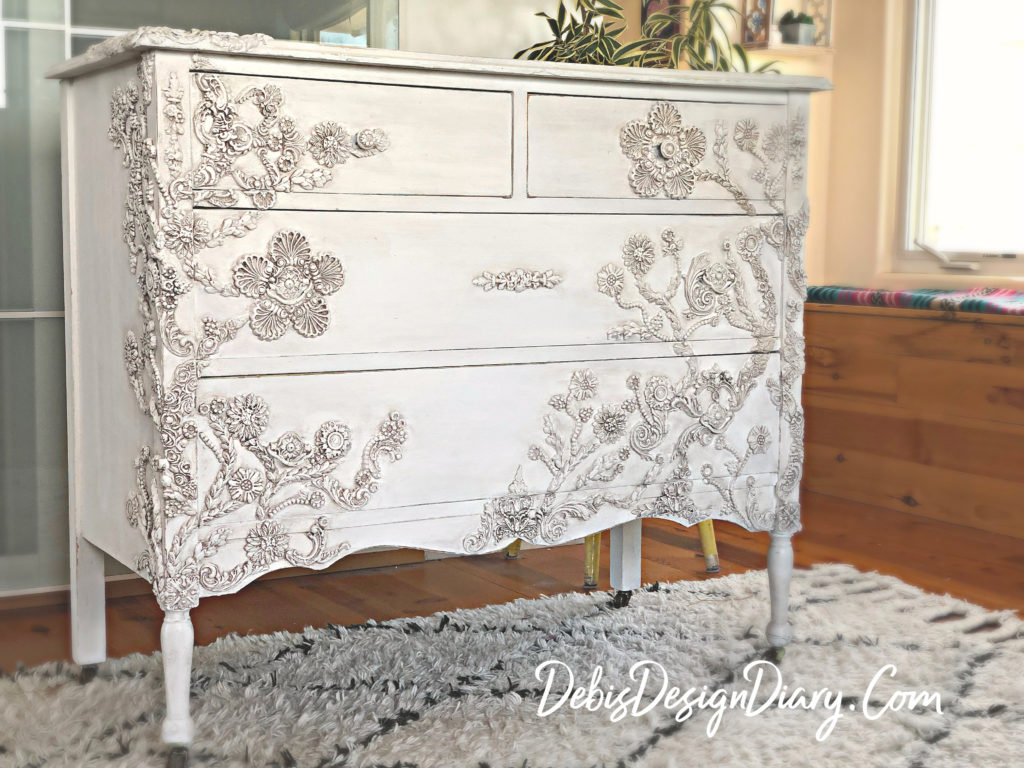
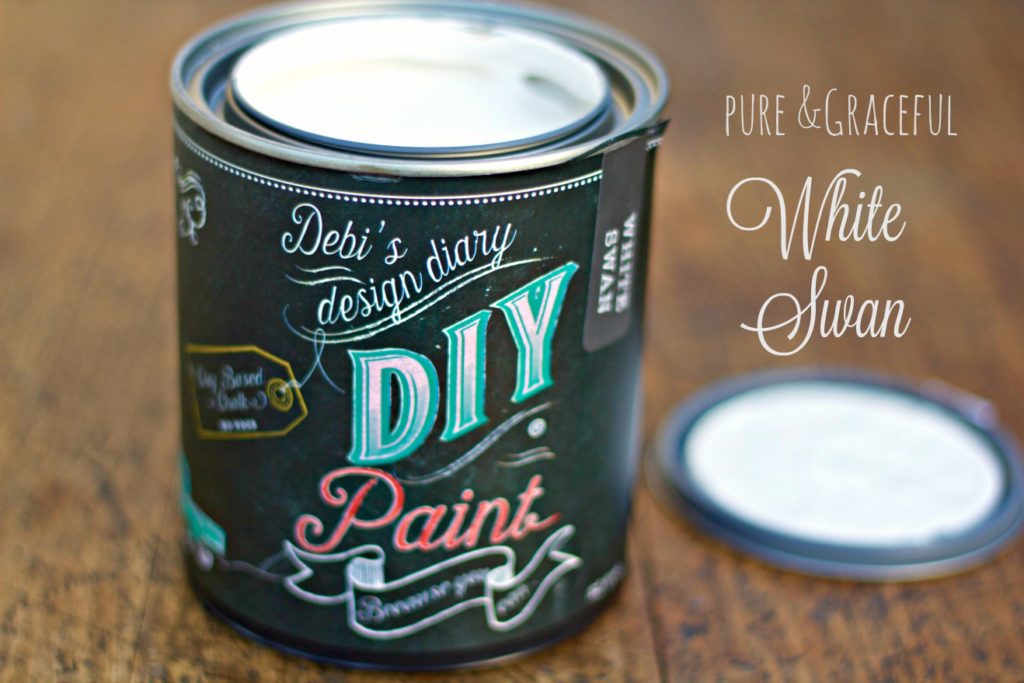
I covered the entire piece with “White Swan” DIY Paint, using our new DIY paintbrushes. After letting the paint dry, I created the look of frosting by using Paper Clay and eight different moulds from Iron Orchid Designs. (Click HERE to see all designs that we carry). Attach these moulds, before they completely dry and still manipulative, to the dresser using a wood glue and hold in place using Painters Tape.
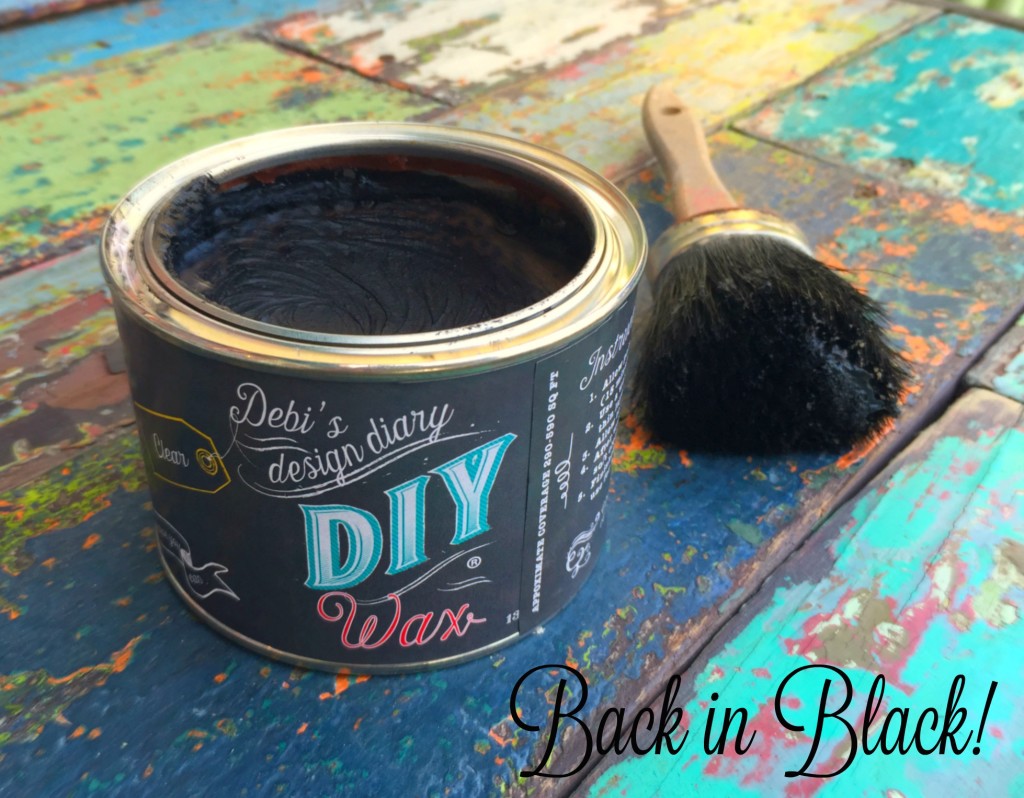
TIPs: Let the moulds completely dry before covering with one more layer of DIY Paint and then seal with DIY Clear/Dark Wax.
Note: Click HERE to see the video tutorial for tips on using the wax, so it doesn’t go on too dark.
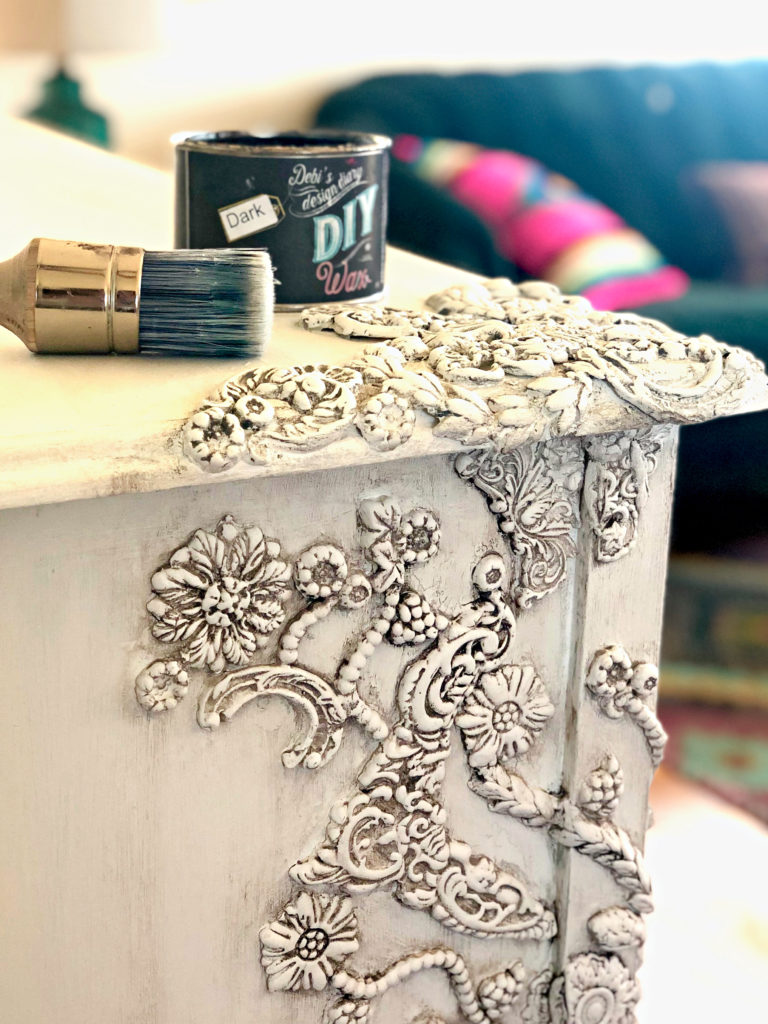
The dark wax is used in the low spots of the detail and the clear wax is used to lift up the excess dark wax and brighten up the high spots.
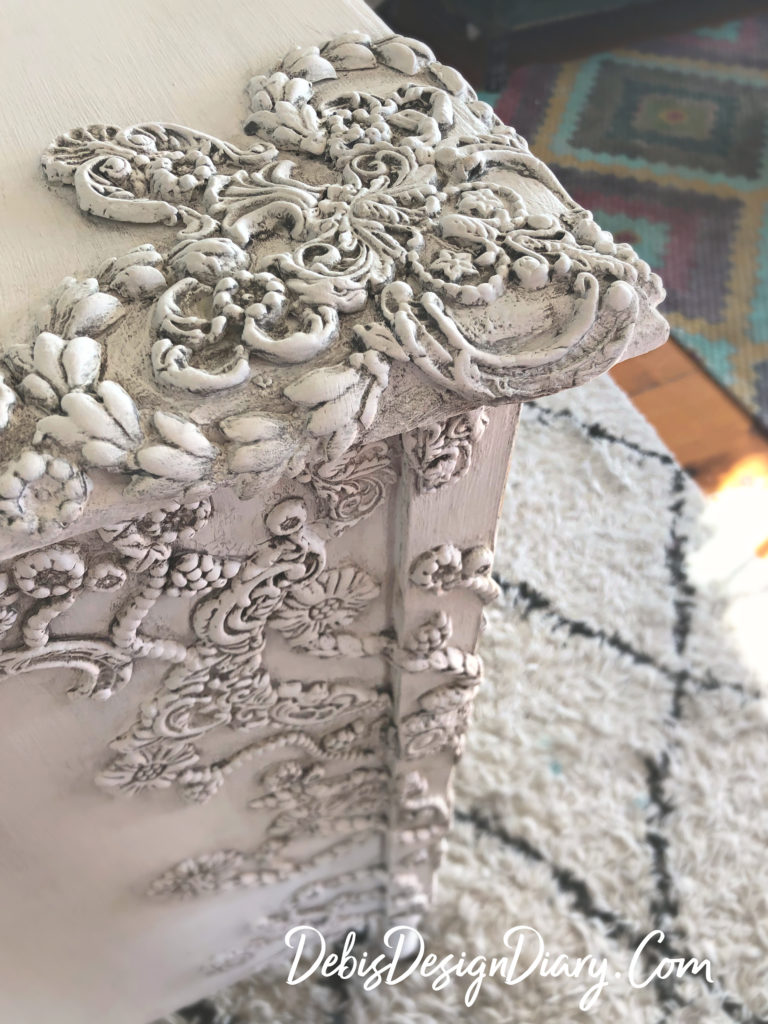
I hope this inspires you to create your own “sweet” piece!
Let me know in the comments below if you’ve ever had a sugar addiction and how you overcame them.
Thanks for stopping by,
~Debi
That dresser is simply amazing! It is so beautiful. Your personal story was so interesting as well. I am glad you feel better with your food choices and you sure look great! Thank you
Hi Debbie,
My daughter-in-law, Tanya, and I met you on Sunday and took a picture with you. Loved your store! We love your videos and have been inspired by your beautiful work.
It was such a pleasure to meet you.
We also went by your adorable place in Solano Beach. It is awesome and amazing!!!!
Kathryn
Let me start by saying you are amazing! I just started watching you and wow you go girl! I love the wedding cake dresser and I want to make over my bedroom dresser’s and want to copy you. Can you please tell all of the IOD mounds you used? You did an amazing job!
I love the music you play on your videos. What is the name of the playlist or the name of some the artist?
Where do I buy the moulds. Thank you.
diyagogo.com 🙂