
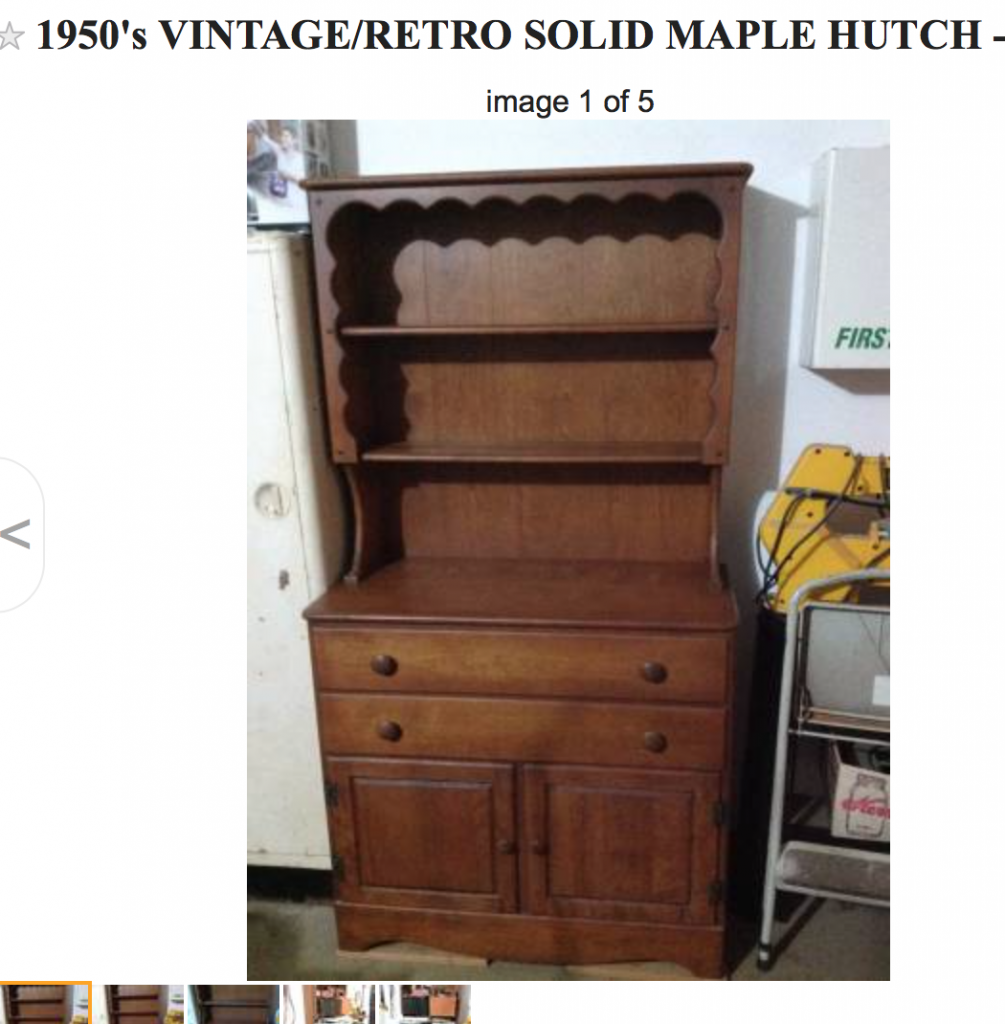
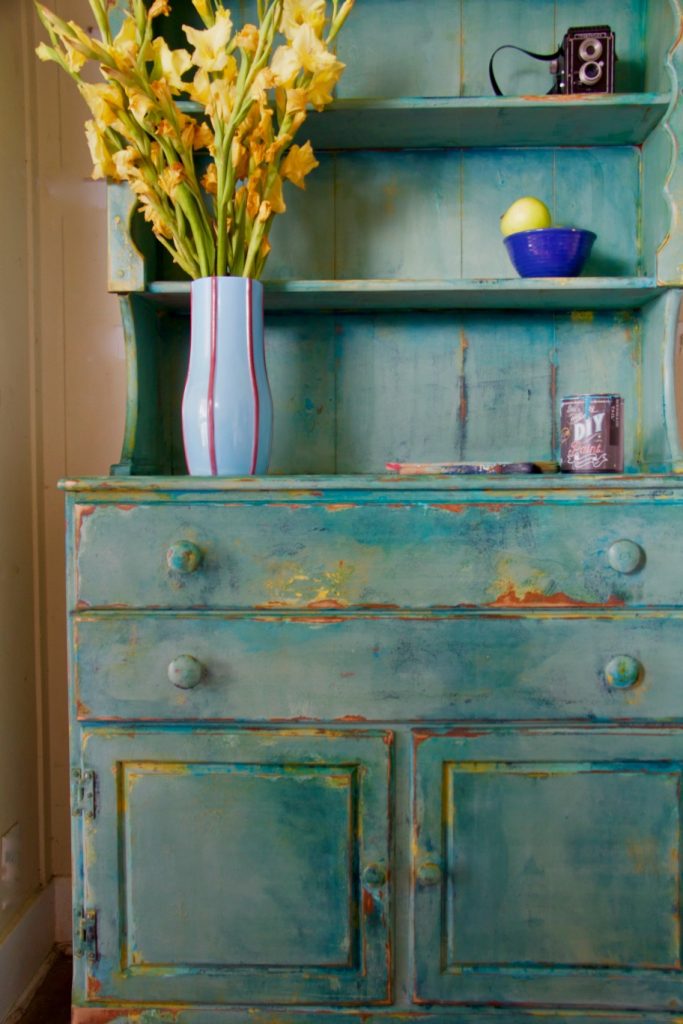
The owner had it in his family for decades. He demonstrated how the drawers slid easily and said, “we had it professionally restored” as he showed me the stamp on the back.

I had been looking for just the right piece to go in my living for months, this was it! I told him I had a Youtube channel all about appreciating vintage items and repurposing. As we loaded the hutch in my car his wife looked at my business card and said, “you’re not going to paint that are you?” I sort of panicked… find out what happened next in this video…
I tried to create this finish two years ago and it failed HARD. I had seen a beautiful buffet a from Shelly at Shizzle Design that I couldn’t get out of my head. Shelly gave some tips as to how she achieved this look on her blog and I could barely wait to try it myself. The video below not only shows my failed effort but I accidentally left the camera on as I got into an argument about how bad it looked. You can hear me telling Bobby, “I don’t want to my viewers to say, ” did you see Debi’s video? she created a throw-up piece of furniture!” See that video here,
After that I just thought well, Shelly must have some kind of magical skill that I don’t. Years went by, And I let go of the dream until last summer when I saw this from Dionne at The Turquoise Iris!
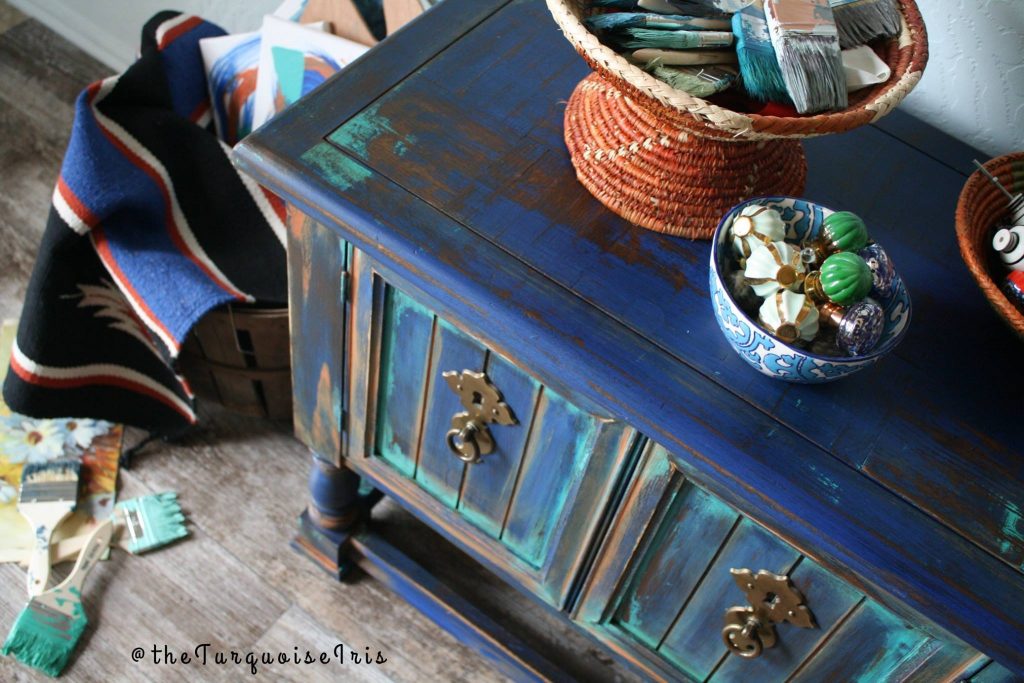
I scrolled and scrolled through her photos on Instagram and was completely mesmerized. I love color. White furniture is what sells in my shop, it’s the best selling color in my paint line too! I appreciate the look of white decor it is beautiful, BUT it bores me to paint with white. We live in a world of many colors why can’t colors like Bohemian Blue and Queen Bee be just as loved as white?
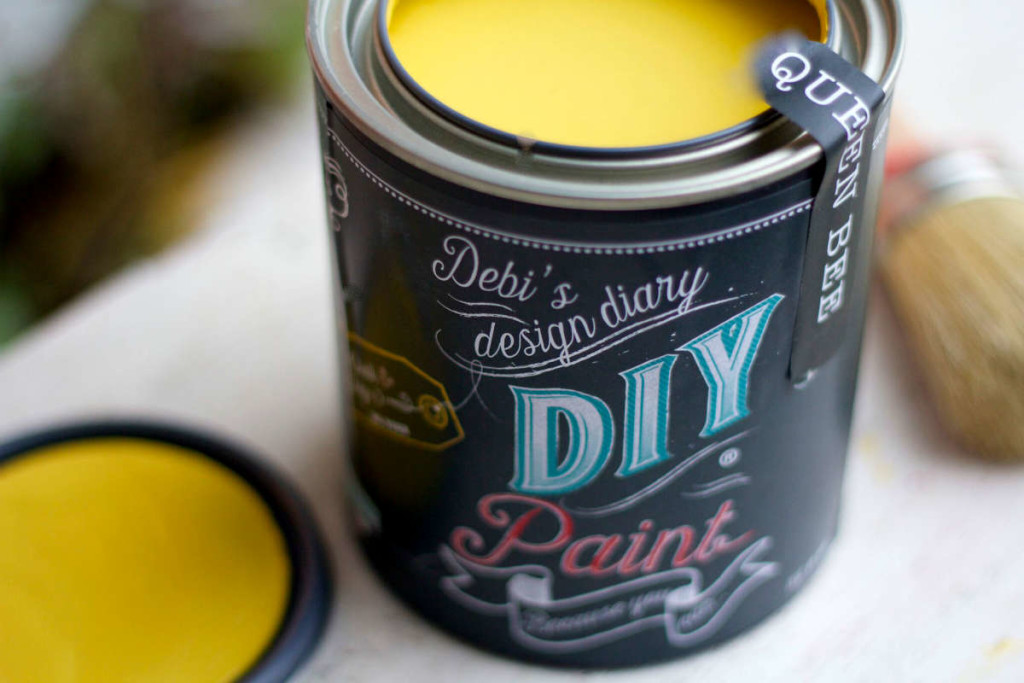
Queen Bee DIY Paint
Dionne’s work is full of color and it sells fast, she ships her furniture all over the country. See her furniture and artwork here.
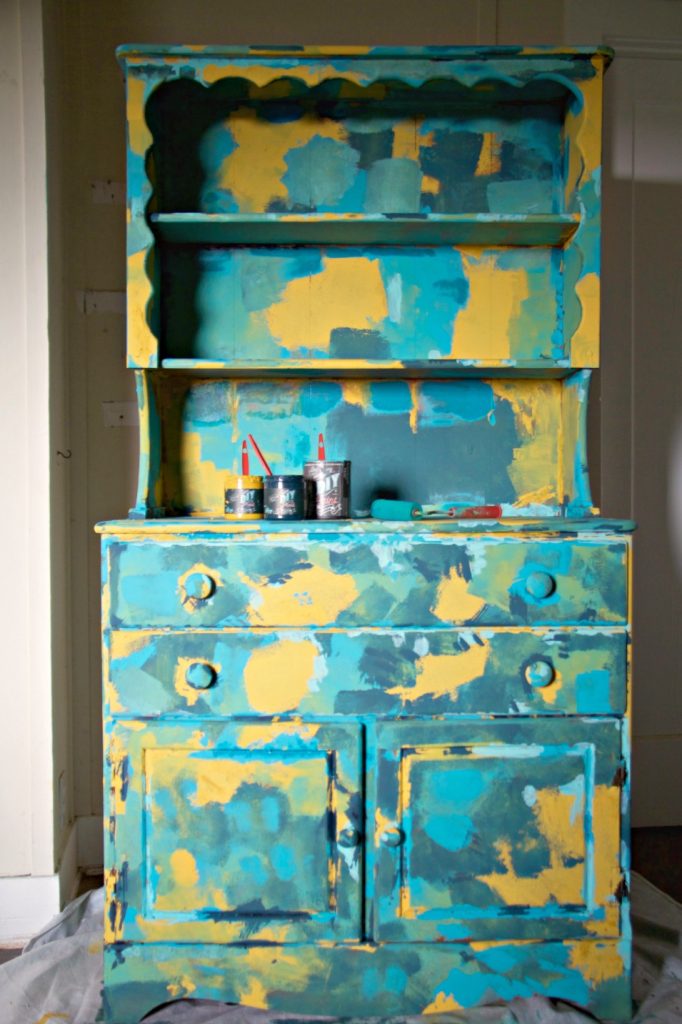
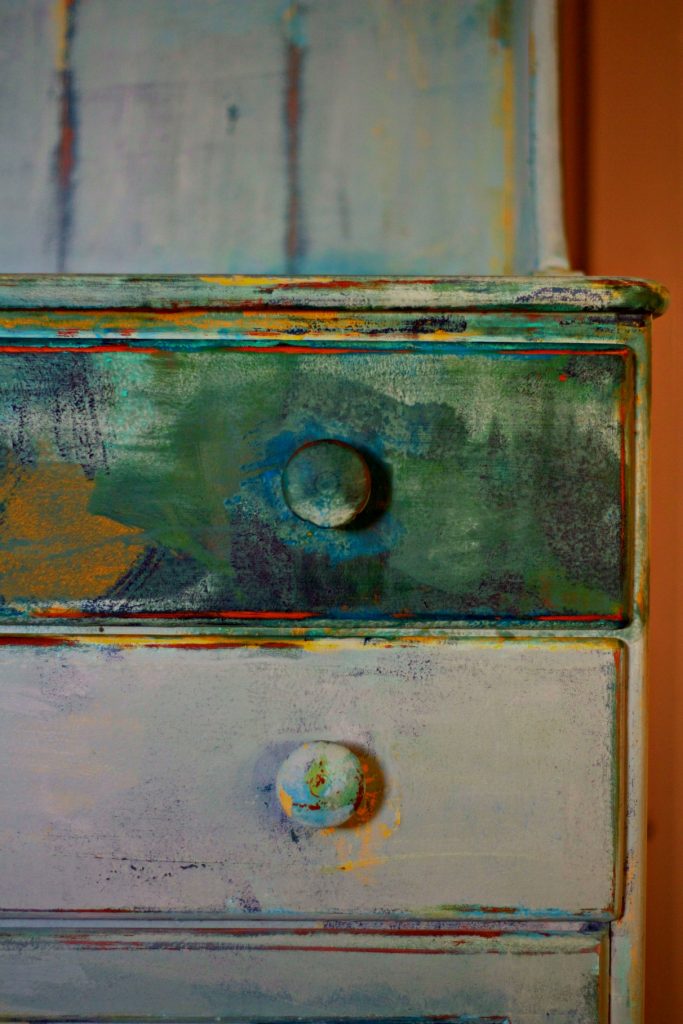
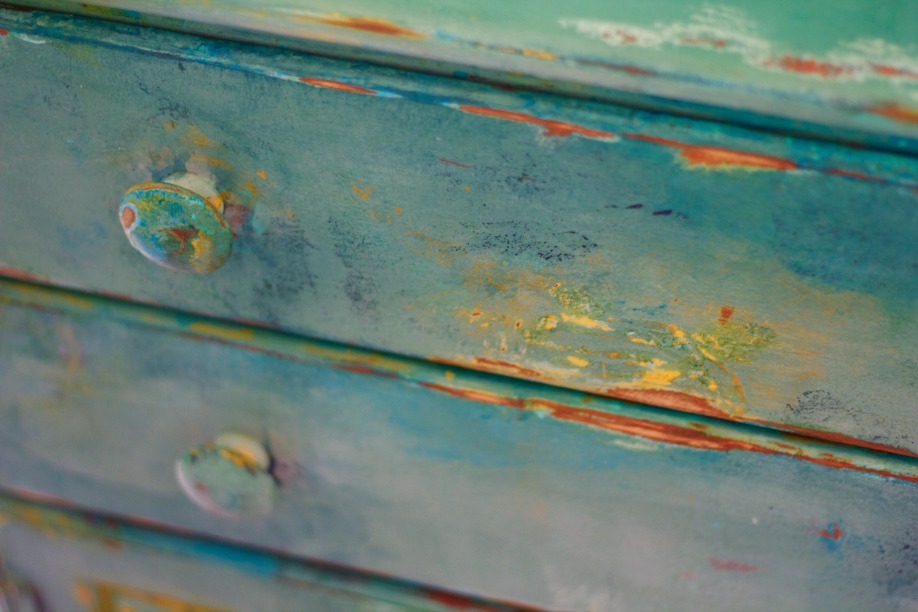
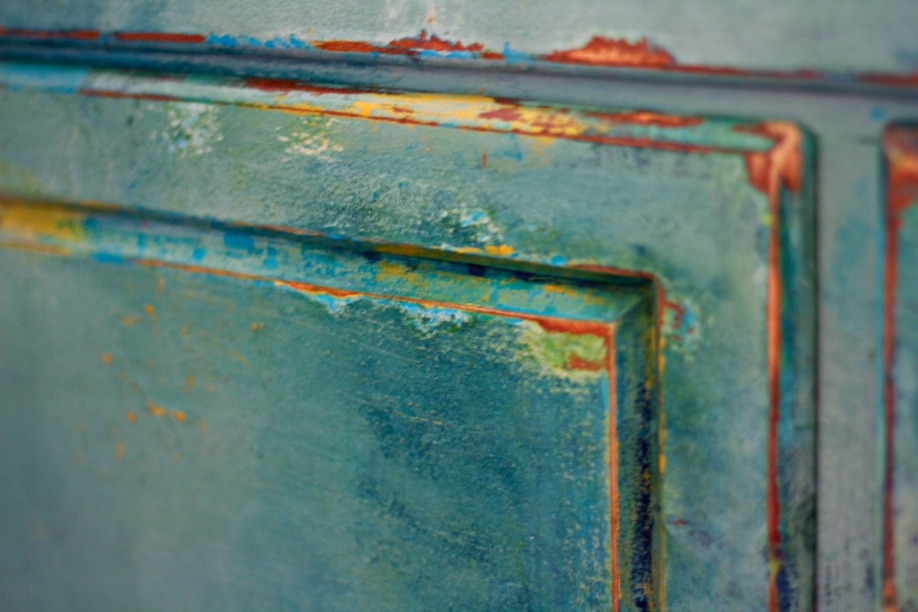
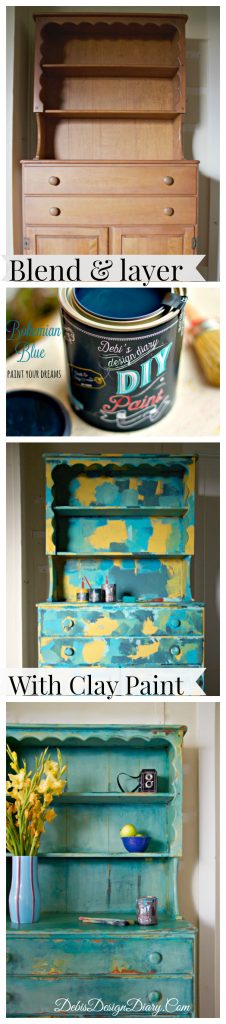
My dream to create a multi layer, color blended finish was reawakened and I was determined to give it another try. I decided to practice on a little side table before going to town on the Hutch, I didn’t want another fail documented on video. I painted this table three times before it looked like this. I analyzed everything about it as I painted. I sanded it down and started over, I prayed, I sighed, I was up until 2 AM. By the time I got it to look like this I wasn’t sure if I loved it or if I was just really tired.


Helpful Tips:
#1 I used a brush, when I should have used a roller.
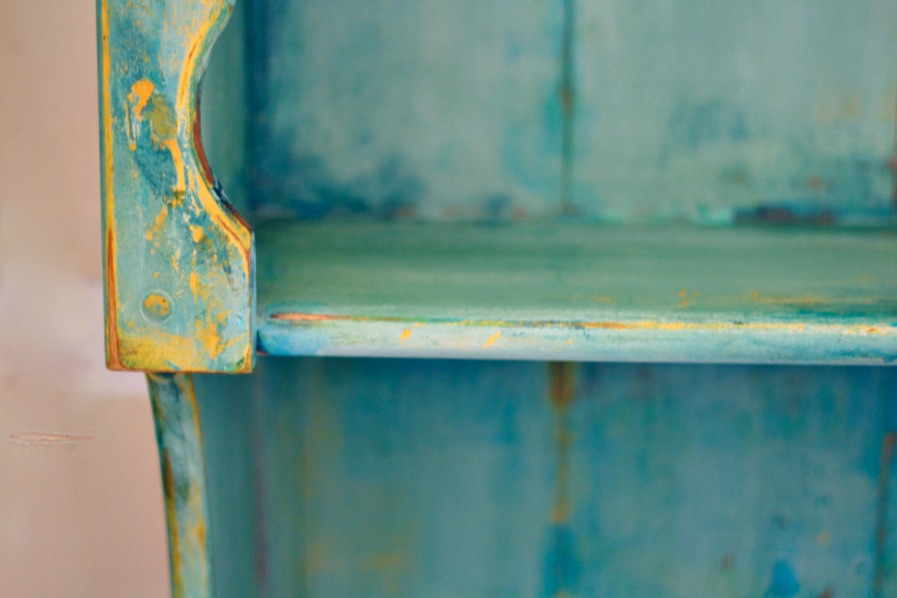
#2 Water down the top coat as seen in the video. Shelly recommended this in her blog post but I disregarded her advice the first time, I didn’t want to do this because I thought a thin coat would make the already crazy brush marks look worse. The thin coat is necessary so you can get to all the under color without rubbing back too hard and going down to the wood. At this point of the project it looks terrible but you have to trust the process 🙂

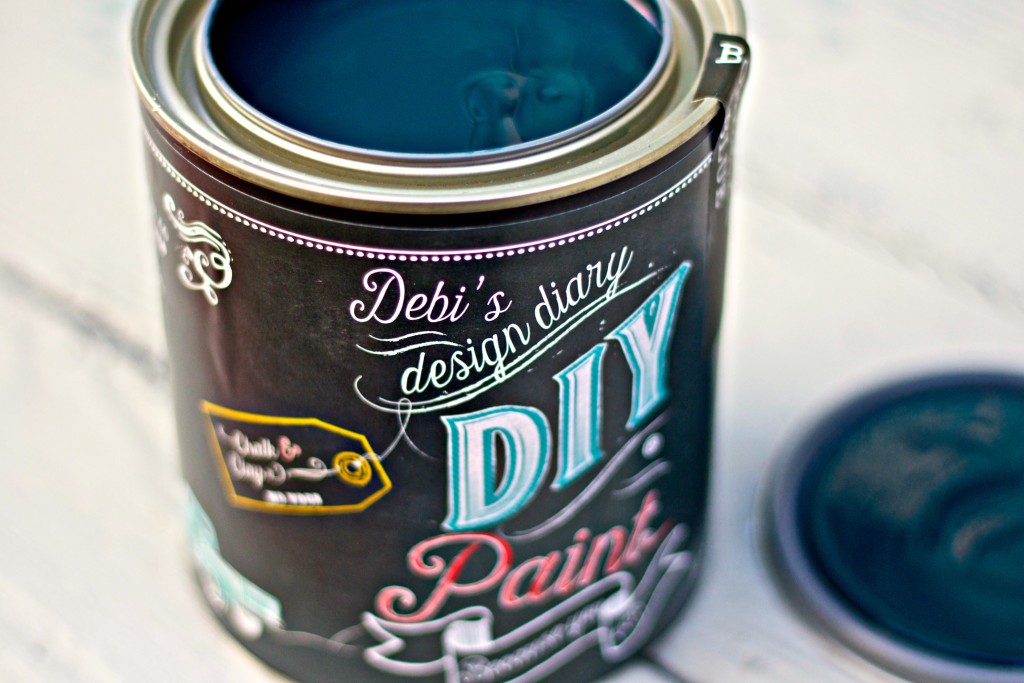
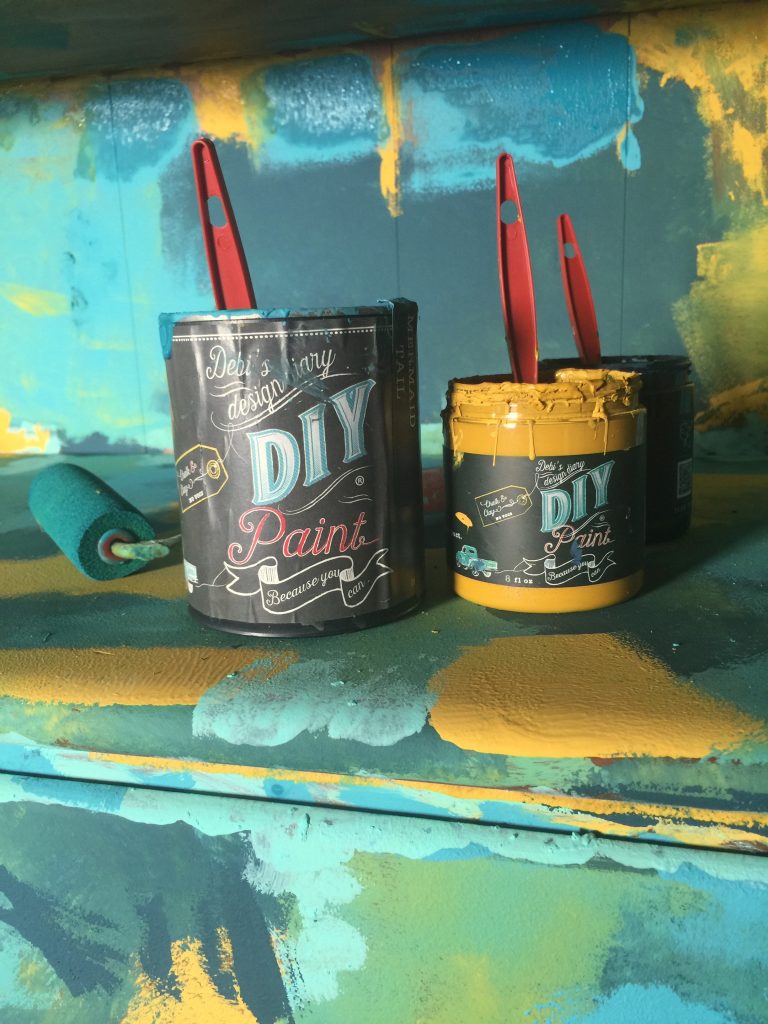
#3 clay based paint vs acrylic based paint.
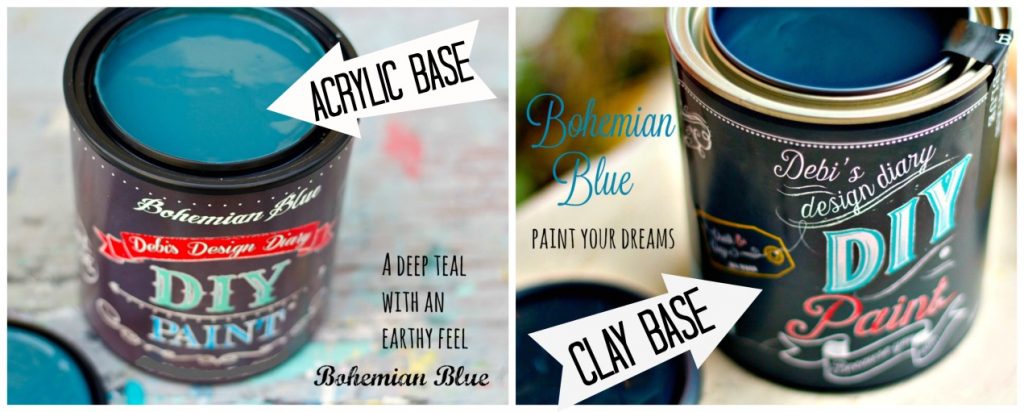
When I tried this look two years ago I was not using a clay based paint. I switched the formula of DIY Paint from an acrylic base to a clay based paint 14 months ago. Clay based paint will easily melt and blend like butter or it can be built up thick and texture-y like a chunky peanut butter. I did both in this project.

Many paint formulas have ingredients built in like stain blockers, primers, and self levelers. This can be good if you are looking for a flat factory type finish however in my experience a clay based paint without additives is much easier to manipulate and create a vast variety of finishes with.
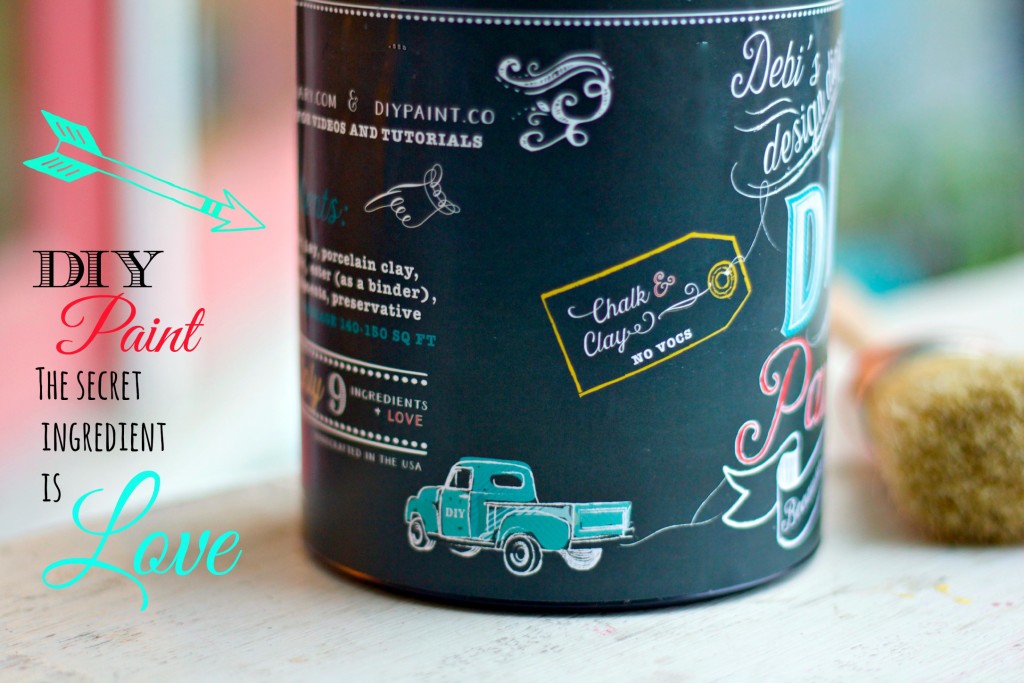
DIY paint has just nine ingredients, plus love! The first thing you might notice when you open a can is that it doesn’t separate, I never stir! And there is no smell other than a slight earthy scent from all the fabulous clay! Without chemicals and fumes you can paint inside, worry free!
#4 Wax? You can use a brush on top coat for this no problem. Wax is my personal favorite way to finish because the results are so pretty! Some prefer a liquid brush on like DIY Big Top because it’s faster and our wax has something we refer to as The freak out factor… ![]()
When DIY wax is first applied it dramatically changes the paint color, it can look uneven, patchy and even translucent. It stays this way for a few hours and it can really be freaky if you don’t realize that it will even out as it dries.
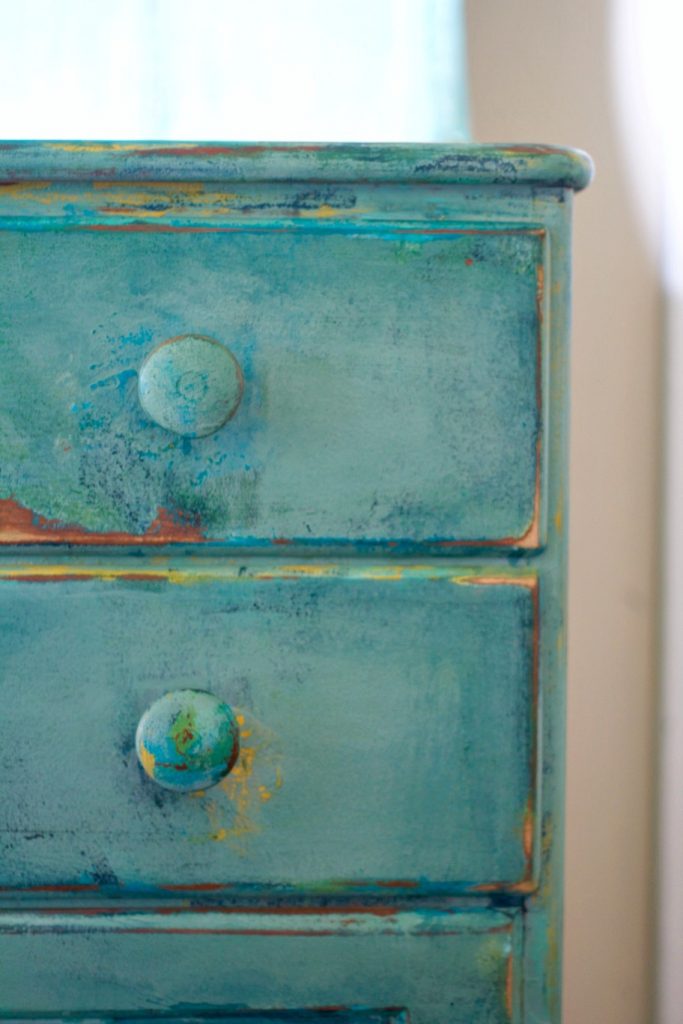
As DIY Paint dries it has a very flat chalky finish as you can see above. The wax will bring out the color and the detail but until it dries it looks like the photo above… what happened?!
But wait… a few hours or over night, come back & buff it. The paint starts to shine and the color is beautiful!

We have two more classes this Friday, a Succulent Bar and a Make your own chalk board class! And there will be lots of refreshments and fun shopping. We would love to have you be a part of our big filming day!
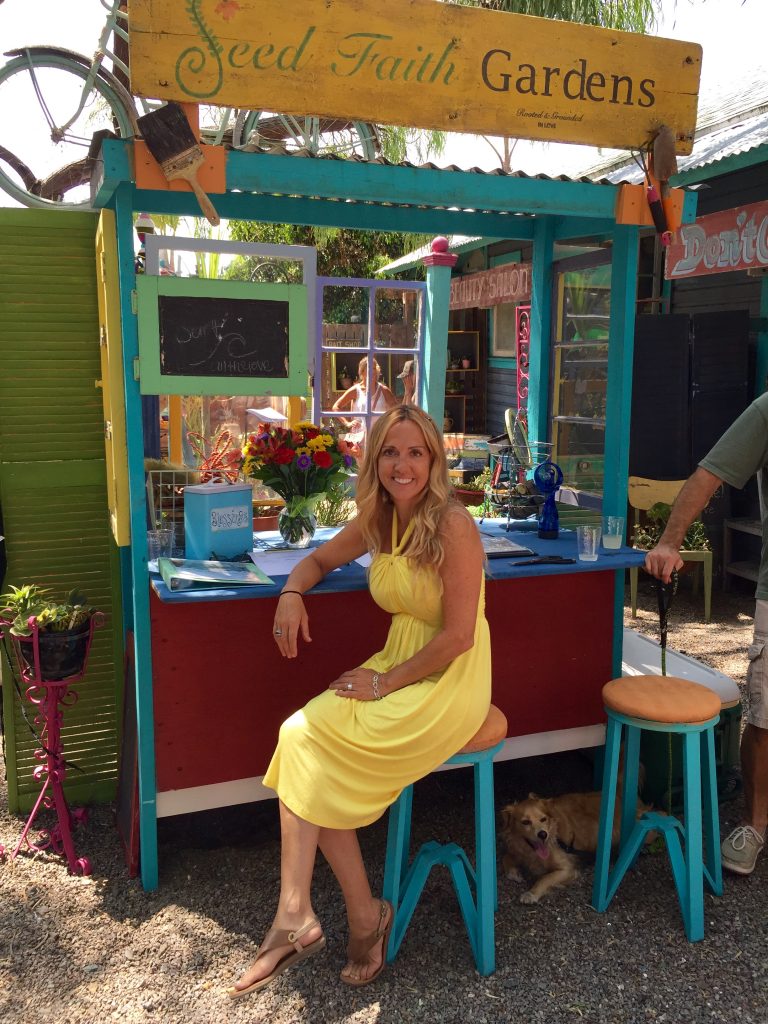
We have lots of fun planters or you can bring your own. Danielle will share how to fill your container with succulents and soil. Cost for this class is just $25.00 it starts at 1PM. To reserve your spot, Email Danielle here-seedfaithgardens@gmail.com

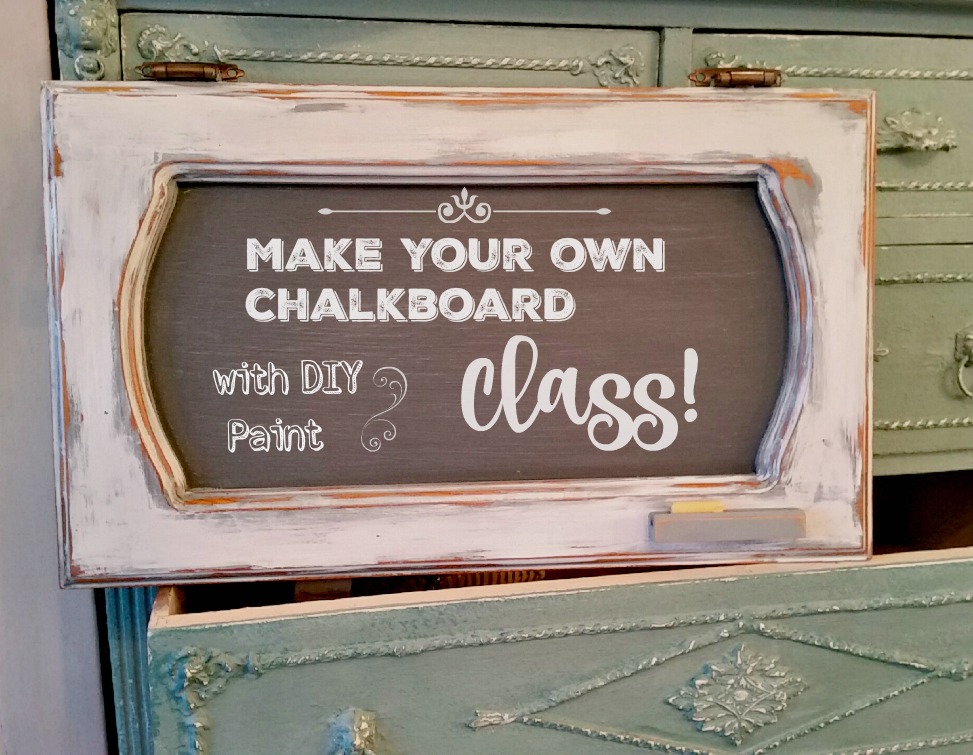
Make this chalkboard from a salvaged cupboard door with Melissa at 12:30
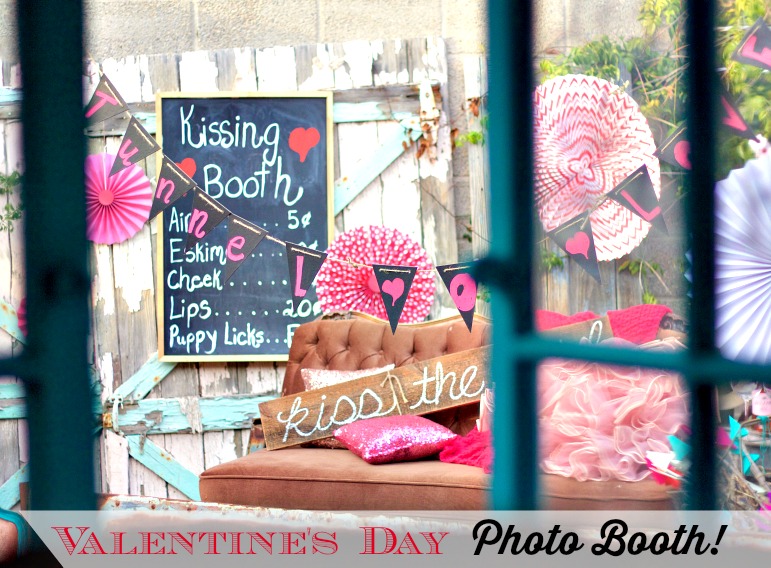
If that’s not all Marissa from Simply Shabby and my co-producer at the shop created this awesome FREE Valentines Day Photo Booth in our rusty vintage truck! Come bring your loved ones and take some fun pictures!
We hope to see you at House Vintage this Friday! AKA FriDIY!
Let me know in the comments if anyone has ever said “Don’t paint that” and what your opinion is about painting wood 🙂 I really want to know!
Sincerely,
Debi
Hi Debi! I have been following you for years. I came across this in Pinterest on Hometalk and I smiled to myself. Look how far you have come. I do love the hutch. I dont guess I have seen this one. You are my role model. I’m 56 years old and about to lose my job I have had for 20 years because I cant transfer to Ohio. My daughter is really sick and I have 2 grandbabies to help with. But you are starting this new adventure with your new store. Maybe there is hope that I too can start a new adventure. I love you and Danielle and Melissa and Staphanie and Ellie. It feels like you are my family too.
I tried signing up for your newsletter but it sends a constant error.
You have a wonderful ability to teach your techniques. Your videos are rich, short and fun. As a beginner, I had almost given up when everything I painted ended up in a turquoise shade with something a bit flimsy here and there. Thank you so much for having this website. You inspire me to keep going. Thank you very much 🙂 Best regards Nutte
Do you still do painting classes for furniture? I just watched one of your videos and loved it!