How do you know when to give up and move on and when to persist?
My goal is to make a new video every week, most of the time that doesn’t work out, this one took over a month, why? well the project failed twice and I procrastinate. The truth is I have a lot on my plate BUT the thing I want to do more than anything… make more videos, to do that I need plan, focus and perhaps try projects that are easier to complete. So my question is how do I solve this problem? I would love your tips, honest feedback, wisdom is in a multitude of counselors so I’m hoping you will help me out and leave your comments below. Thanks!
Now back to this groovy DIY…
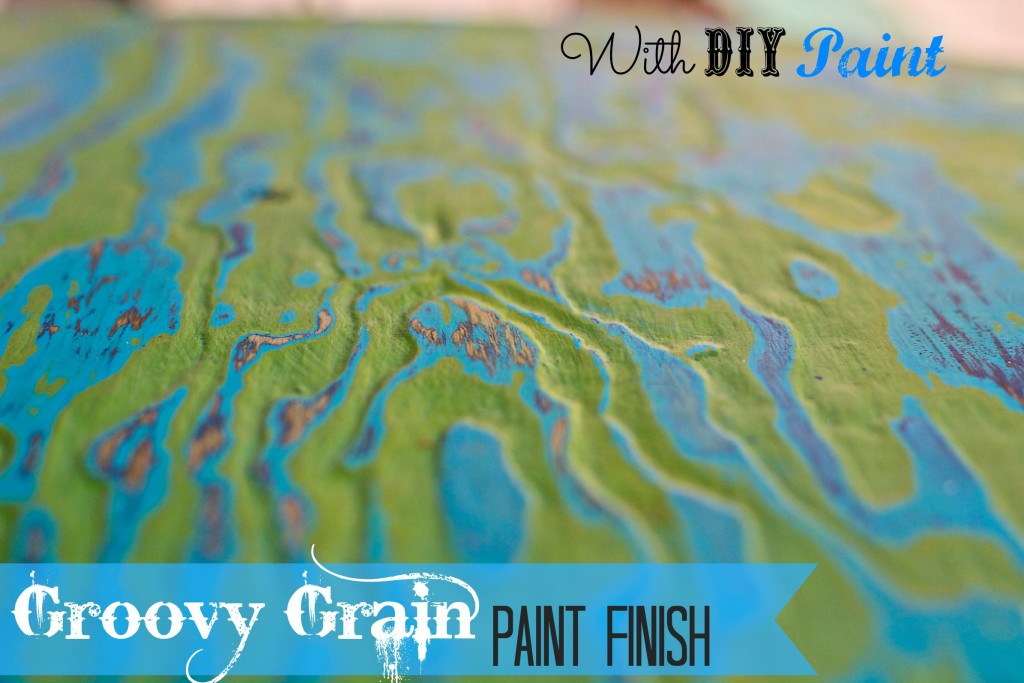
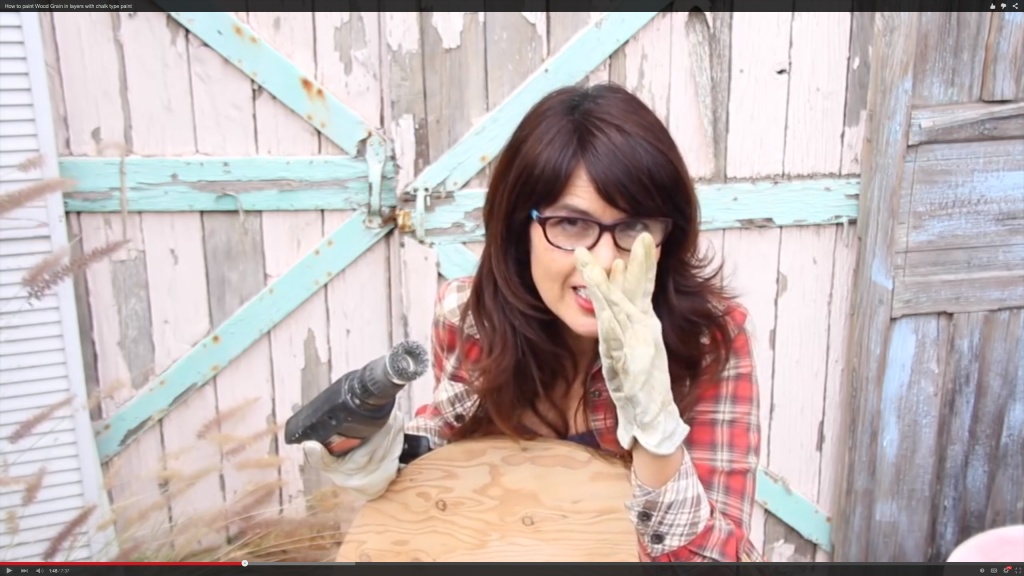
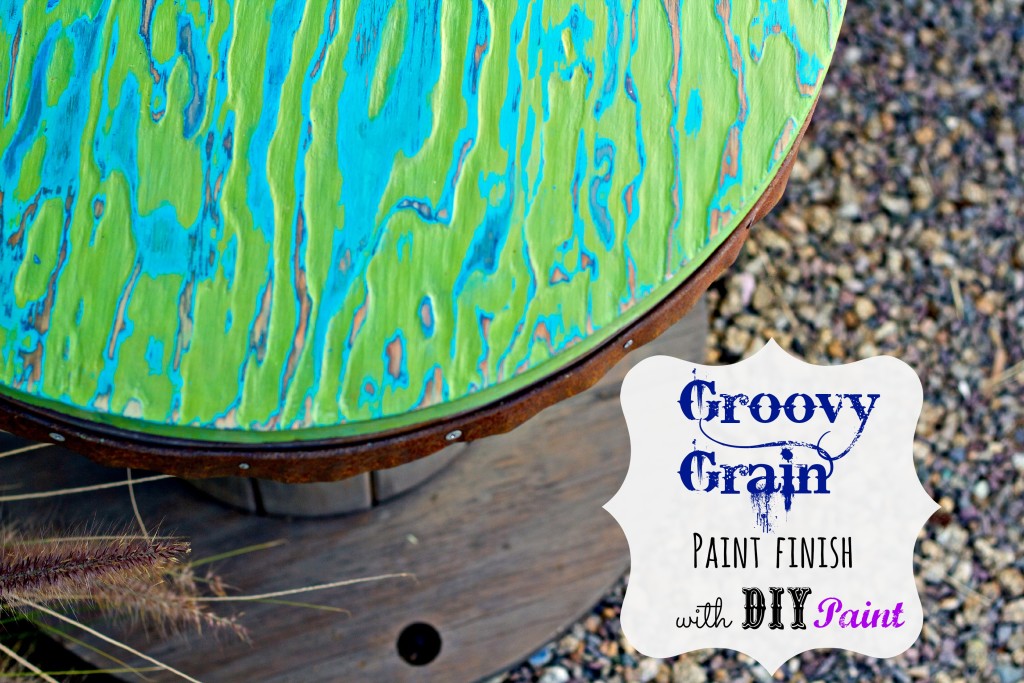
When I saw Jo Nagasaka’s work on Pinterest, my mouth hit the floor…I searched google trying to find a tutorial, there were clues but no instructions on how to get this look. I went to the hardware store and showed the photo’s to the guy in the lumber department, he suggested sandblasting the wood. That sounded kind of scary so I decided to try a wire brush bit, it looks like a scrub brush.
after several fails, this is what I discovered,
*use a plug in drill or you will burn up your motor.
*pick wood that has a tight wavy grain or it will look mediocre.
*start with a dark color of paint for the first layer and use the color you want to see the most last.
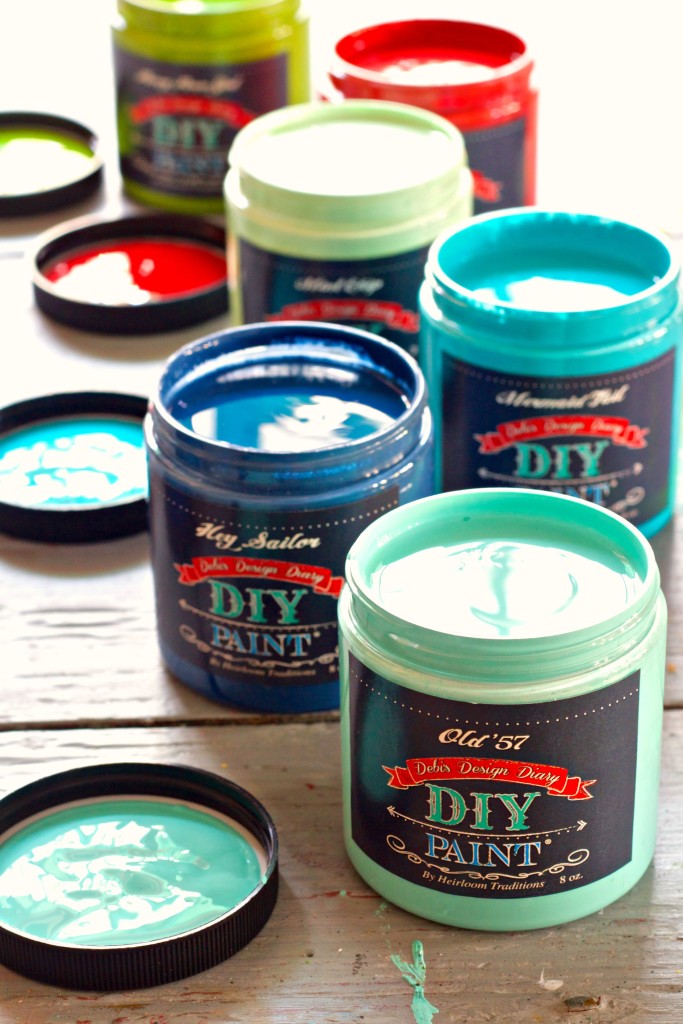
I stated with Hey Sailor, then added Mermaid and finally Fancy Farm Girl. of course it;s a lot easier if you use a chalk type paint like DIY Paint as it’s super easy to distress with water, as I mention in the video dry sanding will create a scratchy surface.
*pick a project that is small like coasters or the top of a bar stool, grinding the wood down can take time, my original plan was to make a long bench or a farm table, I purchased a big slab of plywood, it’s still out in the workshop.
*A friend suggested trying a grinder ( made for grinding concrete) I’ve never used one, he said to use it on something like pine as it might blast right through the plywood.
Here’s the video…
I created a Wood Grain board on Pinterest, filled with lot’s of beautiful wood grain inspired DIY, I hope you check it out…it’s groovy 🙂
I’m so excited to say that you can find my new paint in the US and Canada, here’s a link to our map of retailers, If you have one near you I would love it if you went in, said Hi and told them I sent you!
Thanks for watching, see you next week!
#DIYbecauseyoucan
Sincerely,
Debi


Debi, I LOVE your videos and tutorials, BUT I would prefer fewer videos IF it meant we would see more detailed, intricate projects … which, of course, do take more time on your part. The easy stuff is already out there and/or I know how to do that (if I even want to, which I usually don’t). Mostly I love seeing how you use your DIY paint on various projects. Whatever you decide, we will love it. Keep making fun and interesting things for us … we look forward to your amazing, quirky videos!
I like your ideas, so however you do them is fine with me. Haven’t tried your paint, yet, but I’ve got some furniture pieces calling out for help, so I’ll be rescuing them soon! Just keep the videos and your enthusiasm coming! Thanks so much!
Debi, where did you find the drill bit for this technique? Do you recall what it was called so I could find one in my local hardware store? Thanks in advance. Super cool technique! 🙂
Debi, this is great. I love your tuts. I know they are a lot of work, but they are fun and inspirational to watch. Thank you!
Your cute and funny! The original use for Modpoge may have worked on Marilyn. You cover the front with 3 to 6 coats on front of poster, Let dry well between layers. You should brush opposite directions for strength. If you went with just the face and body you could feather out past the outline so the end game would fade onto the piece. After dry, at least 24 hours, here’s the fun part. Wet the BACK of the picture with warm water. You then with your finger tips ROLL off the paper. The image will be embedded into the Modpoge. Then use thin layer as a glue (Modpoge with image side up). One more thin coat (over top of the image) feathered just past your image. The piece will have an unreal depth. Try it!