This post contains affiliate links.
Here is a list of items needed to make this project and the links to purchase them on Amazon.
After a year of making DIY videos for my YouTube channel , this project was definitely one of my favorites! It took about three weeks to hammer this one out, we also have had unusually cold weather in San Diego, Most of the days filming were spent wrapped up in a sweater, jacket, hat and scarf on while trying to paint and put this project together, this why I’m all bundled up during the segment at the beach 🙂
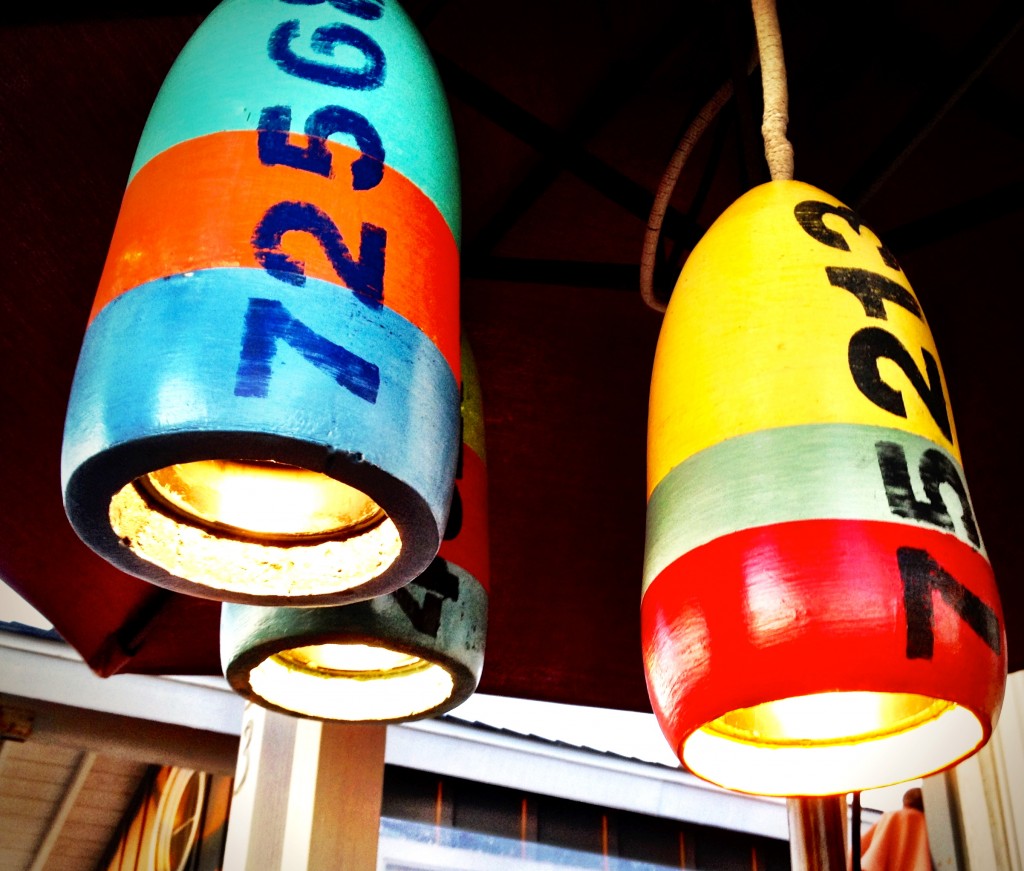
Here is the DIY video, showing how we made our Buoy lights,
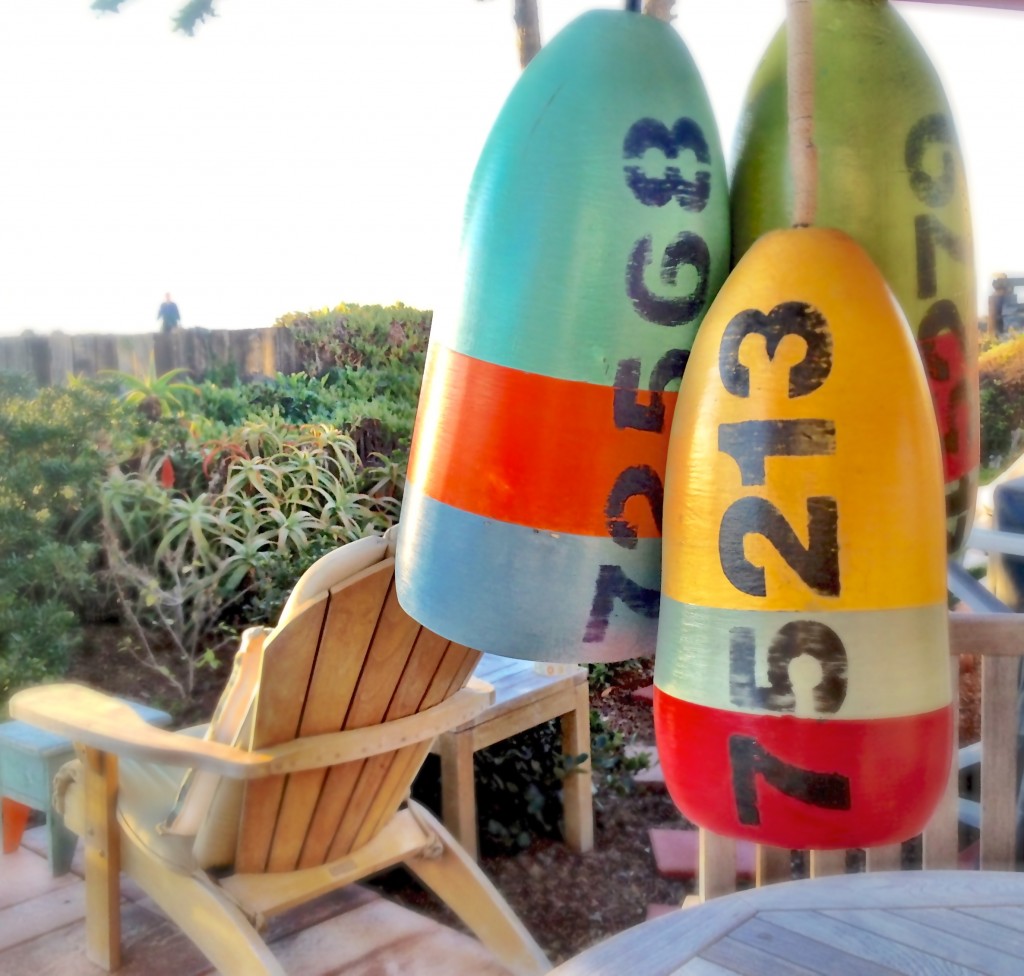
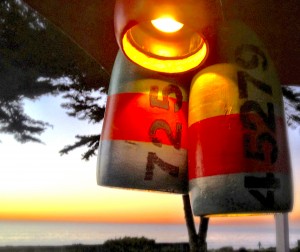
We shot the end of the video, with the sunset and the buoys hanging on the patio, at Bobby’s house, it’s a historic 1920’s cottage over looking the sea on the San Diego coastline.
Whenever I visit Bobby’s house, I feel like I’m on a movie set, it’s so beautiful and dreamlike that it doesn’t seem real. Bobby has found at least 20 of these buoys, not just buoys but many amazing things, his sea glass collection takes my breath away. He has buckets full all sorted by color and size and he has several red and yellow pieces that are super rare too.
( I’ve have been thinking about a sea glass project for a future video, and I have a few ideas that I’m pretty excited about but I never know if my ideas will actually work until I start putting them together, half the time what seems great in my head, ends up in the project graveyard… we’ll see what happens 🙂 click here to see the Seaglass bowl it turned out really pretty and it’s surprisingly easy!
Here are some of the tips that were not included in the video that you will need to know if you plan to make a buoy light… note, I am not an electrician, please be careful and make sure your bulb does not get to hot, it could be a potential fire hazard if the casing/lining is not heat resistant.
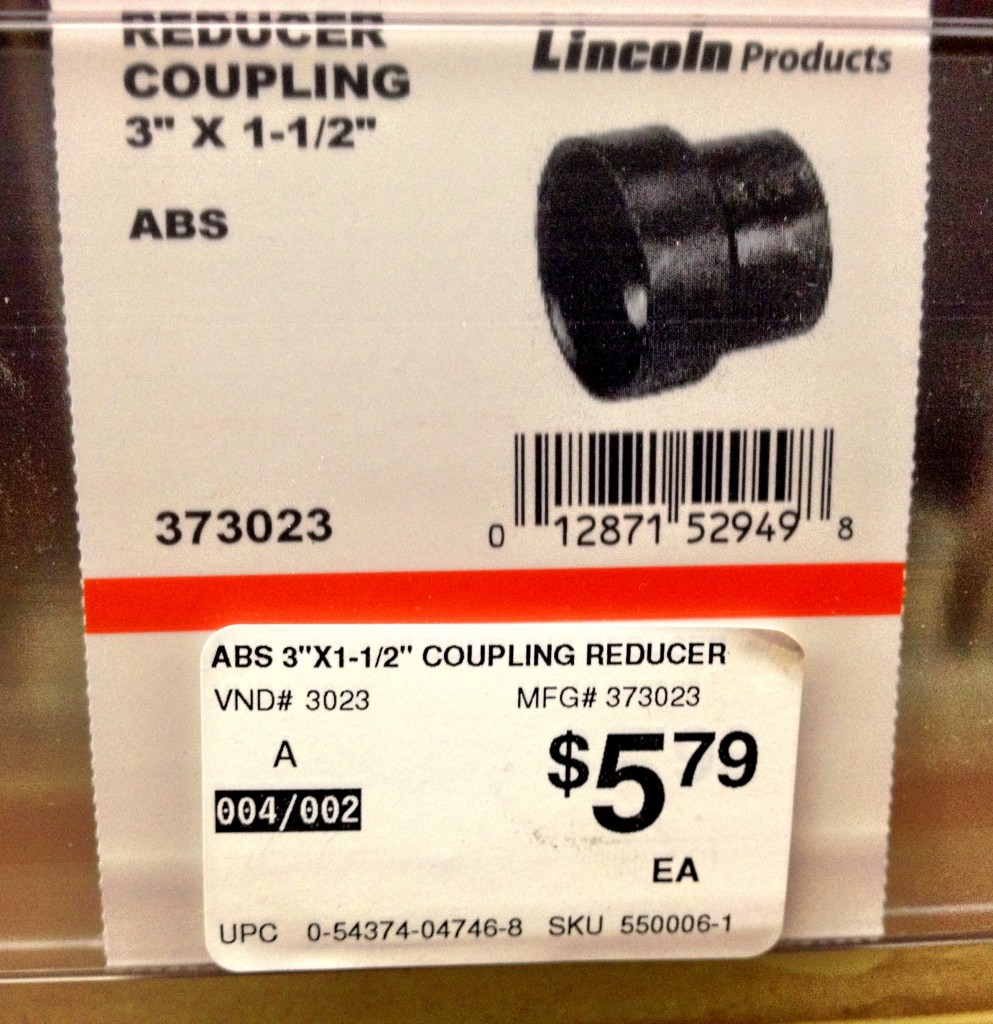
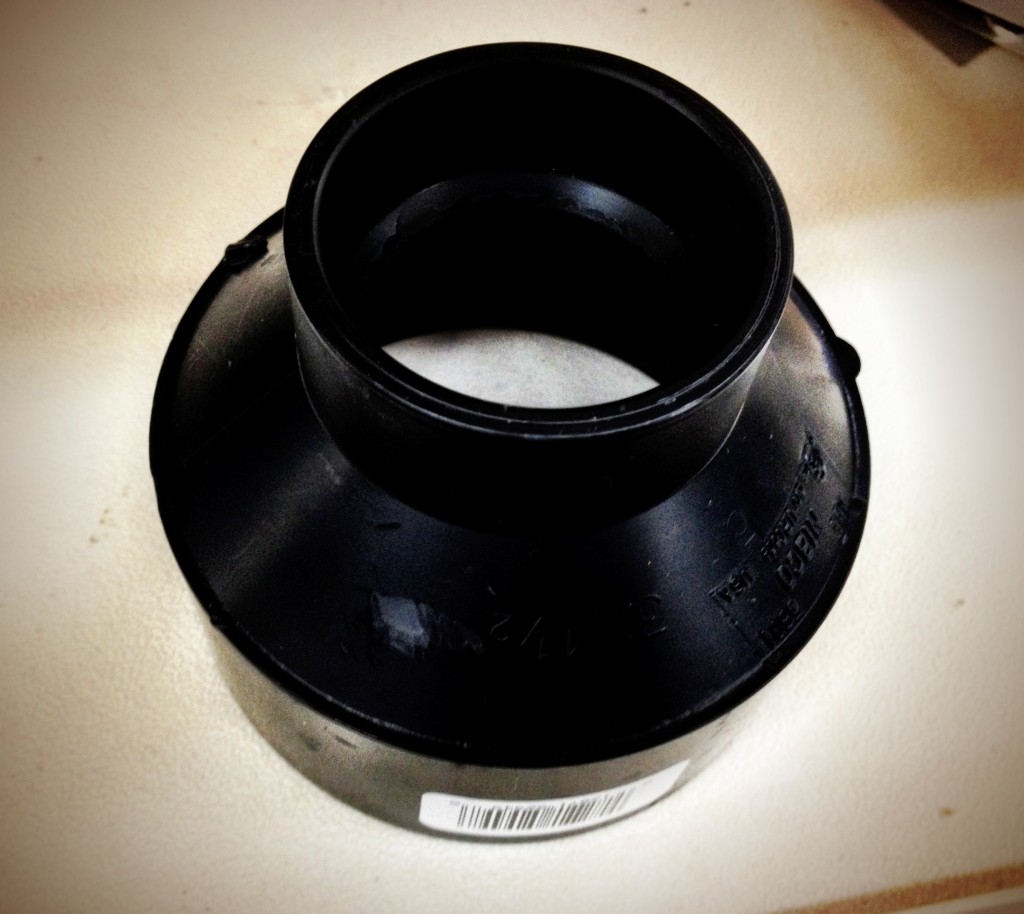
-you will need a liner so that the heat from the lightbulb doesn’t melt the foam, Bobby and I spent a few hours at the hardware store experimenting with different ideas and we ended up using a plumbing coupler…
and a two part electrical socket, if you can find the exact items we used, they fit together tightly, we did not have to glue them in place and the socket does not spin around inside the buoy.
We cut the foam with a fisherman knife, I wanted to try an electric knife but we didn’t have one. It didn’t take too much time to carve out the foam, we just eyeballed it until it went in deep enough, making sure not to cut too much so that it was a tight fit.
We left about a half inch of foam under the coupling so that the light bulb would not extend past the buoy. We used sandpaper to make the cut foam look more finished and painted it.
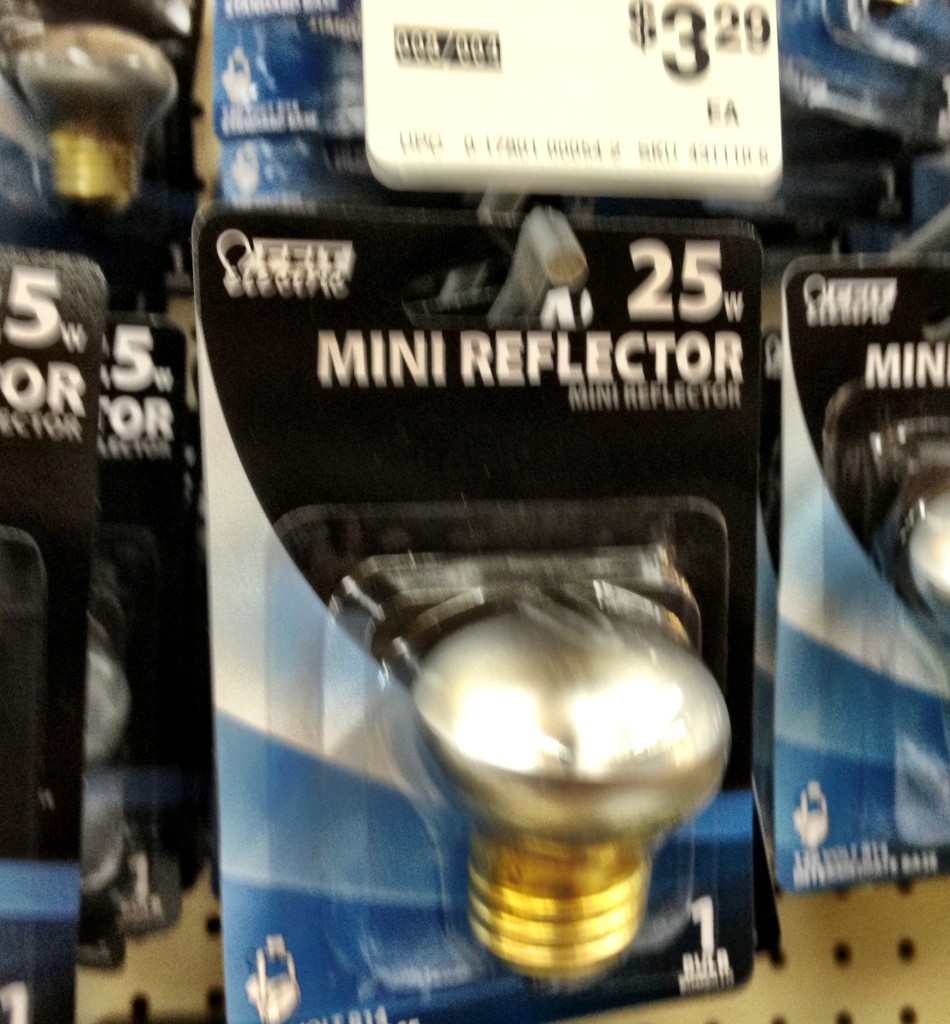
The sales person at the hardware store assured us that a 40 watt bulb would be fine and it would not melt the plastic coupling, we tried it and although it didn’t melt the plastic, it was hot, so we opted to go with a twenty five watt flood light in the small size, this worked well and gave plenty of light.
Be sure to take proper safety precautions when working with electricity, I was told that it’s also a good idea to solder the wire before wrapping them in the electrical tape, there seemed to be mixed opinions on this, I was also told that the electrical tape is enough, however it’s always good to error on the side of caution.
And of course I used DIY Paint because I love it and it adheres to styrofoam without any sanding or priming and it comes in all of the amazing colors that are perfect for this project! paint is sold all over the world now, check their website for a location near you. (I also sell it in my shop and here on my website).
The final step is wrapping the cord with rope, I have a pet peeve about cords showing, so we wrapped rope around the entire 12 foot cord, this took about an hour and it ‘s a two person job, one person holds the cord taut while the other wraps, then we clamped the rope in place every inch or so and continued. After the cord was wrapped we coated it with tacky glue and tied off the end. You might notice in the video that only one light is wrapped in rope… hmm maybe the black cord didn’t look so bad after all, it’s kind of industrial chic 🙂
I am always amazed at what Bobby finds on his daily beach walks, I don’t seem to find much but thats probably because I rarely make it to the beach… (even though I live close by) If I do get there I’m running or sitting in the sun reading a book. I really need to make more time for the beach…
Leave me a comment and let me know what favorite thing you have found on the beach and if you make a buoy light please send a photo to my Facebook page!
Sincerely,
Debi
PS. Were selling the three buoy lights we made for the video, and Bobby said he might make a few custom ones, call the store for details, 858 -755 -7630
store hours are Wed-Sunday 11am- 5pm


Yes, the 40 watt bulb started to slowly melt the buoy and I used the white PVC 3″ to 1 12″ reducer with a coupler added to the bottom to cover all the buoy area inside. I may add a sleeve inside of that material and I am going to try a 15 watt bulb. I made mine with a gold hanging chain, looks nice but I don’t really trust the Styrofoam to hold up to the heat. I will turn a wood buoy out on the lathe and build one out of wood.
Hi B&B,
did you get this sorted out? I would try a 25watt flood light as suggested in my post and the coupler from dixiline, sorry to hear, the photo you sent me of your buoy light was very well done, I hope you find the part you need to make it work.
these are so kick-ass cool!!!
what was the exact items you used with regards to the electric socket and did you get it at a Home Depot or someplace online?
how much will you sell them for?
Love my husband is a commercial Waterman. Great way to hold on to memories. Could solar lightening be used?