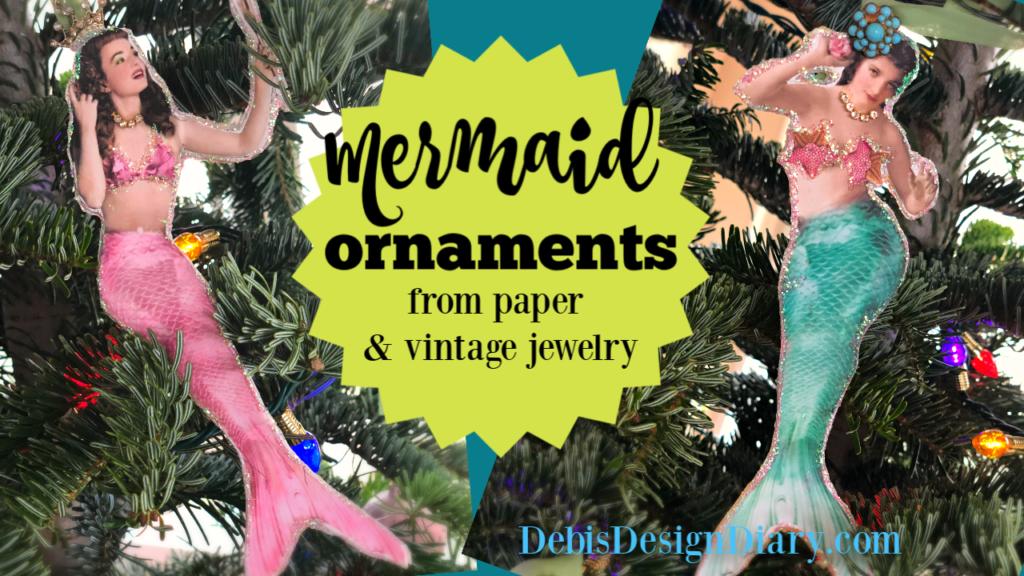
DIY Mermaid Ornaments & the Story About When The Sheriff Flagged Me Down
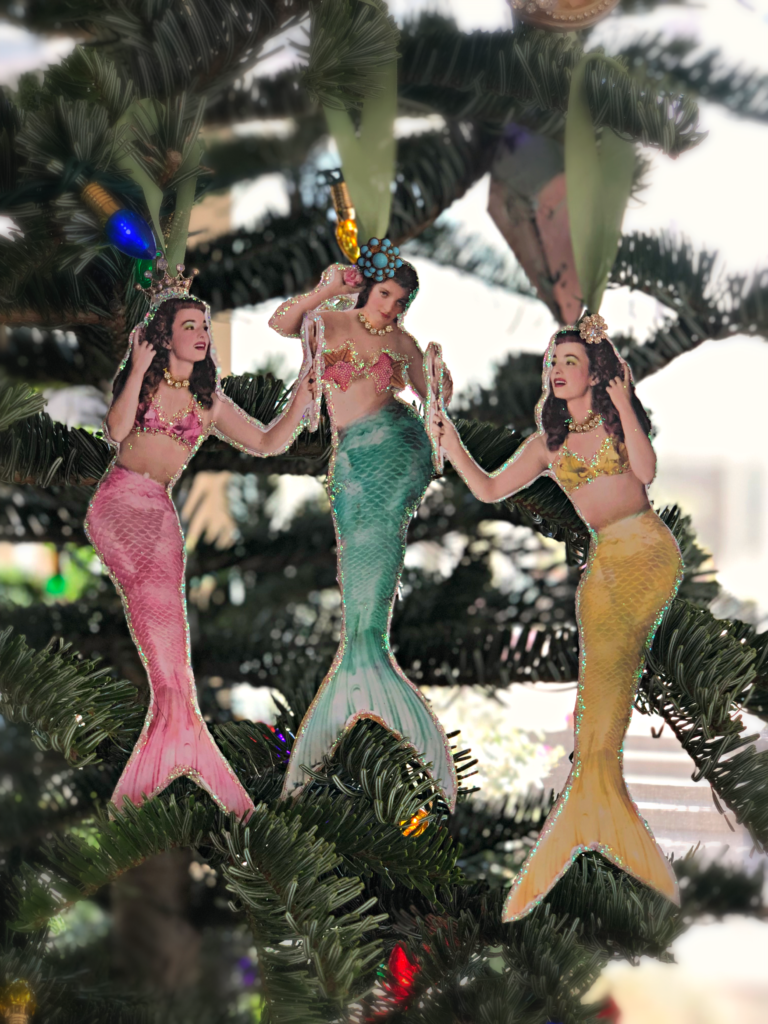
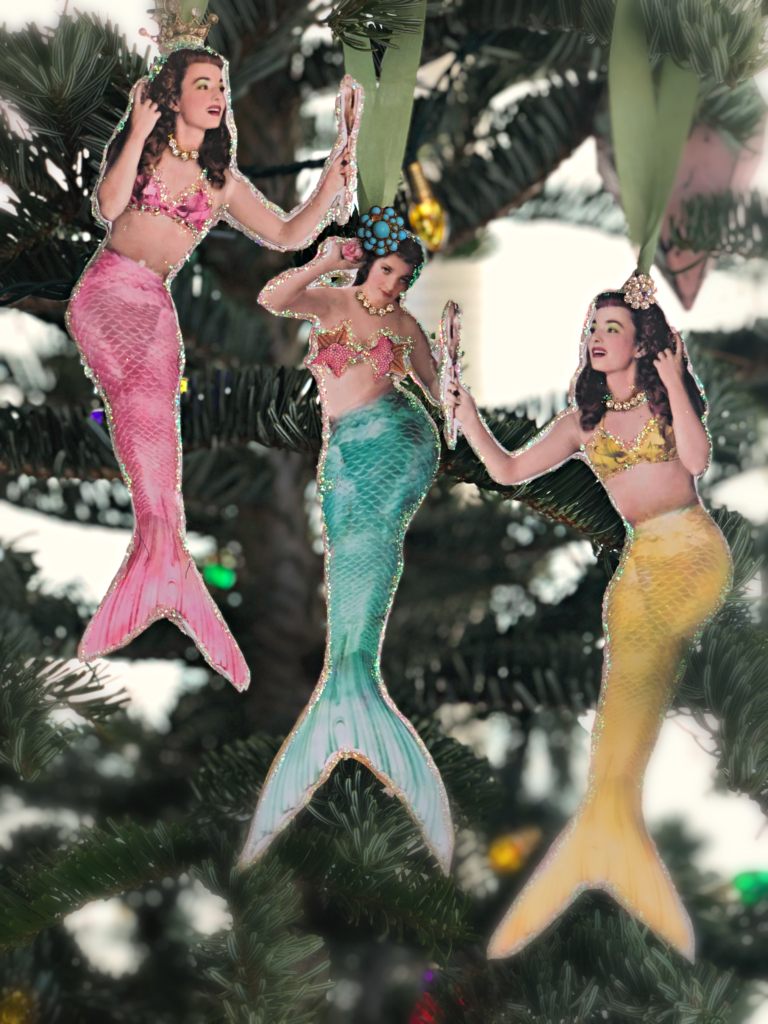
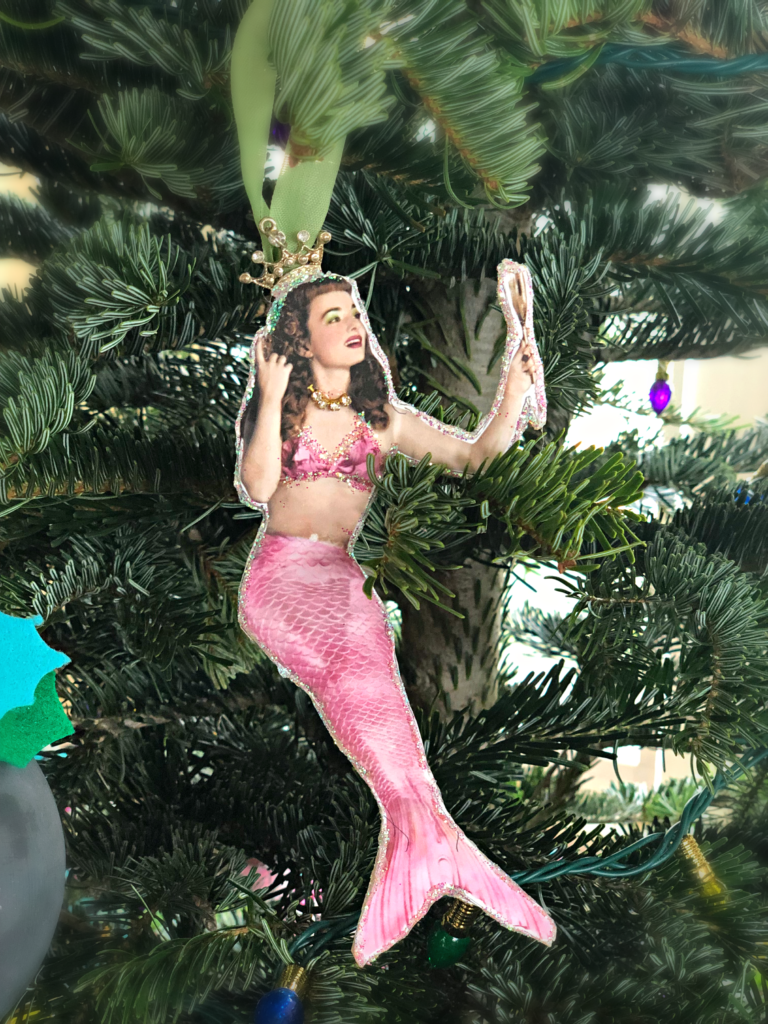
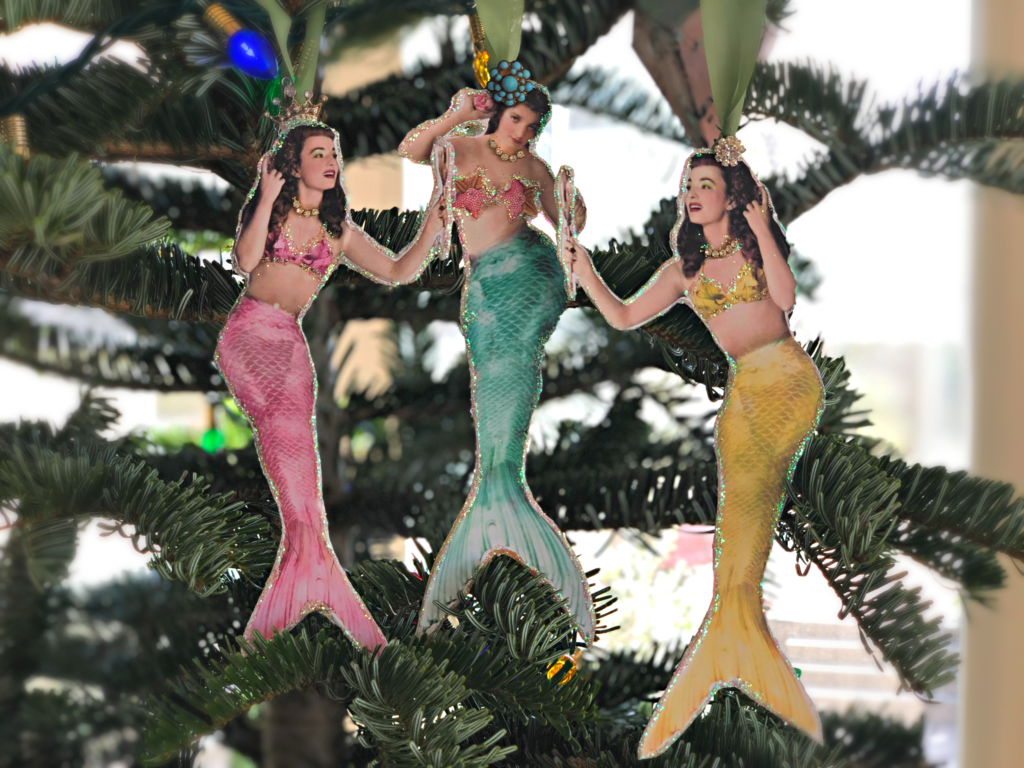
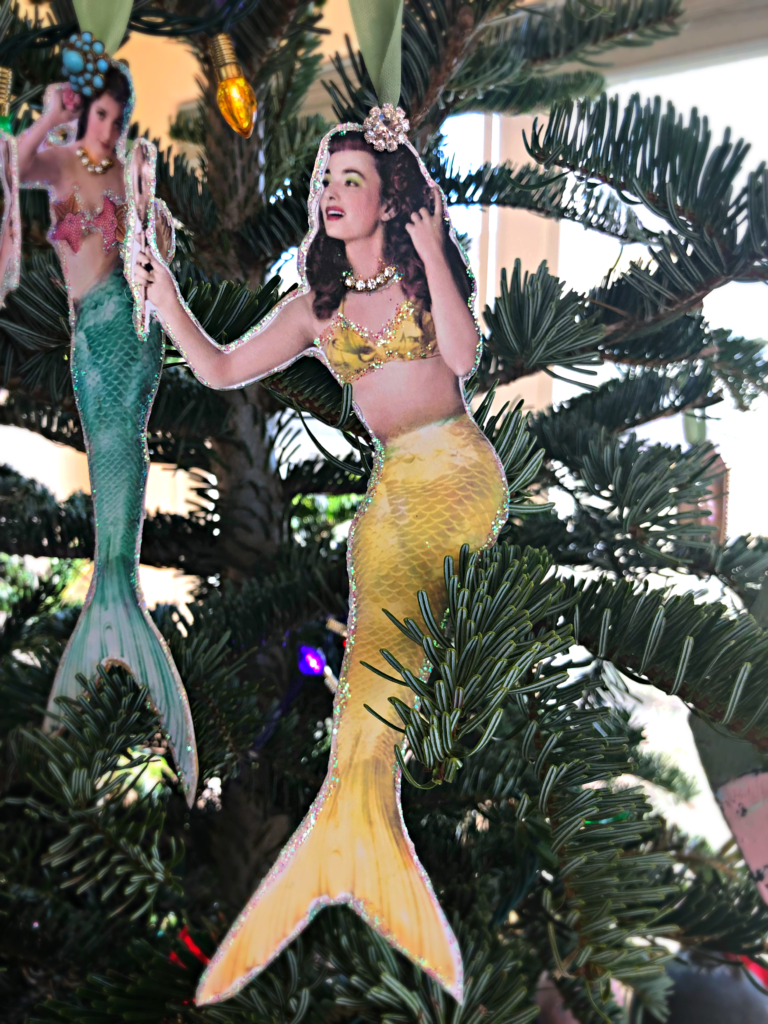
Make these pretty Mermaid ornaments for less than $5 to give as gifts or for your tree, without breaking your budget.
For more detailed step-by-step instructions, as well as the story about what happened when the Sheriff pulled me over at my local thrift store, you can watch my YouTube VIDEO by clicking HERE. You’ll never believe why the Sheriff pulled me over.
Gift-giving is one of my most favorite things about Christmas, but there was a season of my life and career that my budget could only afford hand-made gifts. I love to get creative and pick up things at the thrift stores and dollar stores and transform these ordinary low cost items into fabulous gifts.
*This blog contains affiliate links
For this project I used the following supplies:
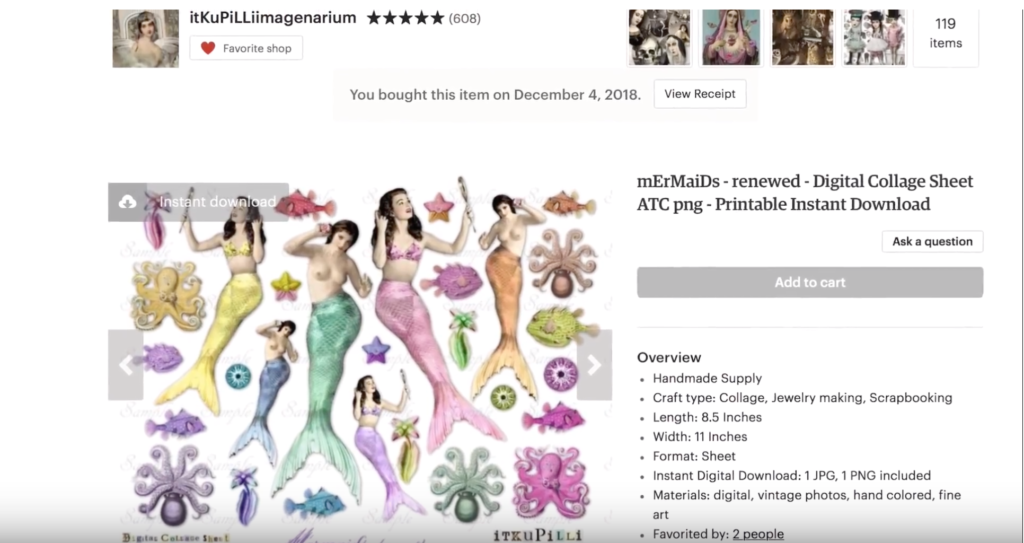
itKuPiLLiimaginarium Artwork from Etsy
cardboard
toothpicks
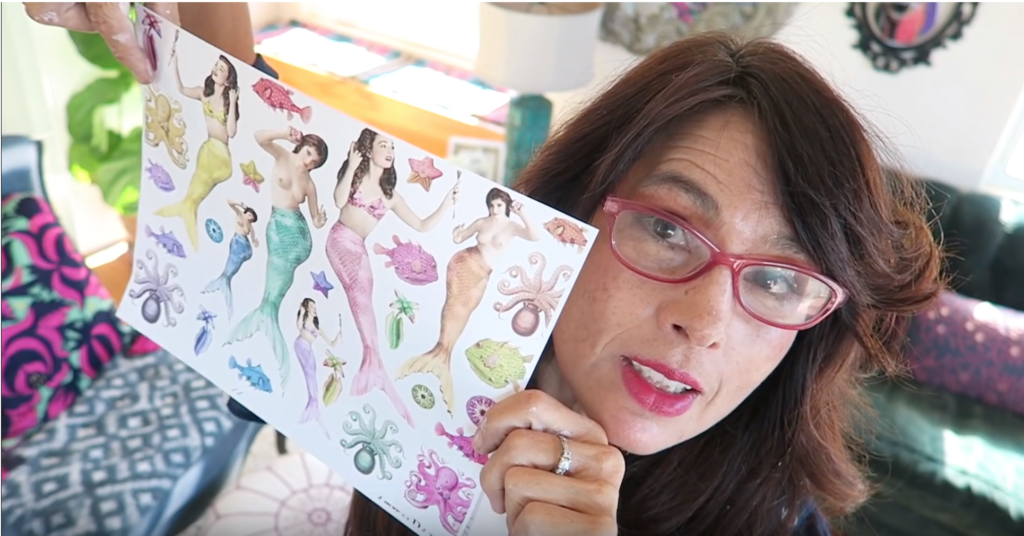
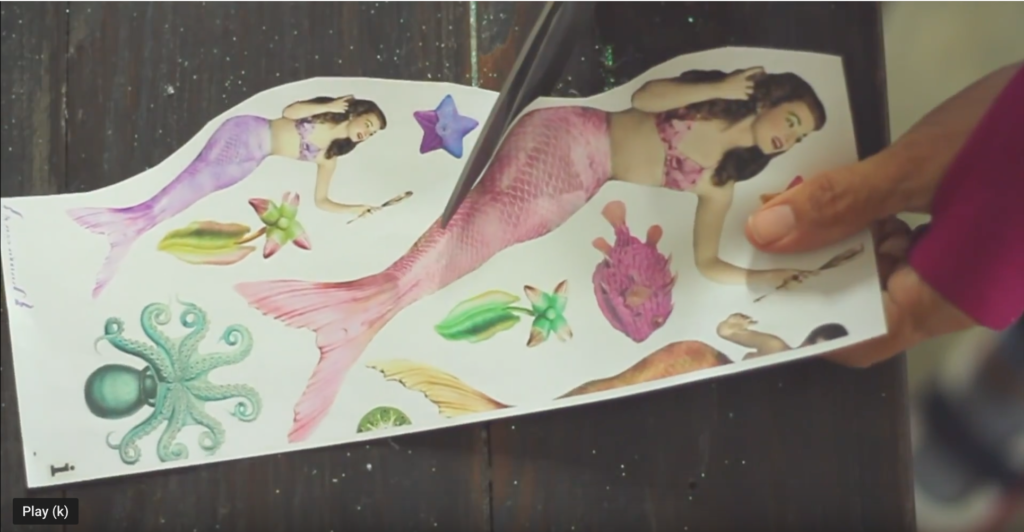
itKuPiLLlli Imaginarium is an artist on etsy. You can buy her artwork for 3.50 and print it out on your own computer.
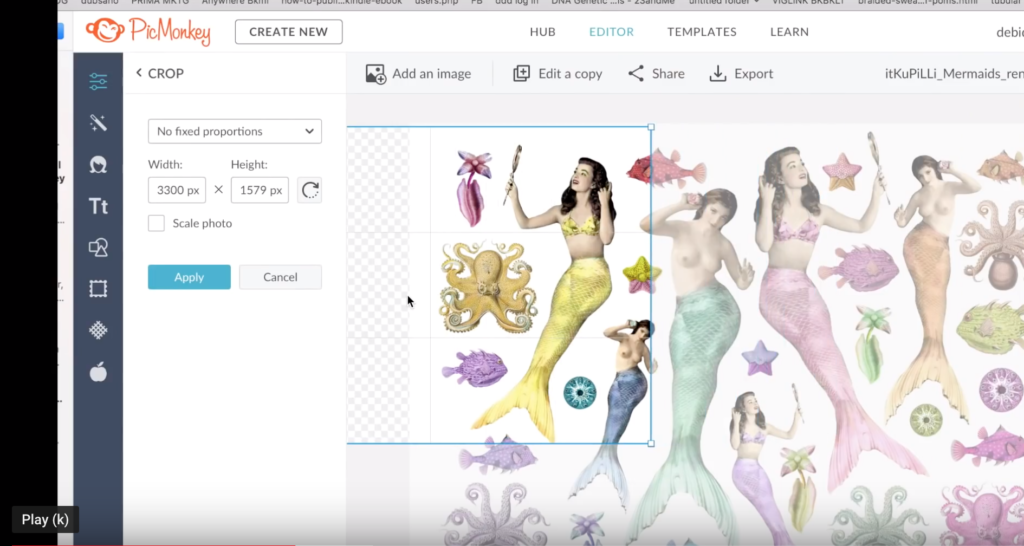
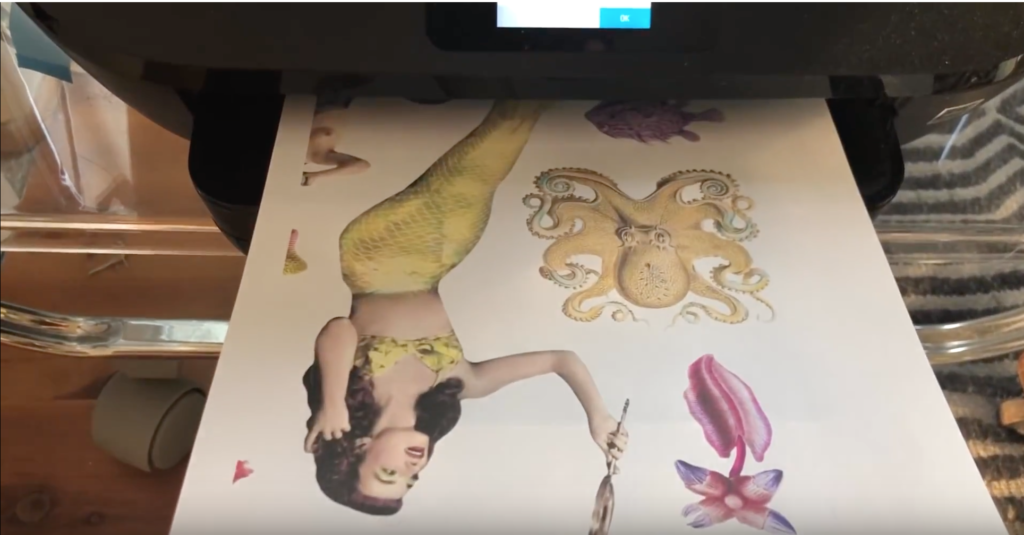
After you purchase the images on on Etsy, download them onto your computer and then go to PicMonkey.com to crop and edit your image to the size you want your ornament to be. Once you adjust the size and color, download the edited version and print on basic, light-weight paper.
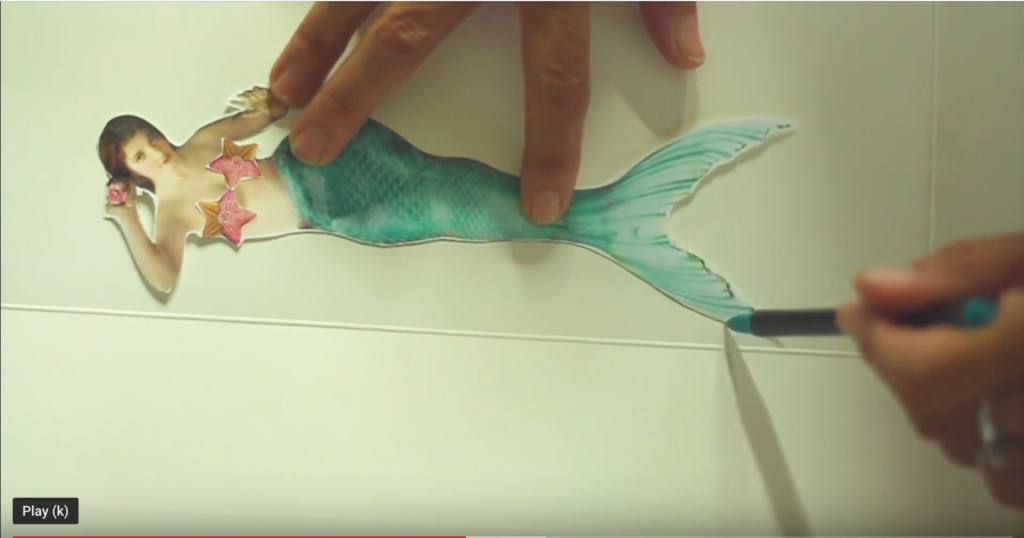
Cut out your image as close the edge as possible and then trace around it onto heavy cardboard or chipboard. I just used an old box that I had in the recycle bin.
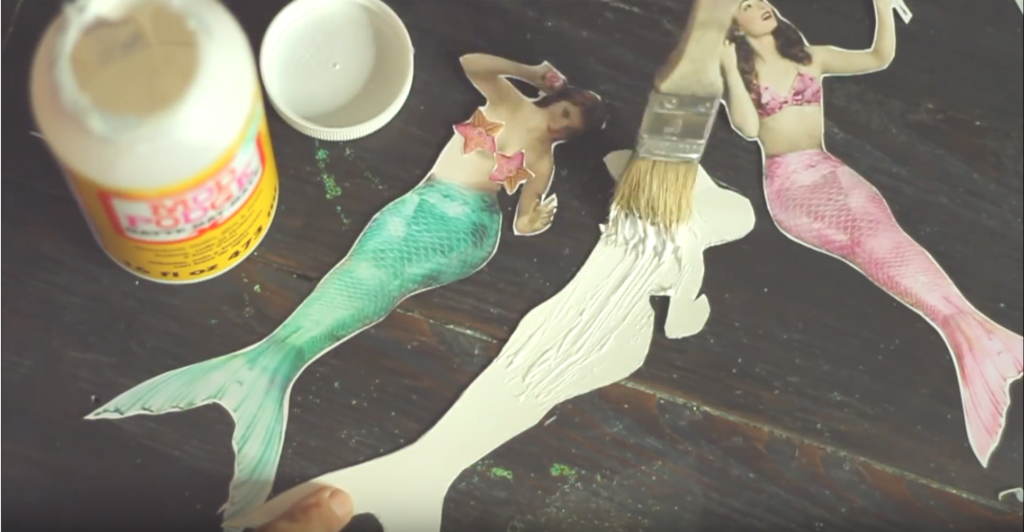
Then cut the outline of the cardboard and glue each image down with Mod Podge or diluted white glue.
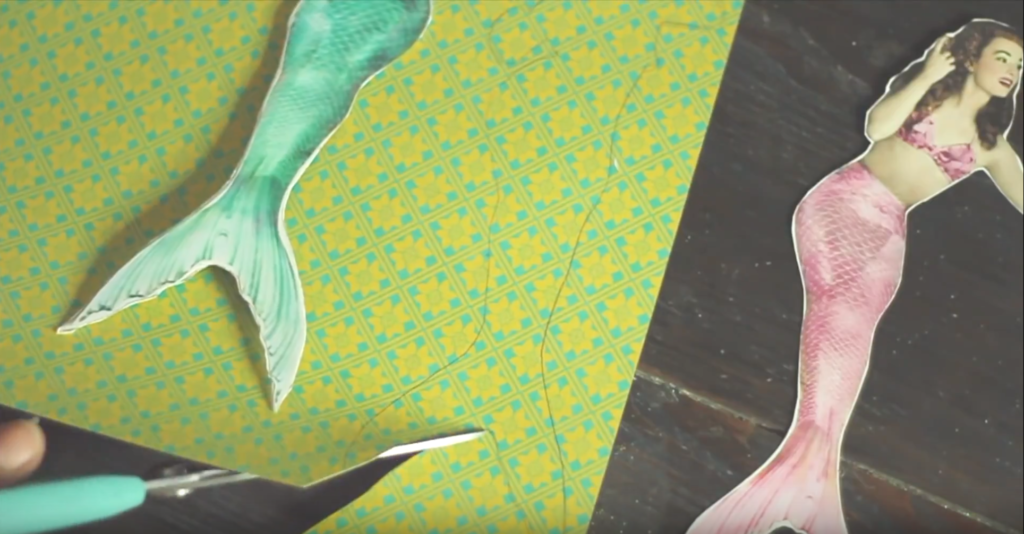
Trace each outline again onto scrapbook paper and glue it to the back of the cardboard for a more finished look.
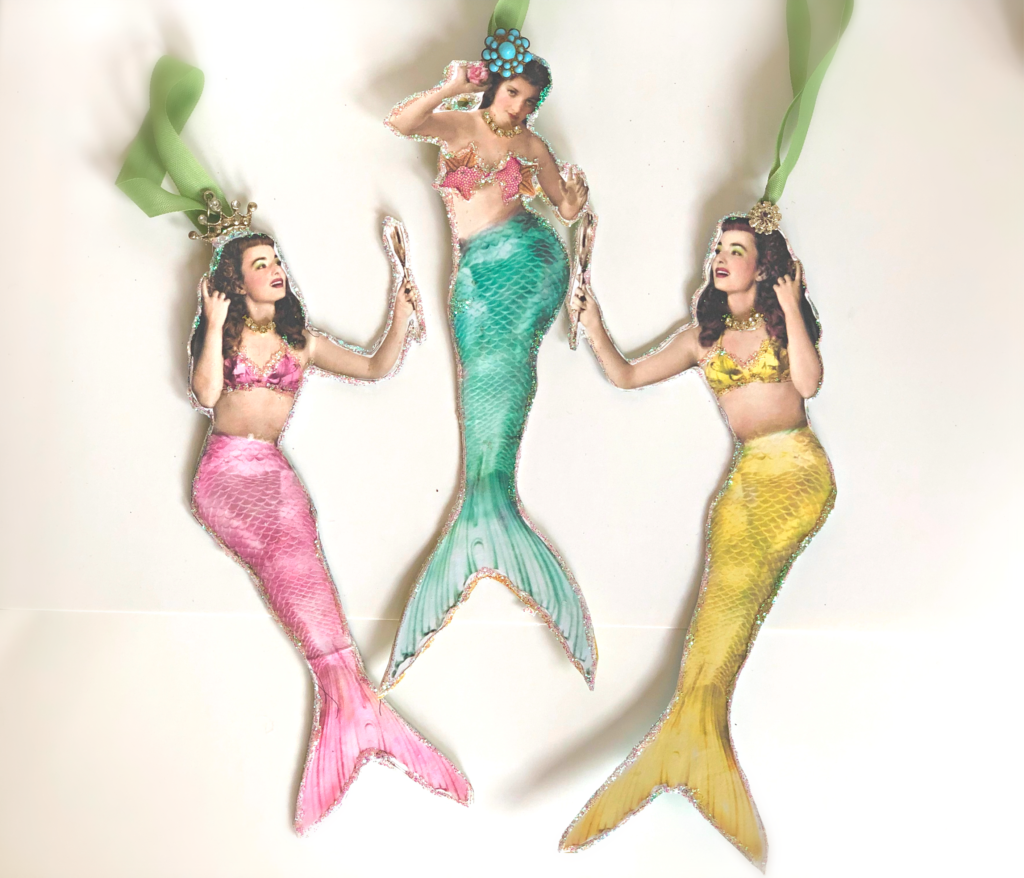
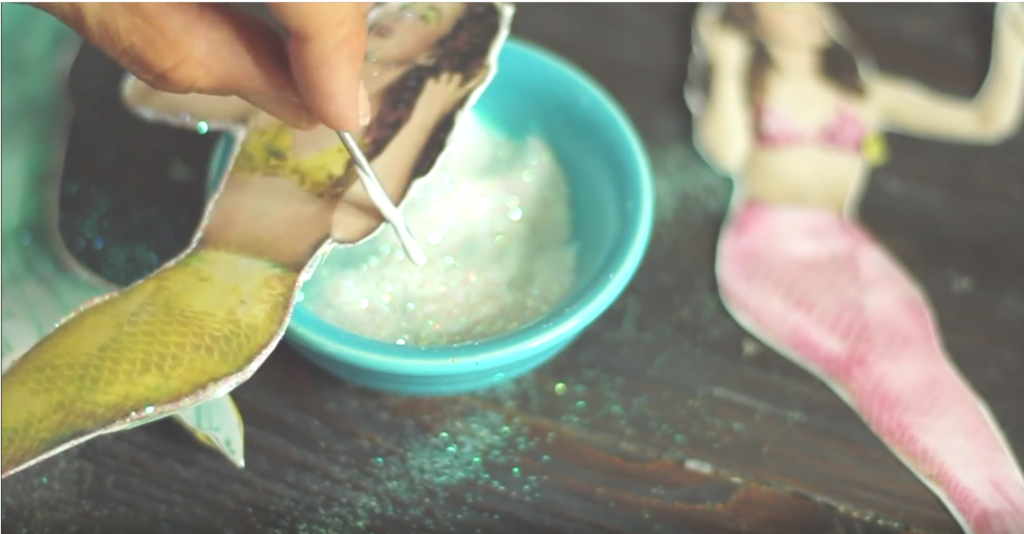
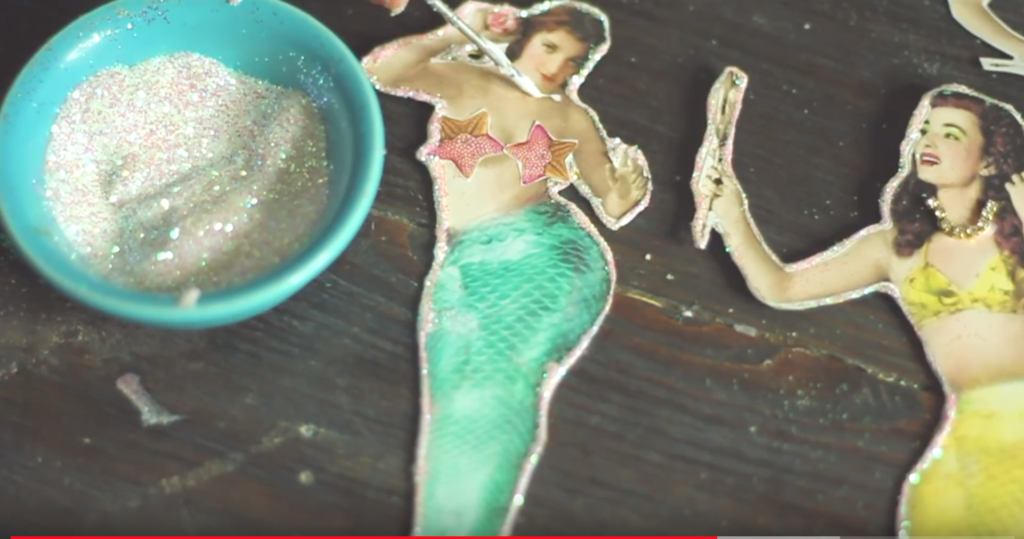
Then use a toothpick, white glue and glitter to add sparkle to the outer edge of each ornament.
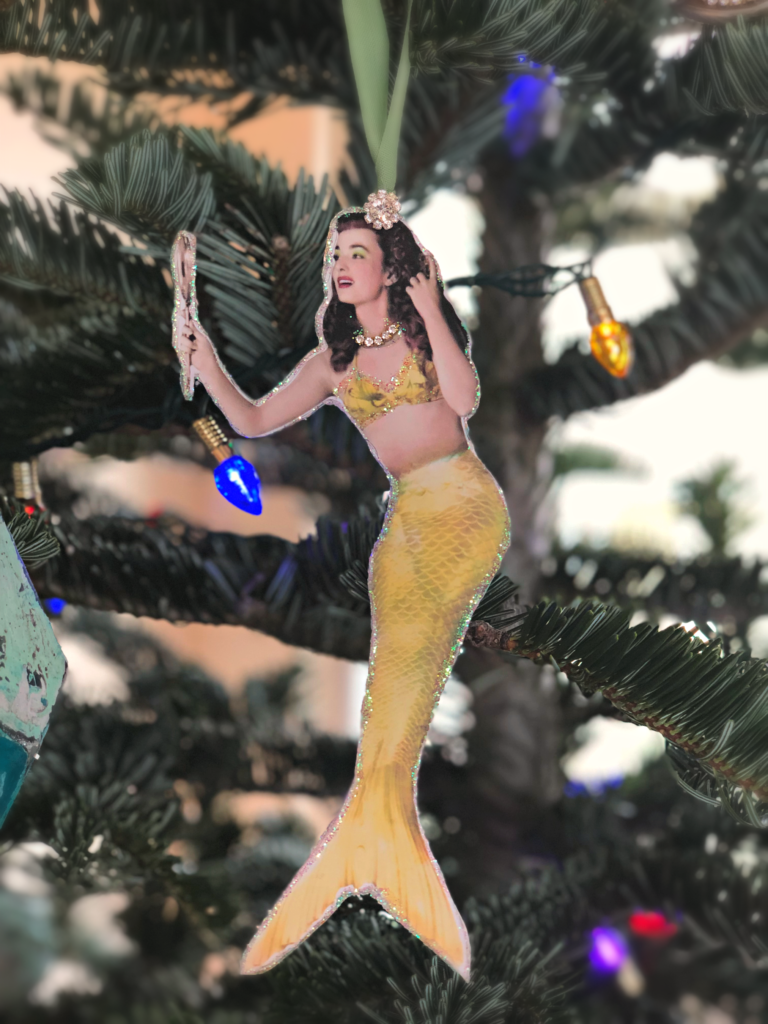
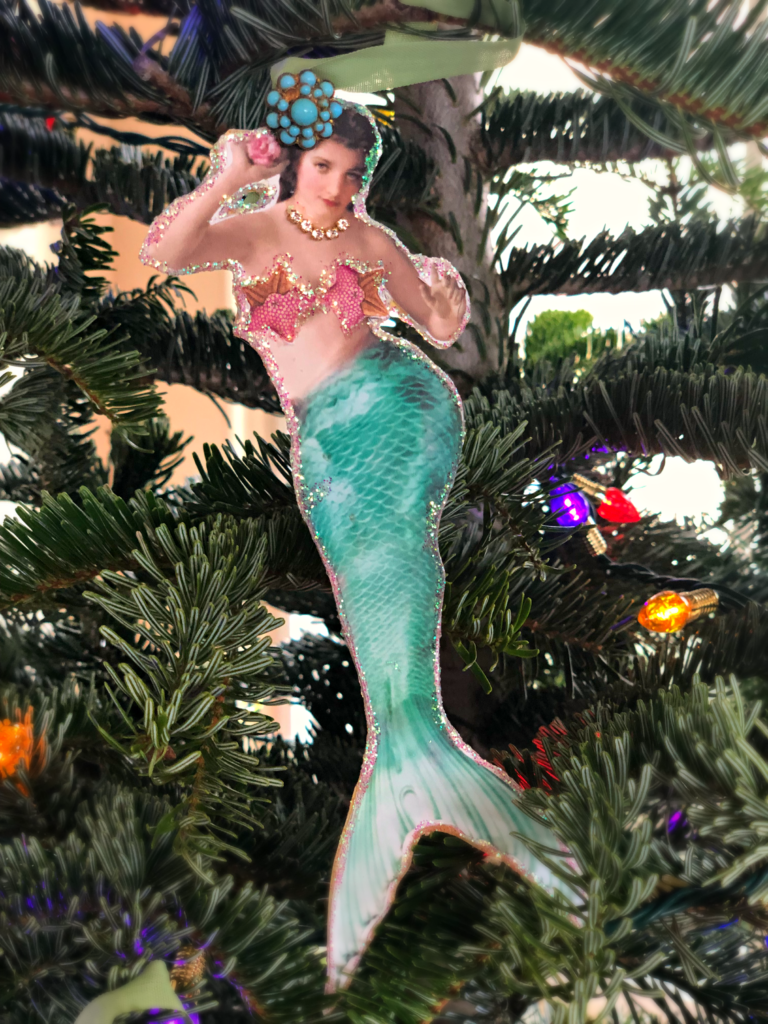
The last step is to embellish each mermaid with ribbon, rhinestones and old vintage jewelry. Let dry and hang onto your tree.
Let us know if you make this project and post your photos and comments below!
Merry Christmas & thanks for stopping by,
~Debi
click here to read the blog post about this-https://debisdesigndiary.com/a-crazy-…
click here to purchase artwork from Itkupilli- https://www.etsy.com/listing/66455212…
Click here to find DIY Paint in your area- http://diypaint.net/find-a-retailer/
Clickclick here to sell DIY paint in your store, http://diypaint.net/how-to-become-a-d…
Click here to shop online- https://diypaint.co
click here for the full tutorial on my blog with more details and answers to frequently asked questions, http://debisdesigndiary.com/how-to-pa…
Click here to subscribe- https://www.youtube.com/channel/UCIp7… .. subscribe for weekly videos and my new house tour Follow me on my social platforms for daily DIY inspiration and behind the scenes sneak peeks!
Facebook https://www.facebook.com/Debis-Design…
Instagram https://www.instagram.com/debisdesign…
Pinterest https://www.pinterest.com/debidesignd…

Hi Debi! I just love your story of the $100 bill! Thank you for another great post! So this year I had a bunch of gourds drying in my shed for I dunno the last 4-5 years. I decided this was the year I was going to do something with them. I painted and decorated my gourds for Christmas. I made angels, elves, santas, reindeer, bears, dogs, mice, Mrs Claus, luminaries. Each had fairy lights to make them extra special. The dollar store was amazing. I must have made 10 trips!! Anyways, I made 25 gourds for the girls I work with. On Monday I set them up on each of their desks, lit them up so that when they got to their desks they would have this wonderful painted/carved/lighted gourd to greet them. Made for a fun Monday morning because each one was unique and made specifically for each girl. I found your youtube channel last winter (binge watched em all) and have been so inspired by your stories and your creativity!!! Thank you!! Merry Christmas and Happy New Year.