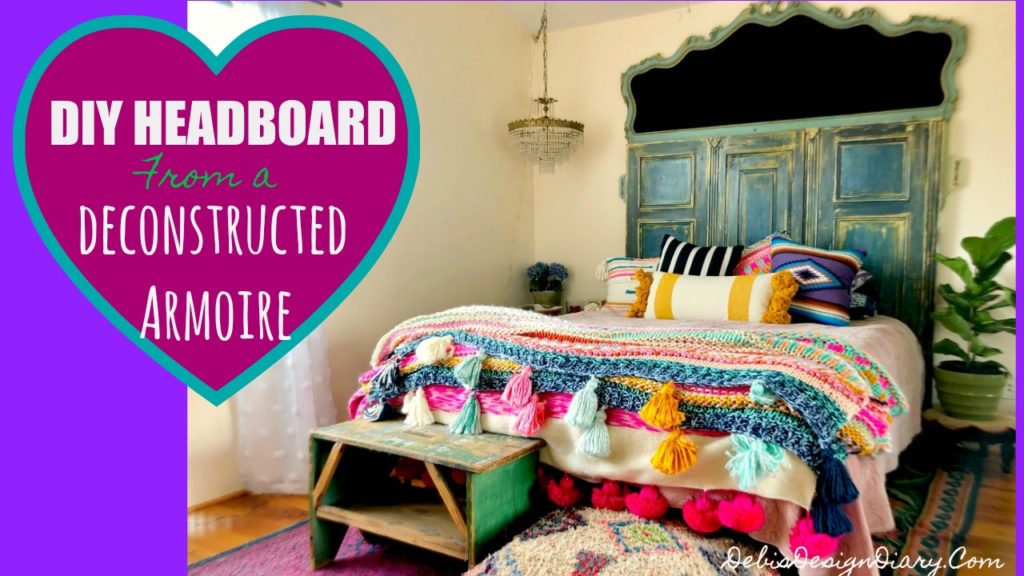
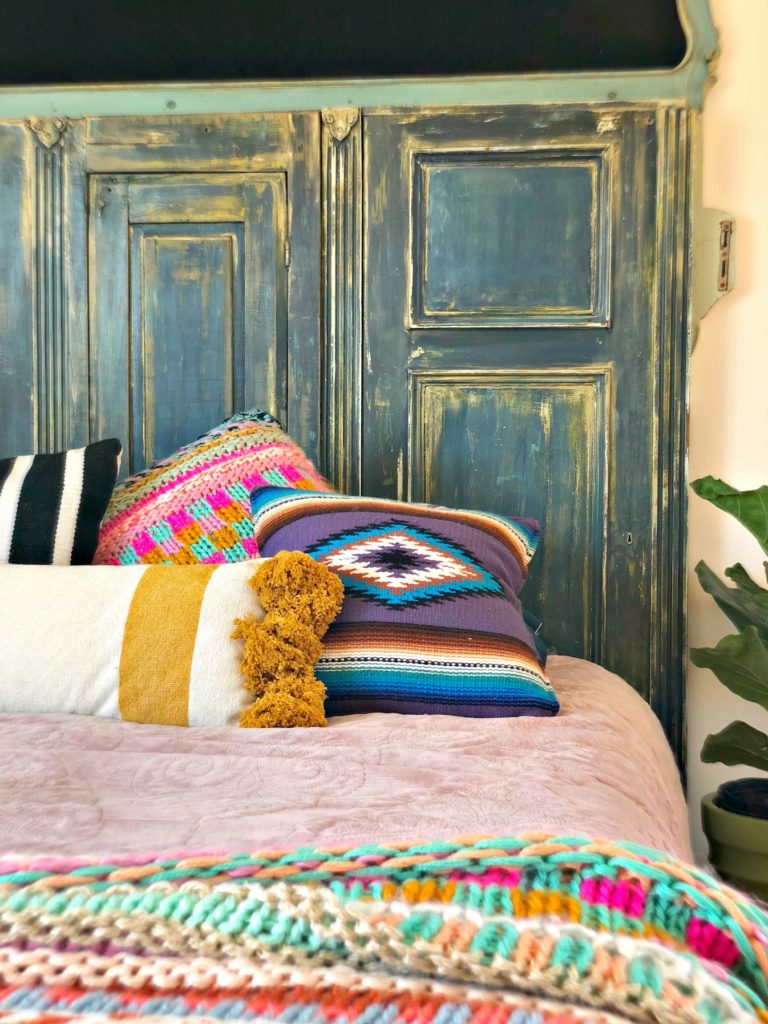
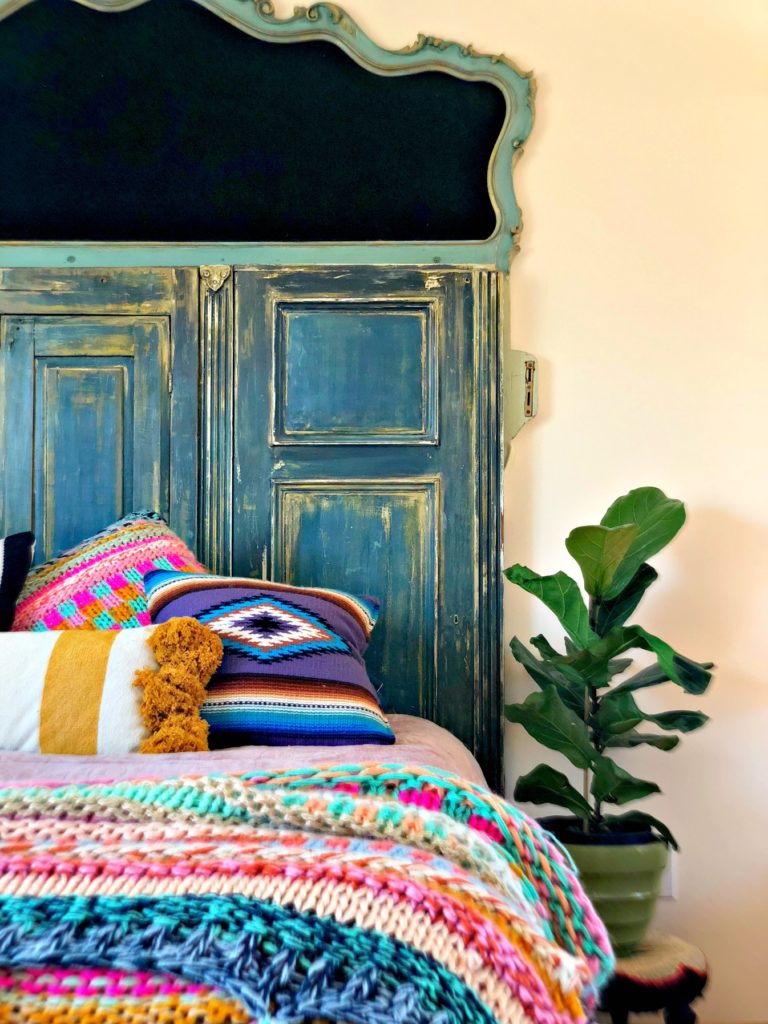
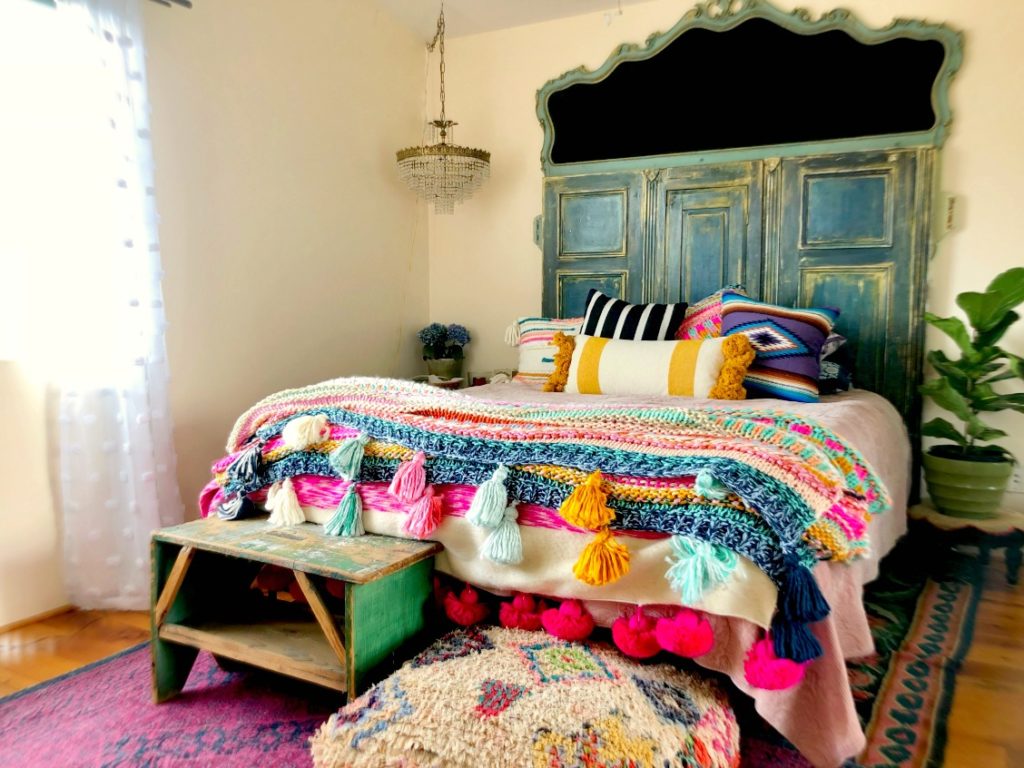
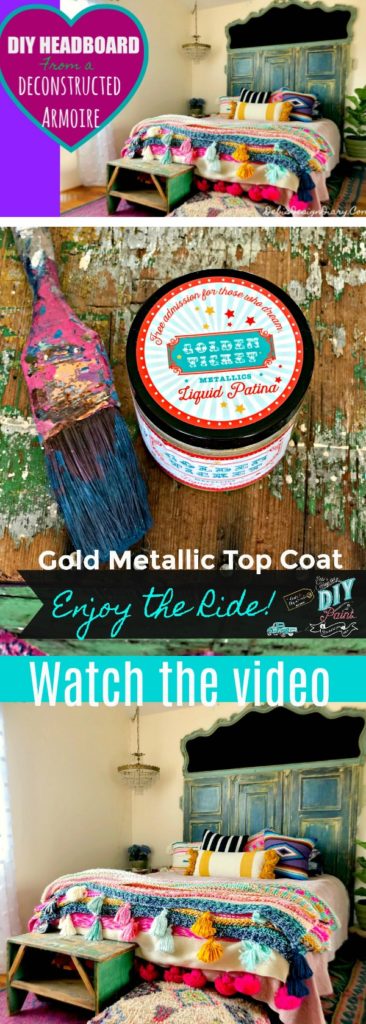
DIY Headboard made from Deconstructed Armoire and Painting Velvet Upholstery.
*This blog contains affiliate links
For this project I used the following:
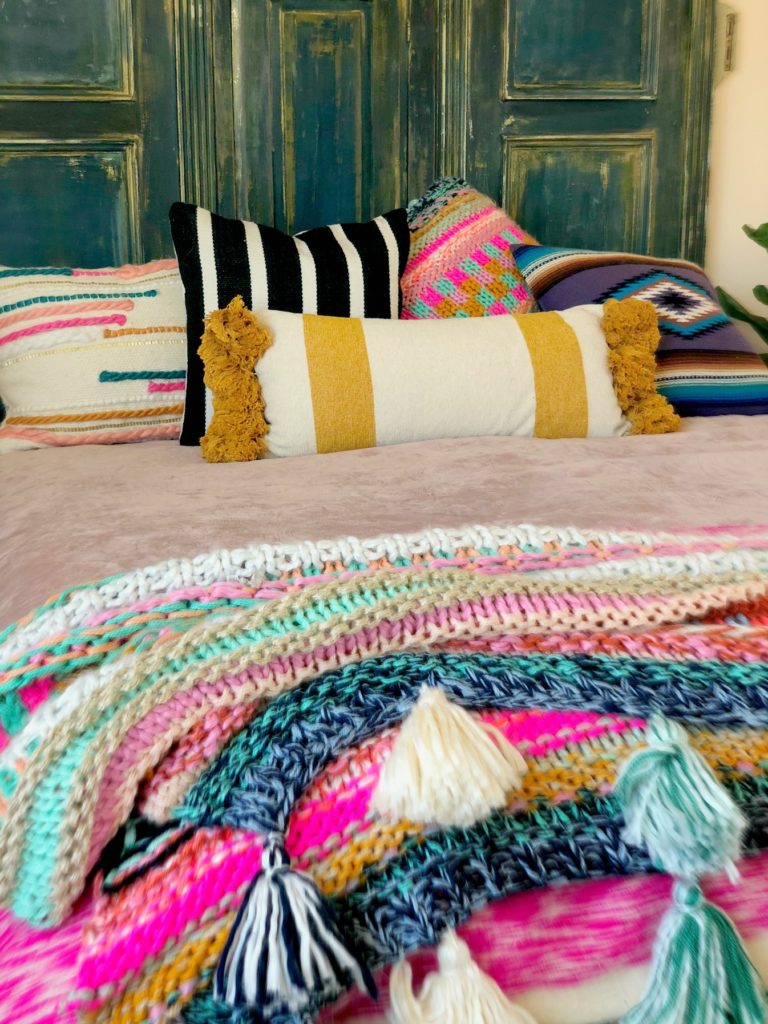
Many have asked where I got my pillows and blanket. The links are below, however the Anthropology blanket is sold out, so I tried to find something similar.
ANTHROPOLOGIE Yellow Pillow: Tasseled Nadia Pillow
ANTHROPOLOGIE THROW: Woven Darrah Throw Blanket
This headboard idea was inspired by my desire to keep an old armoire that my mom loved, by deconstructing it and making it into a headboard. The armoire had a memorable history and I had to save it and create something special in honor of my mother.
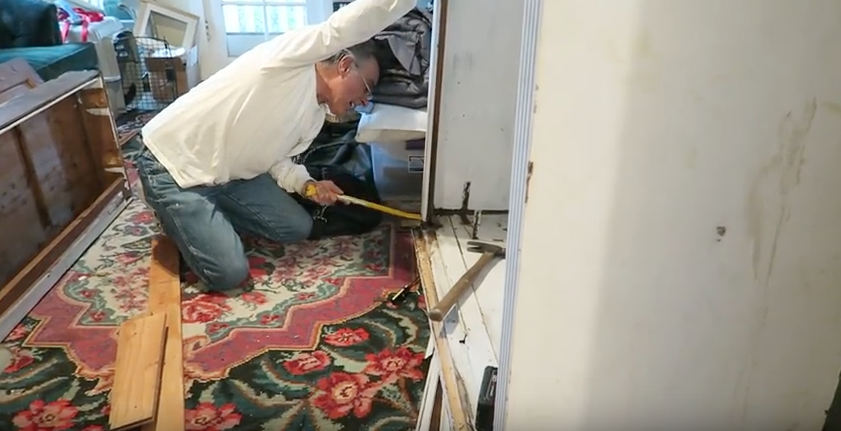
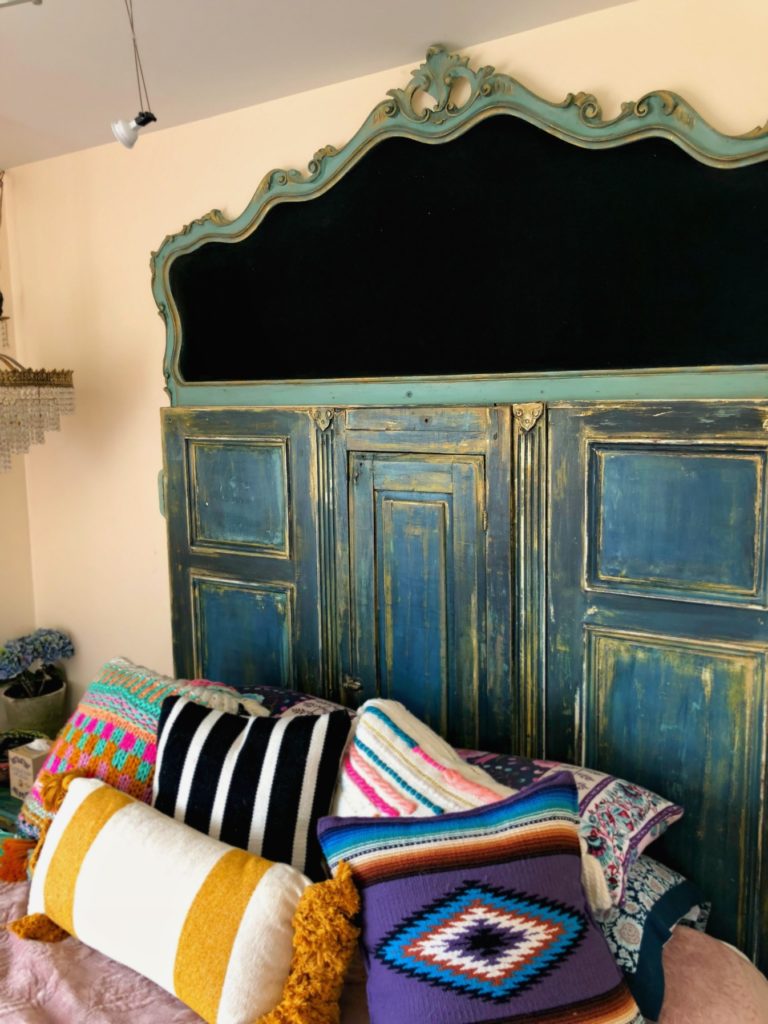
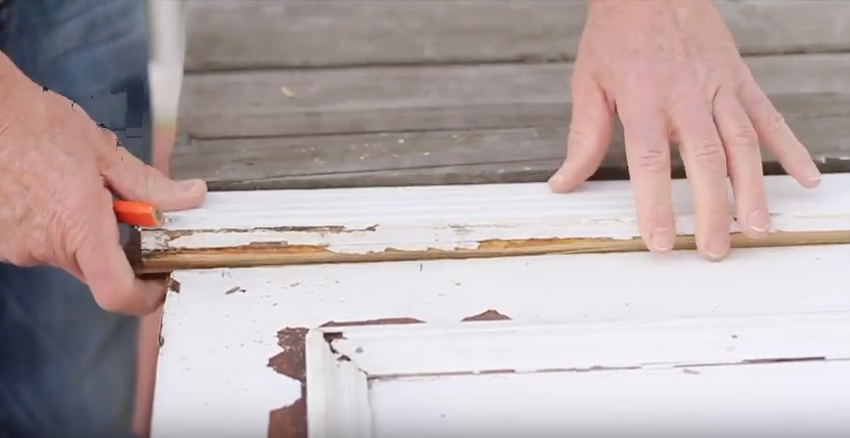
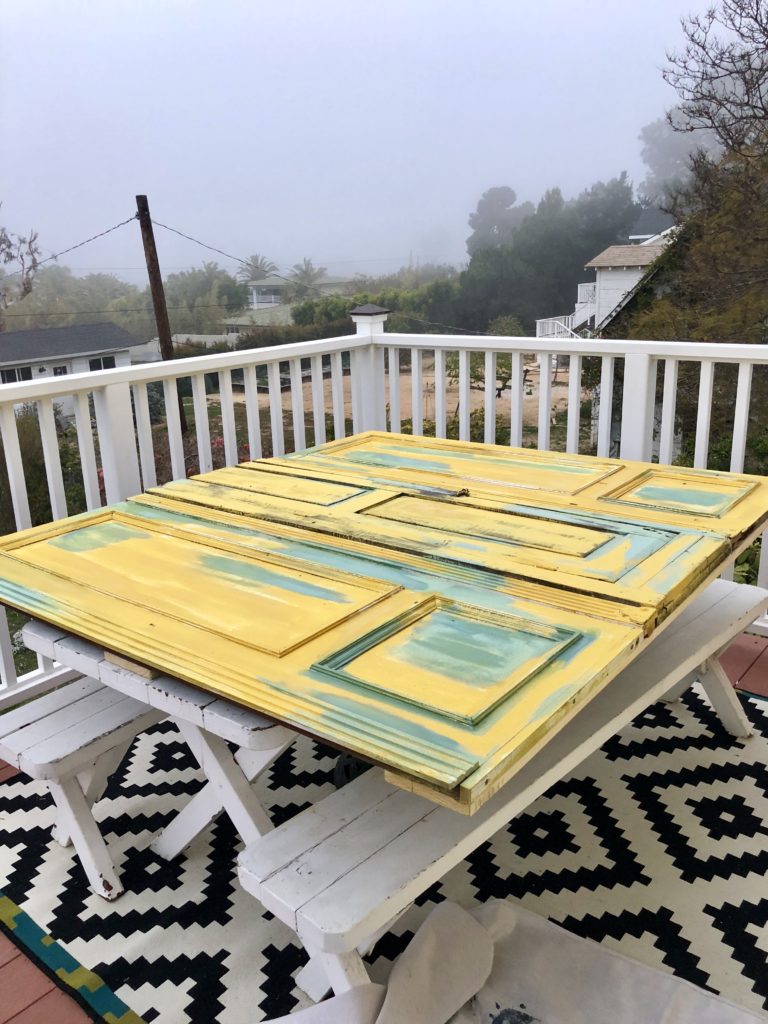
After disassembling the armoire, I kept the doors and the moulding to create the bottom portion of the headboard.
After reassembling doors together, I painted the undercoat in a patchwork pattern with Queen Bee and Farm Fresh. I used this same method in the my “Salty Kiss” video for more details watch the video HERE.
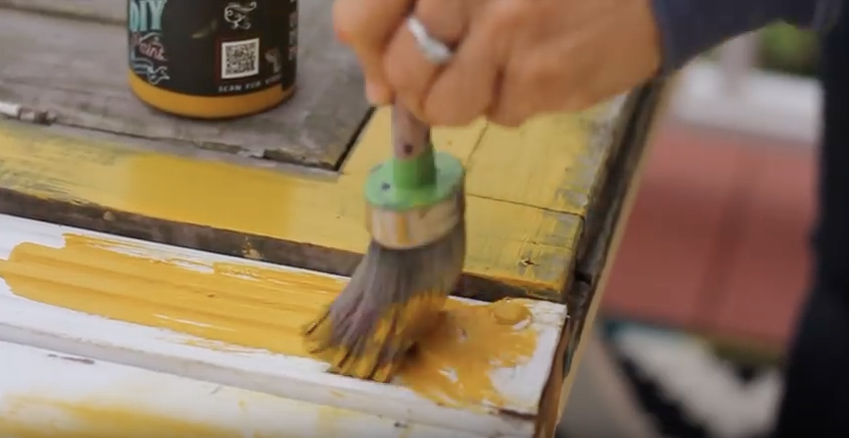
I let this undercoat layer fully dry before proceeding to the next step.
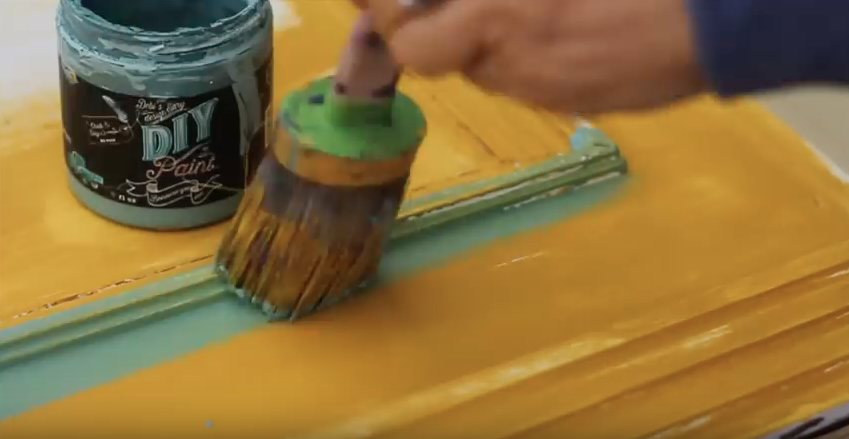
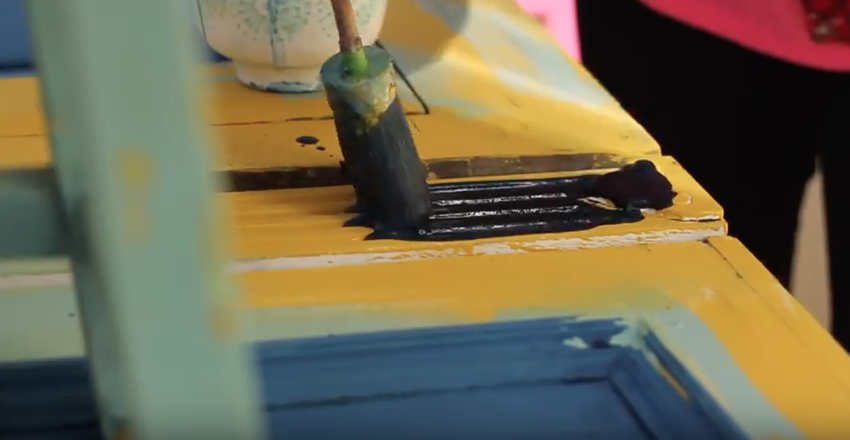
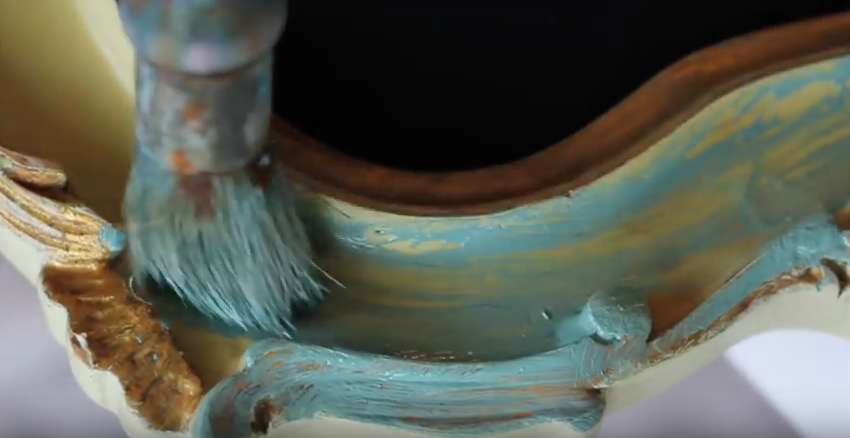
After the undercoat dried, I mixed 50% DIY Paint Hey Sailor and 50% water together, so that I could apply a very thin coat over the previous layer and easily rub back areas to reveal the color underneath.
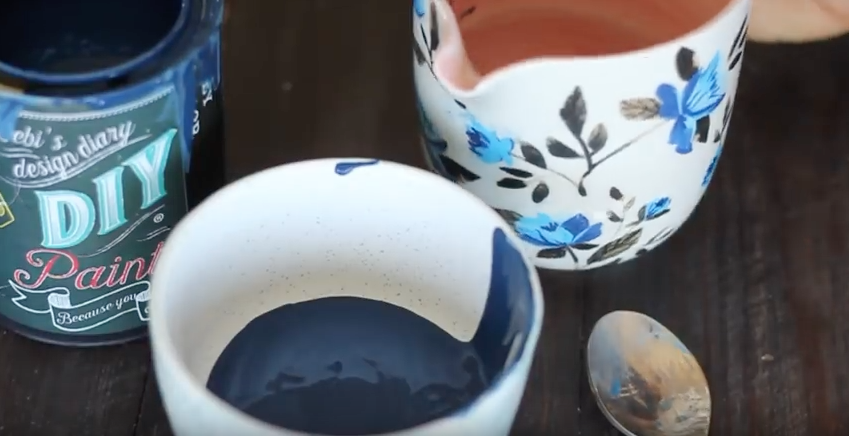
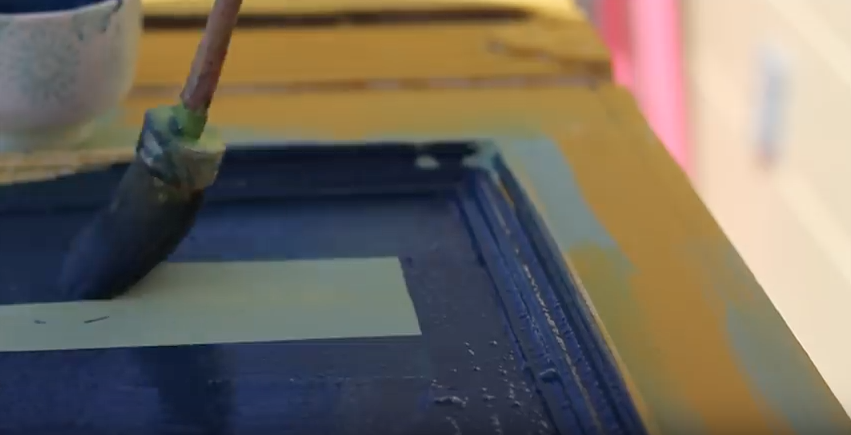
I used a combination of this watered down Hey Sailor in the center and then added Black Velvet to it for a darker variation for the outer panels.
Just like I did in the Salty Kiss video, I used a damp cloth and a spray bottle with water, to wipe back areas to reveal the colors underneath. Before I started distressing I decided to add some more color using The Turquoise Iris’ method. If you’re not familiar with this method, click HERE to watch Dionne Woods demonstrate this technique.

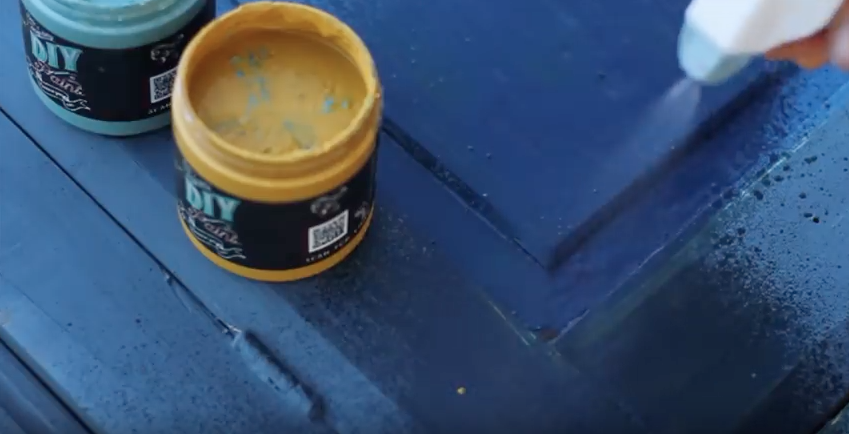
With this method you’ll use the spray bottle to reactivate the dry paint and blend the colors using a squeegee. You can also watch Dionne and I working together using this technique as well, by clicking HERE.
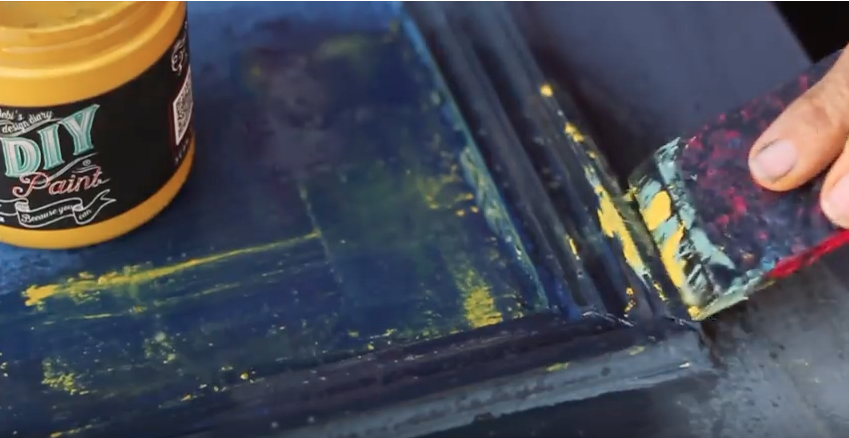
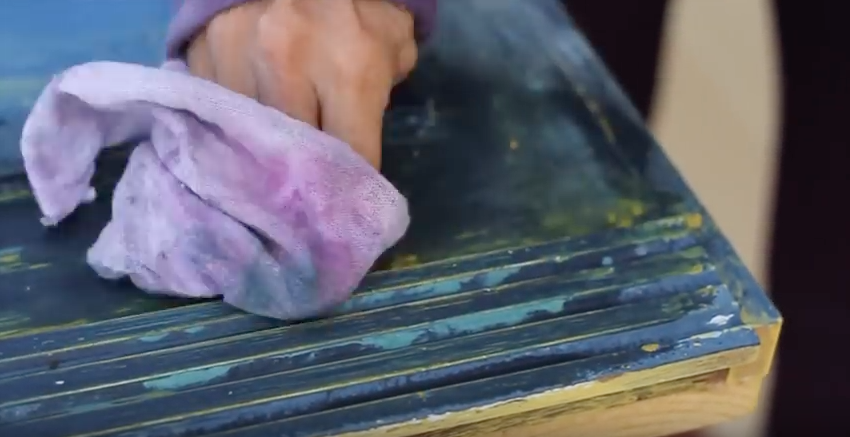
Let all the layers dry completely, then spray the surface again with water and rub back the paint with a wet rag to reveal all the colors underneath.
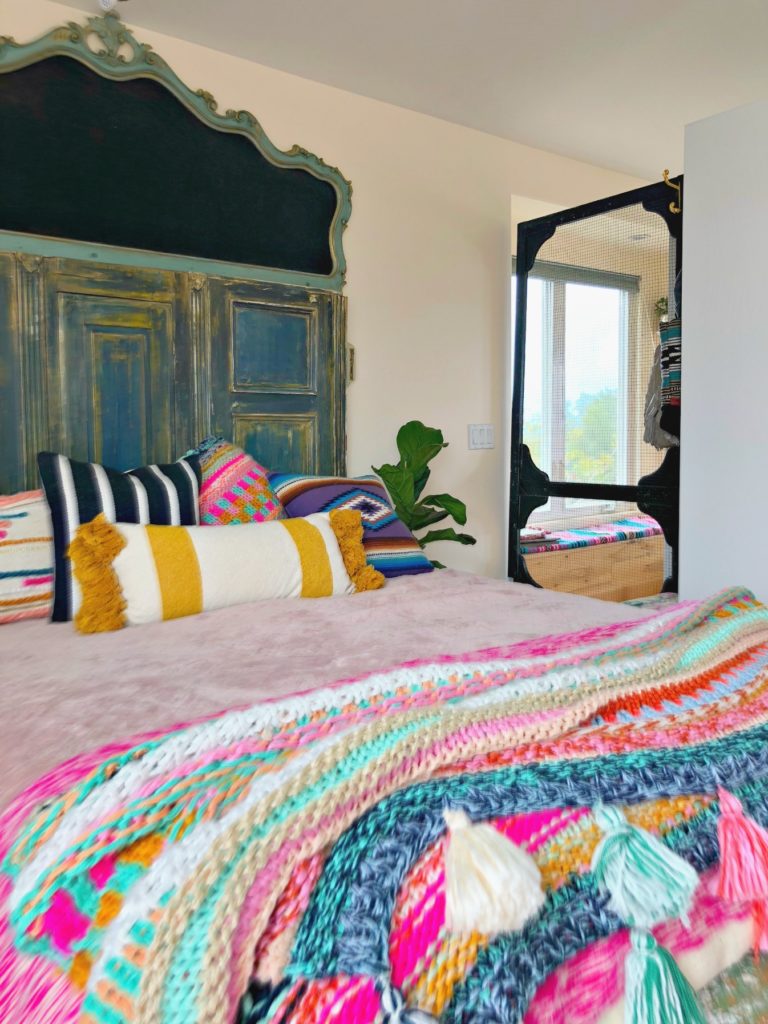
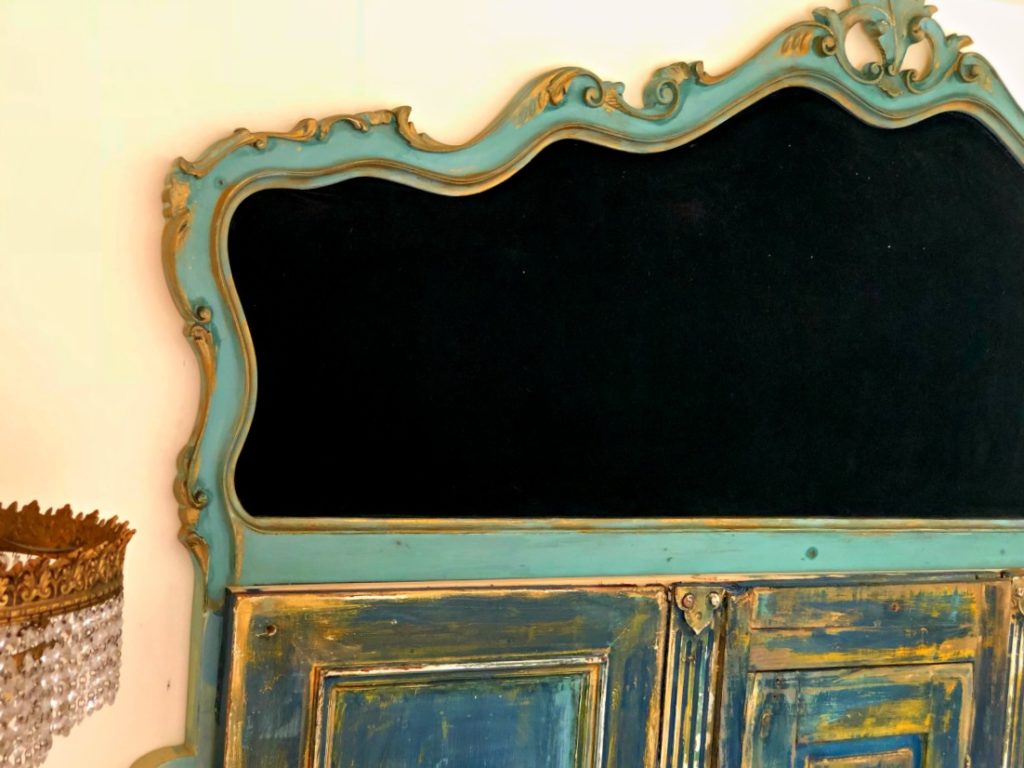
The next piece I added to the top, was a velvet headboard that I found at the swap meet. It was the perfect piece to crown the top of my headboard and I was excited about demonstrating how to paint velvet upholstery again.This is the finished velvet portion of the top of my headboard.
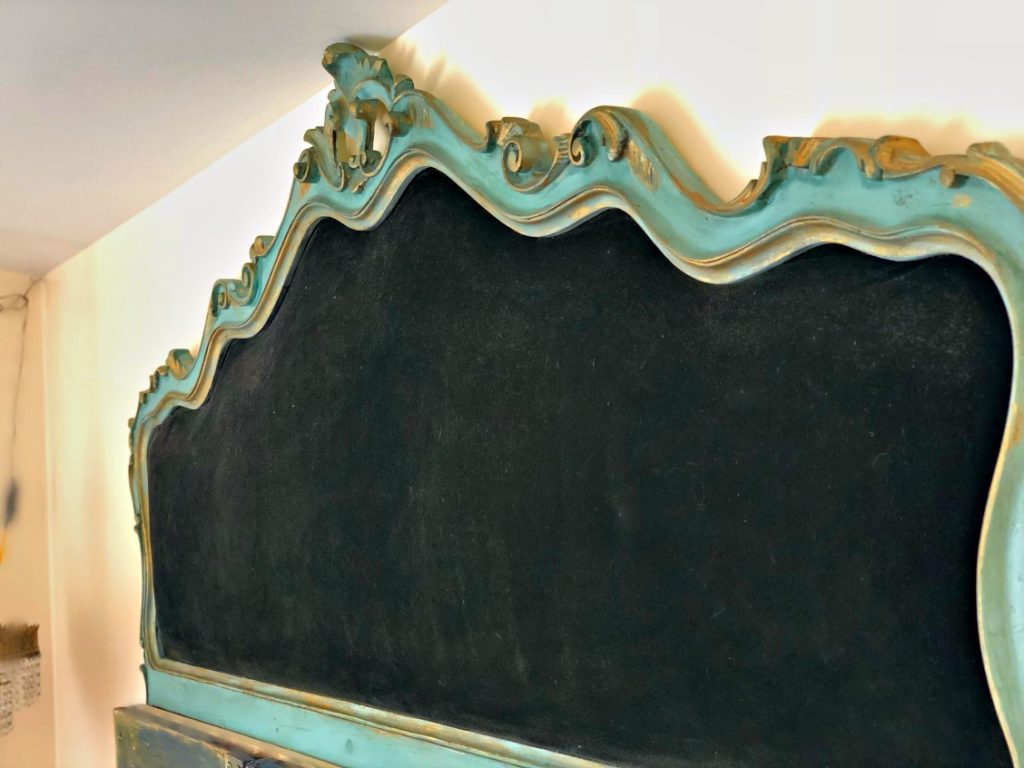
This is the velvet before I painted it.

I painted a couch a few years back to demonstrate painting velvet and it was my most popular video! You can watch the video by clicking HERE.
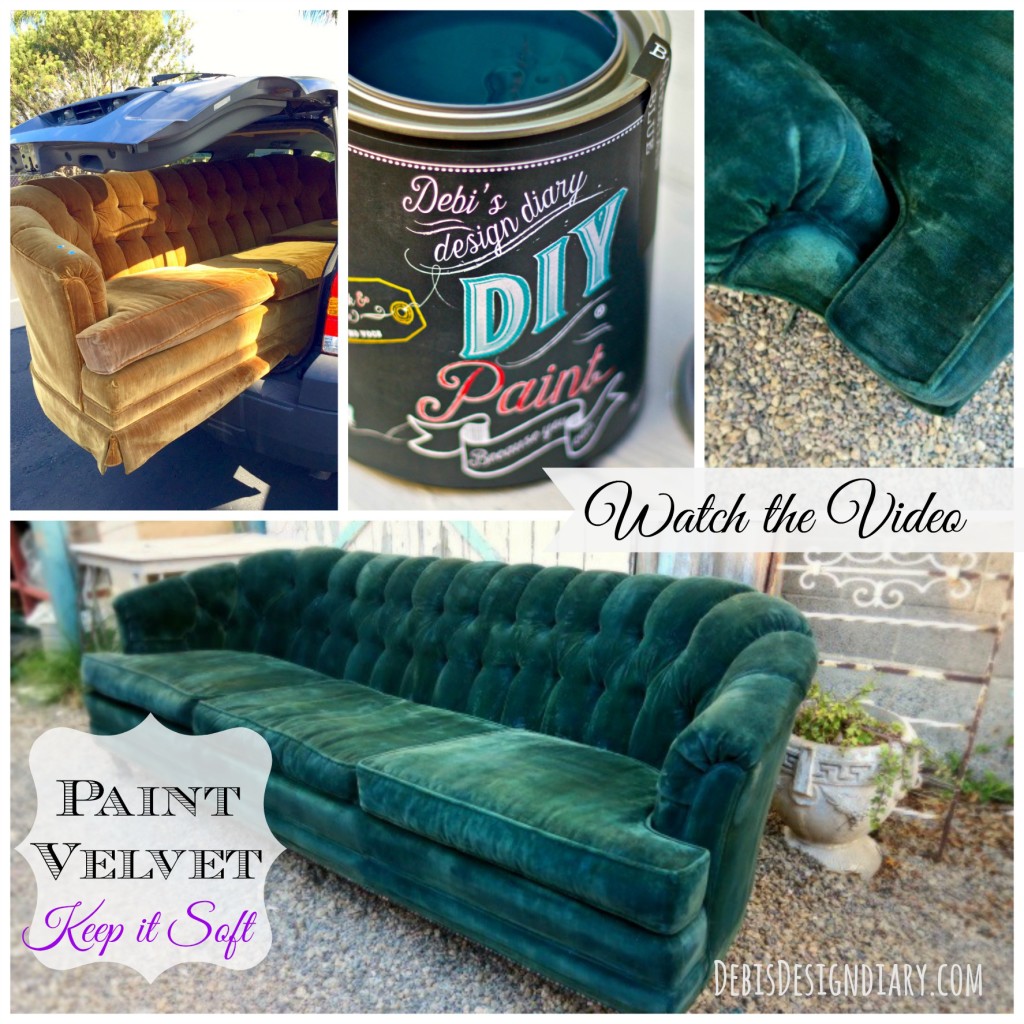
To this day, I still get asked so many questions about painting upholstery and I tried to answer all of them in previous videos, but I thought this project would be another opportunity to answer some of the most frequently asked questions.
*Remember, I am not an expert on painting upholstery, but I can show you how to successfully achieve a soft and natural finish with a bit of patience and a few tricks I’ve learned along the way.
Q: Does it dry scratch, crunchy or stiff? A: If you are patient and do it correctly, NO. The key is to work in small sections, spray the fabric wet with a water bottle and apply lots of layers, using watered-down paint.
Q: Does it stain your clothes? A: If you let it set and dry completely, it shouldn’t. You can opt to give it a top coat, but this must also be done in the same manner the paint was applied.
I have a more detailed blog post answering these and many more questions about painting upholstery HERE.
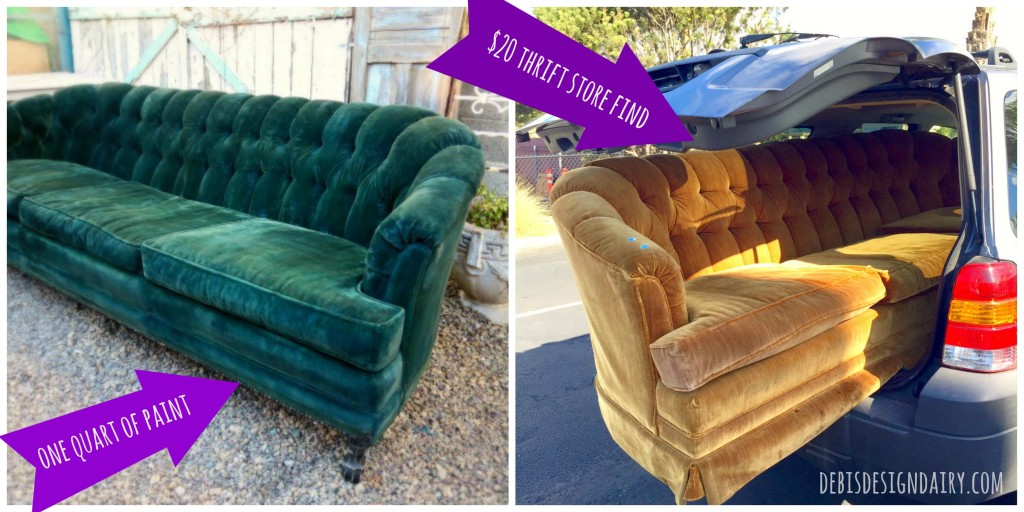
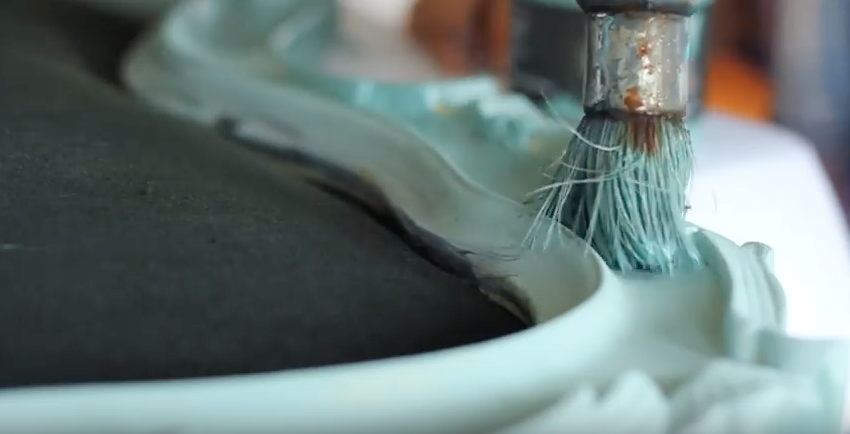
For the velvet top piece of my headboard, I used the same method as I did on the sofa, but for this piece, I applied 5 layers of watered-down DIY Hey Sailor Paint over the Velvet. *Keep in mind that the original color may affect how many coats you need to use. It is usually easier to cover using darker colors, rather than going lighter.
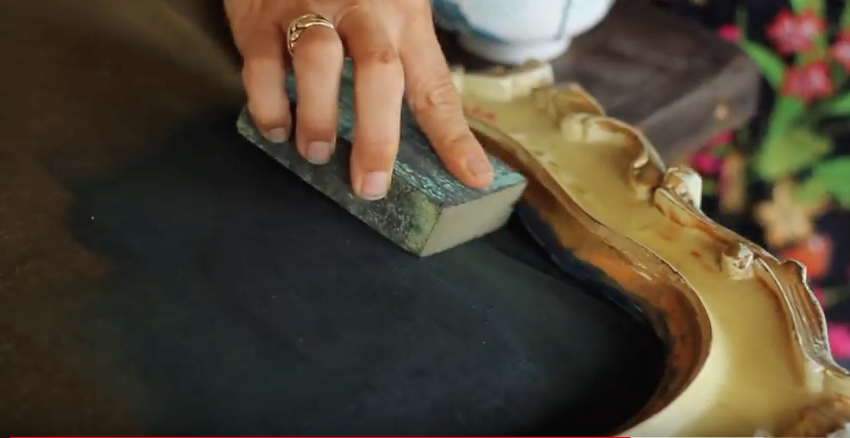
Start by spraying the velvet fabric with a water bottle to get the velvet very wet.
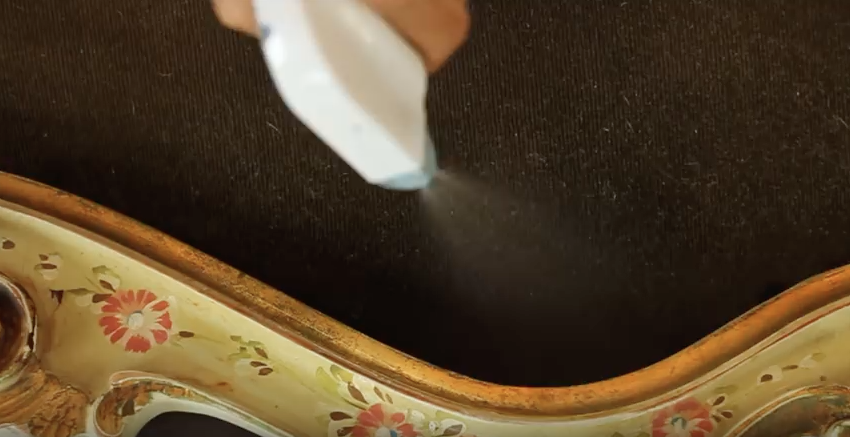
Work in small sections, applying watered-down paint over the wet fabric or velvet.

Then, using a wet sanding sponge, rub in the paint to deeply penetrate and soak in to the fabric or velvet. Repeat this process as many times as needed until you achieve the color you want, Then let dry completely.
For the outer plastic frame, I applied Farm Fresh.
DIY Paint can be used over plastic, glass or laminate, however the initial coat will dry patchy. Allow to dry and the second coat will go on more easily and smooth.
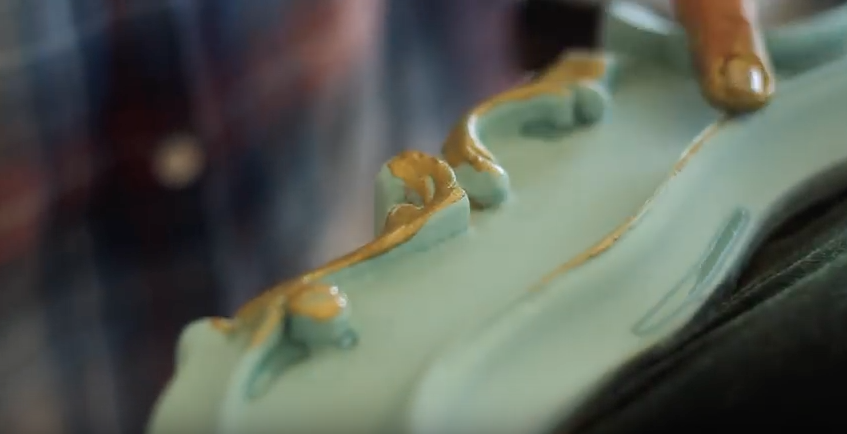
I used DIY Golden Ticket, witch is our metallic gold paint, to highlight the detailed areas of the frame, using my finger. A little bit goes a long way and is a perfect way to highlight decorative areas.
After drying, I used a dry sanding sponge to distressed the paint until I achieved a blended look.

With a brush, apply clear wax over everything and work it in. Don’t freak out over how it looks while wet. It can appear dark, dull and patchy. Just walk away until it dries.
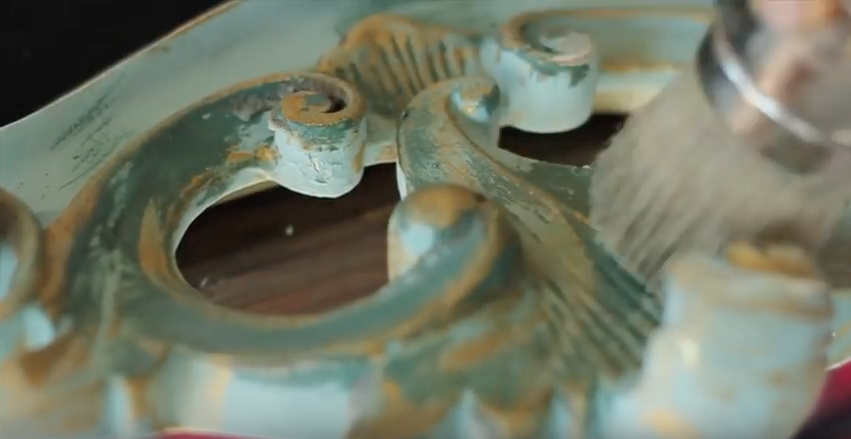
Come back with dry rag and start buffing out the wax. This is the process in which it begins to look beautiful! Buff it out completely to bring out all the colors and the WOW!
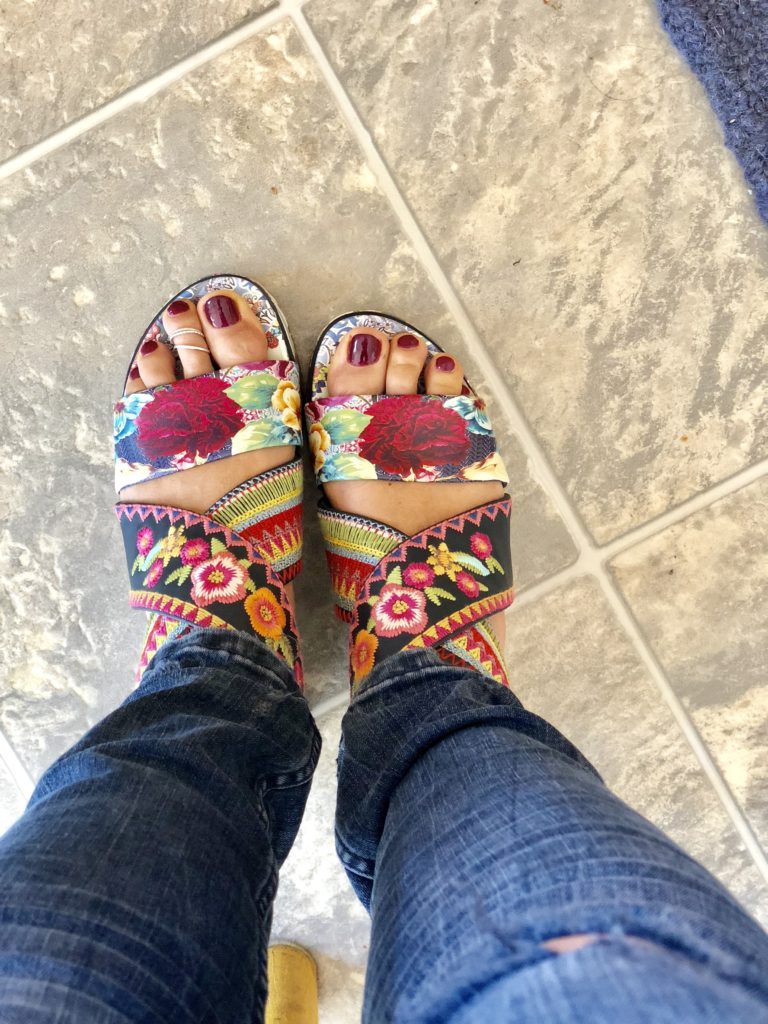
Here’s a link of the Johnny Was shoes that I wore in this video…for those of you who are asking…click HERE.
Have you ever found anything on the side of the road that you brought home and made beautiful? If so, comment below or post, using the hashtag #debilookatmytrashtotreasure on instagram for me to see and share.
Thanks for stopping by,
Debi