
*This post contains affiliate links.
Here is a list of supplies used to create the Island, with links to purchase.
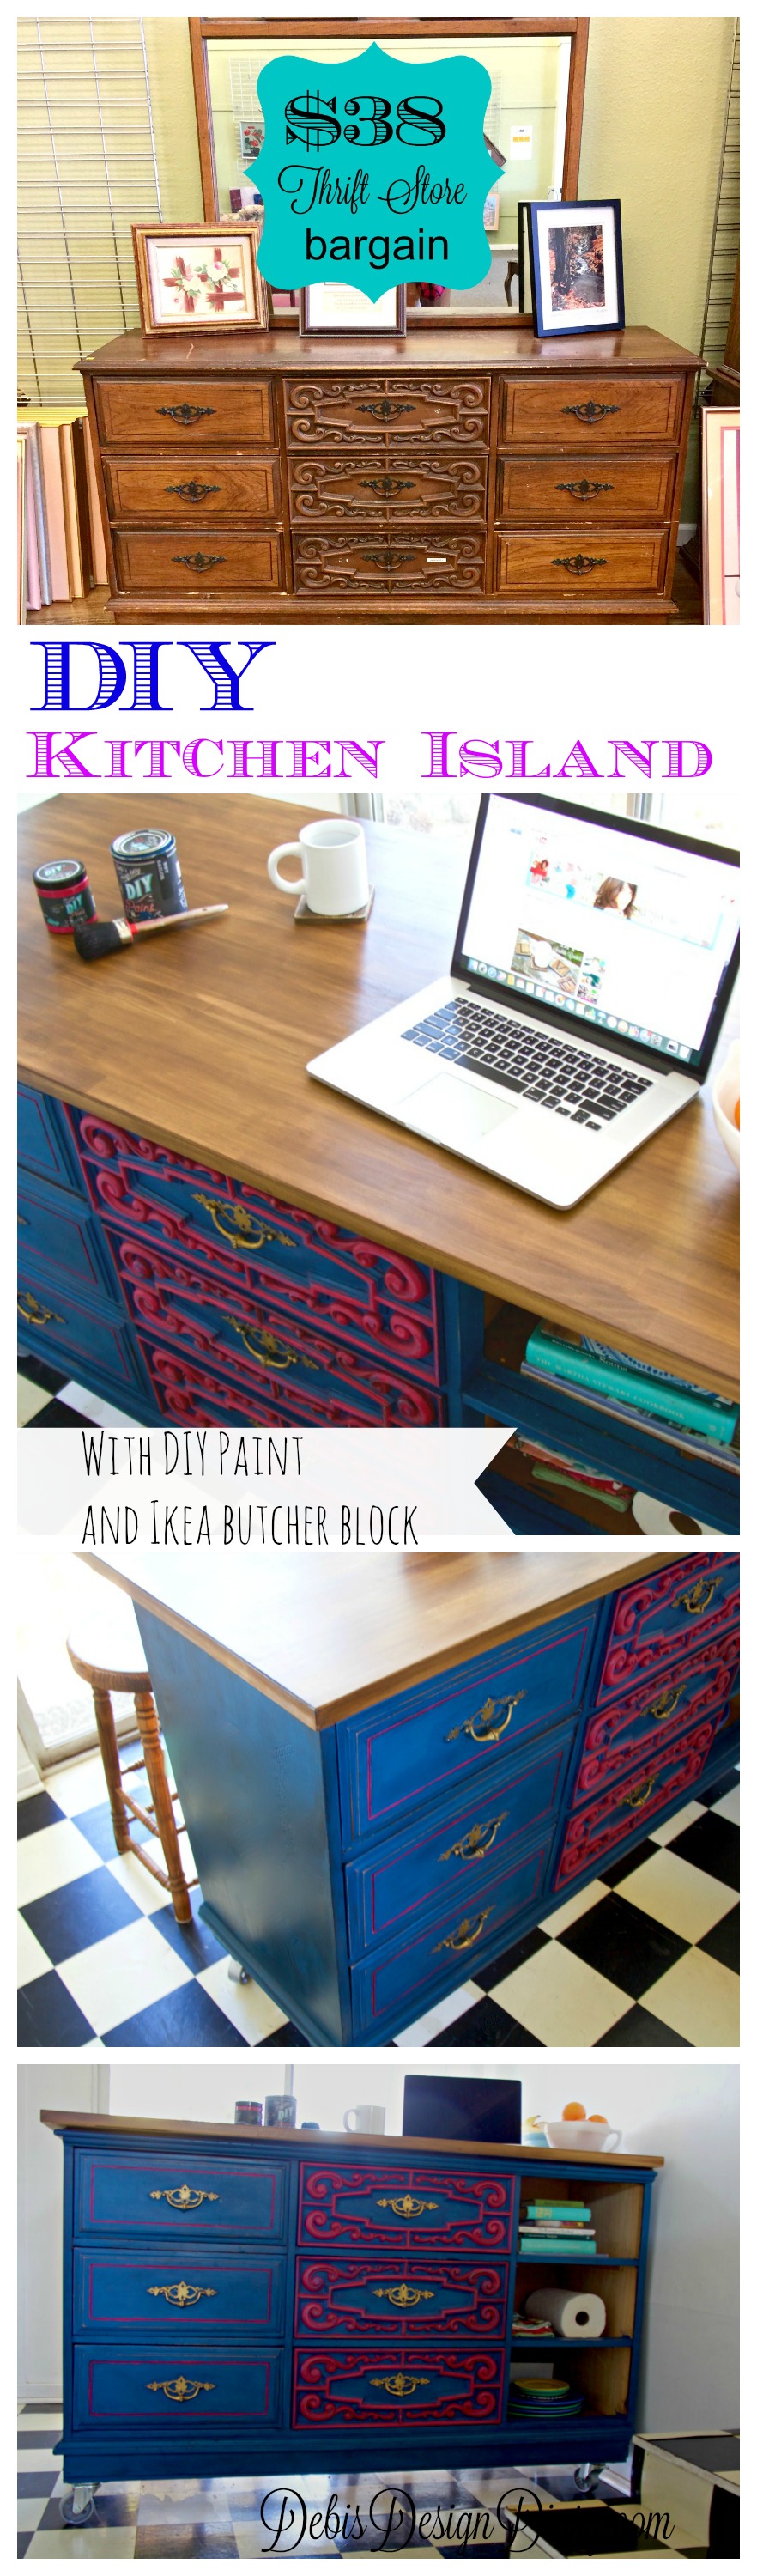
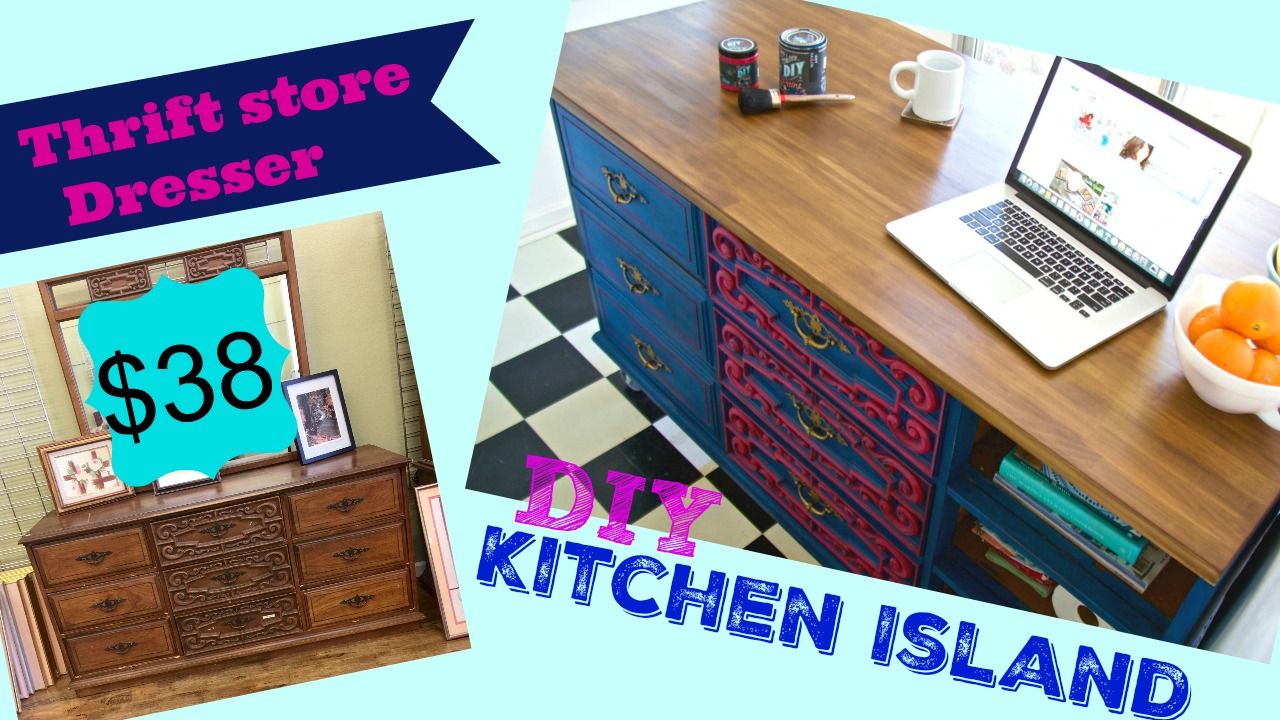
The total cost $175, not bad considering even an island this size at Ikea costs $499.
Thrift store dresser $38.00 ( I found this at The Rock Thrift Store in San Diego)
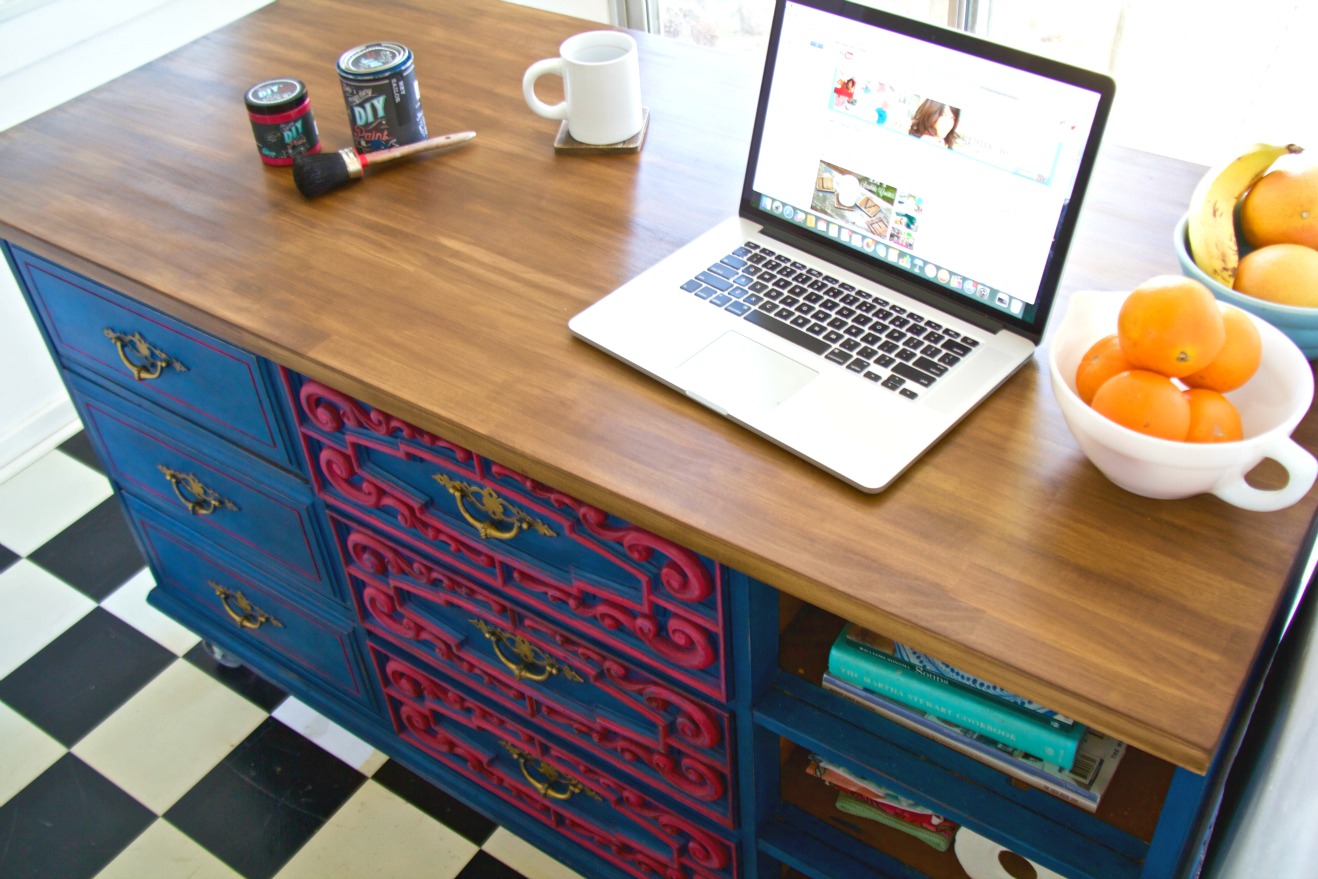
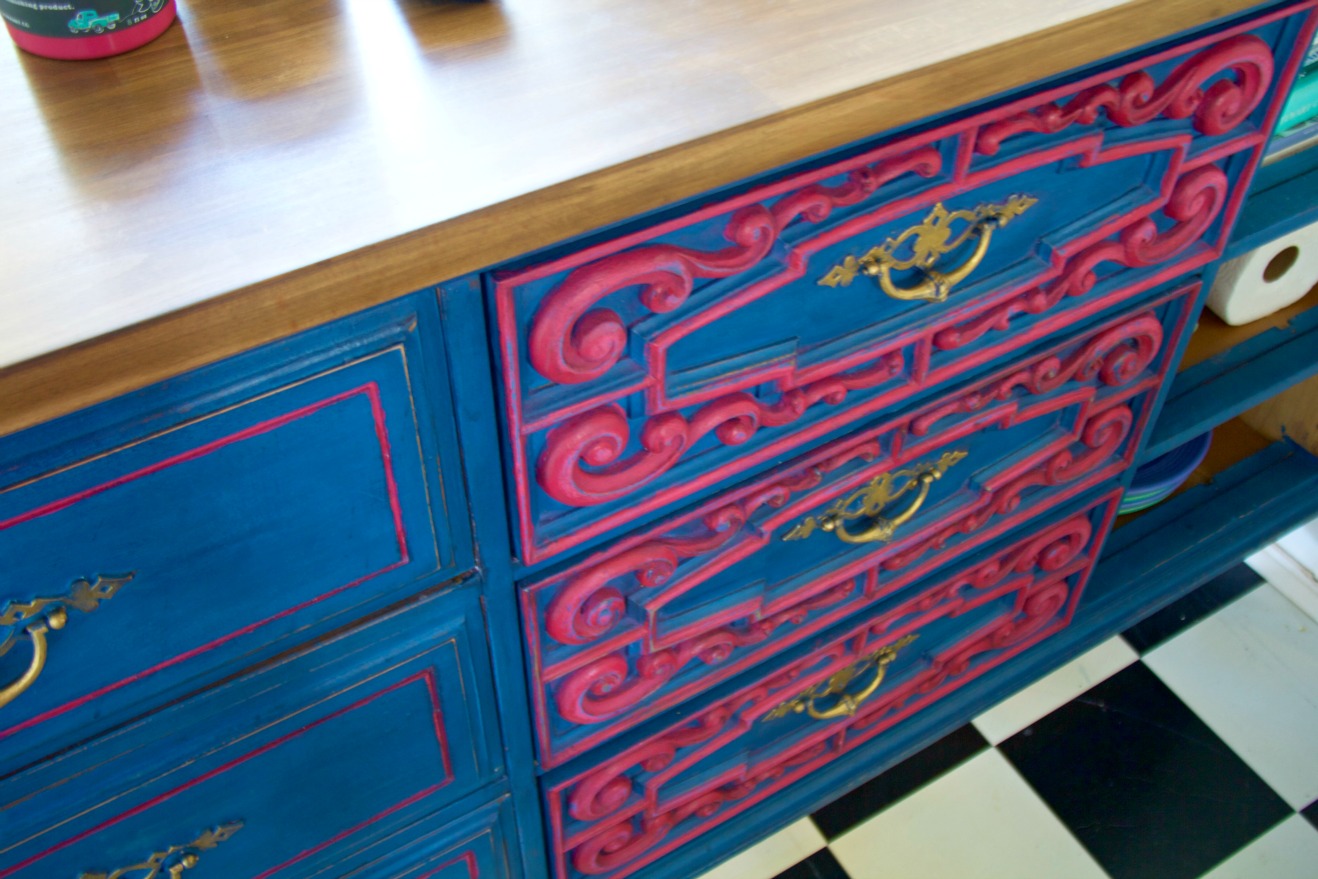
8oz of DIY Paint in Hey Sailor– $13
2oz of DIY Paint in Kissing Booth
DIY clear wax 4 oz sample
Dark and Decrepit Liquid patina- I used about 4 oz
29.5 x 61 inch solid butcher block slab from Ikea– $89 this was by far the best price I could find for solid wood.

If my Dad had his way, my parents house would be all black leather sofas, Ikea furniture and what ever was on sale. In contrast, my Mom loves vintage decor and has let me decorate all of their houses ( they have lived in 14) which has been the subject of many “discussions” between my parents.
When I asked my Dad to help me build the island, he suggested I buy a table and put crates under it for storage… I explained that I’m the host of a web show on Youtube and my viewers subscribe to see repurposed decor. He agreed to help in exchange for a carne asada burrito and my help washing his adorable white labrador retriever while he worked. I love that dog, I love every lab, they are the best dogs on the planet, but now I’m off track.
Meet my Dad… this is him giving me “The Look”, but to really get a sense of his personality, you’ll need to see him in action.

In this weeks video…
Here are some tips not mentioned in the video,
-Look for a dresser that is about 18-20 inches deep so you have room for the top to over hang if you want to add bar stools.

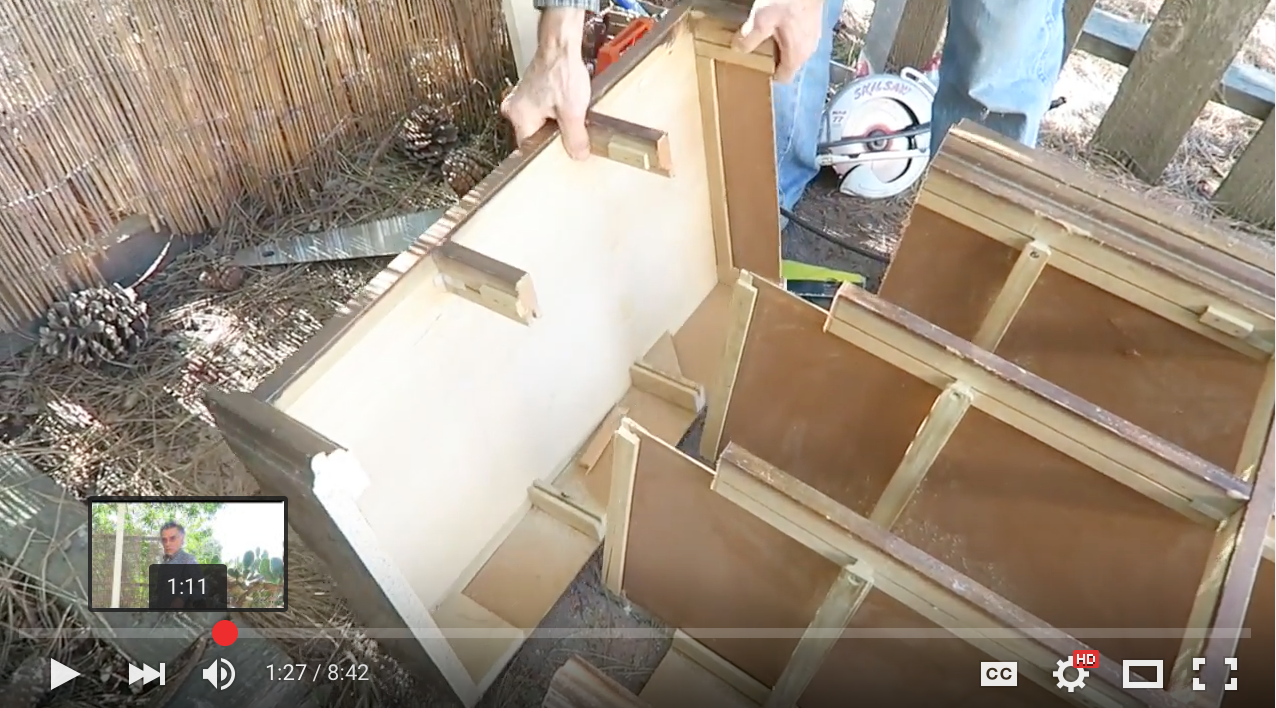
-We cut the dresser down for two reasons, I have a small (150 square foot) kitchen and I wanted to use the butcher block without cutting it and it measured 29x 61
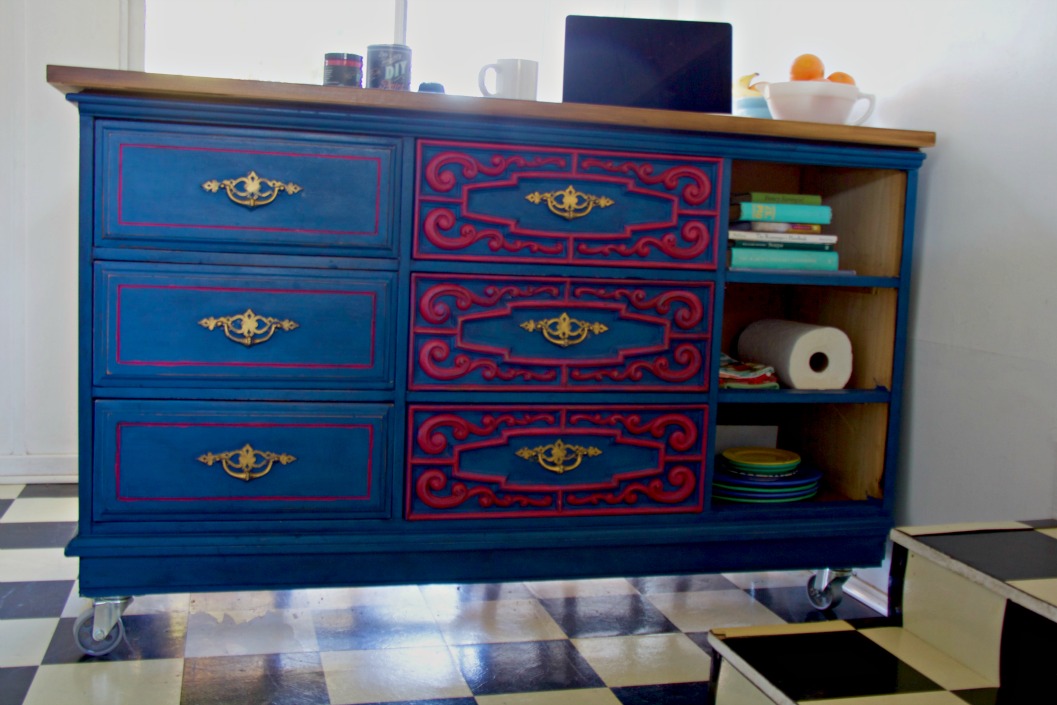
The height of the dresser is also important to consider, a good bar height is 36-39 inches. If you want to add castors allow for them as well as the top, the one I used is an inch thick.
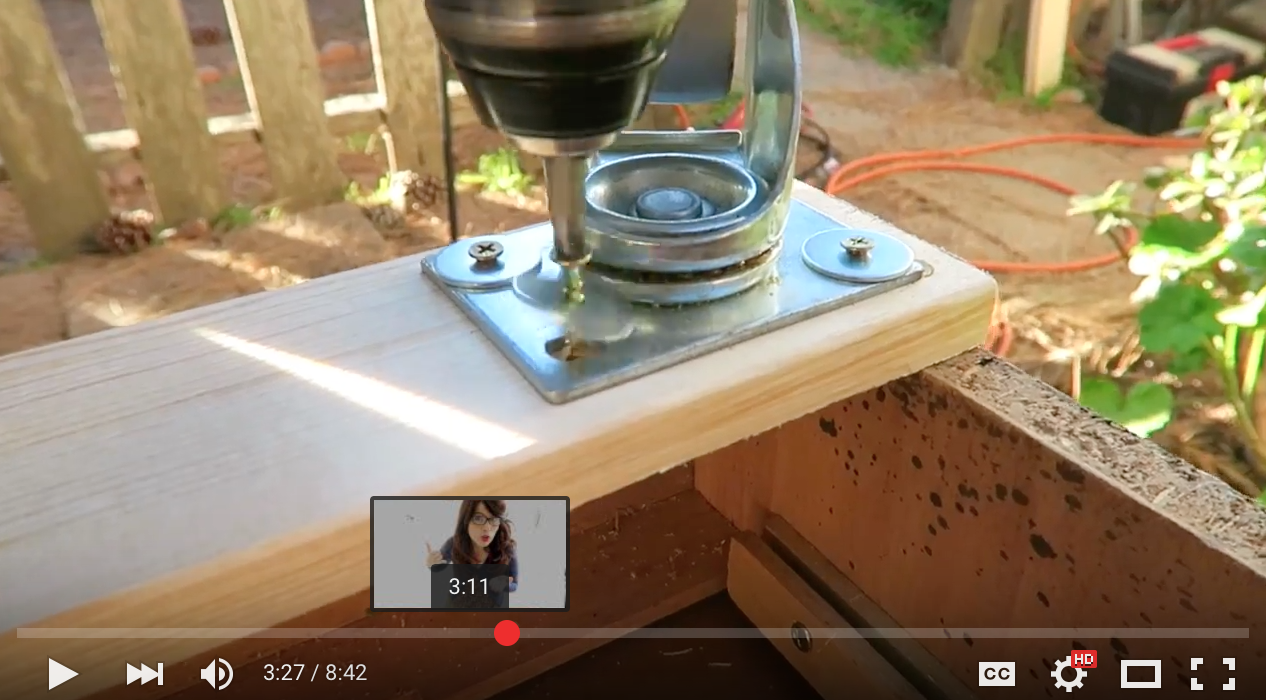
We also added support boards to attach the castors, this added another 3/4 inch.
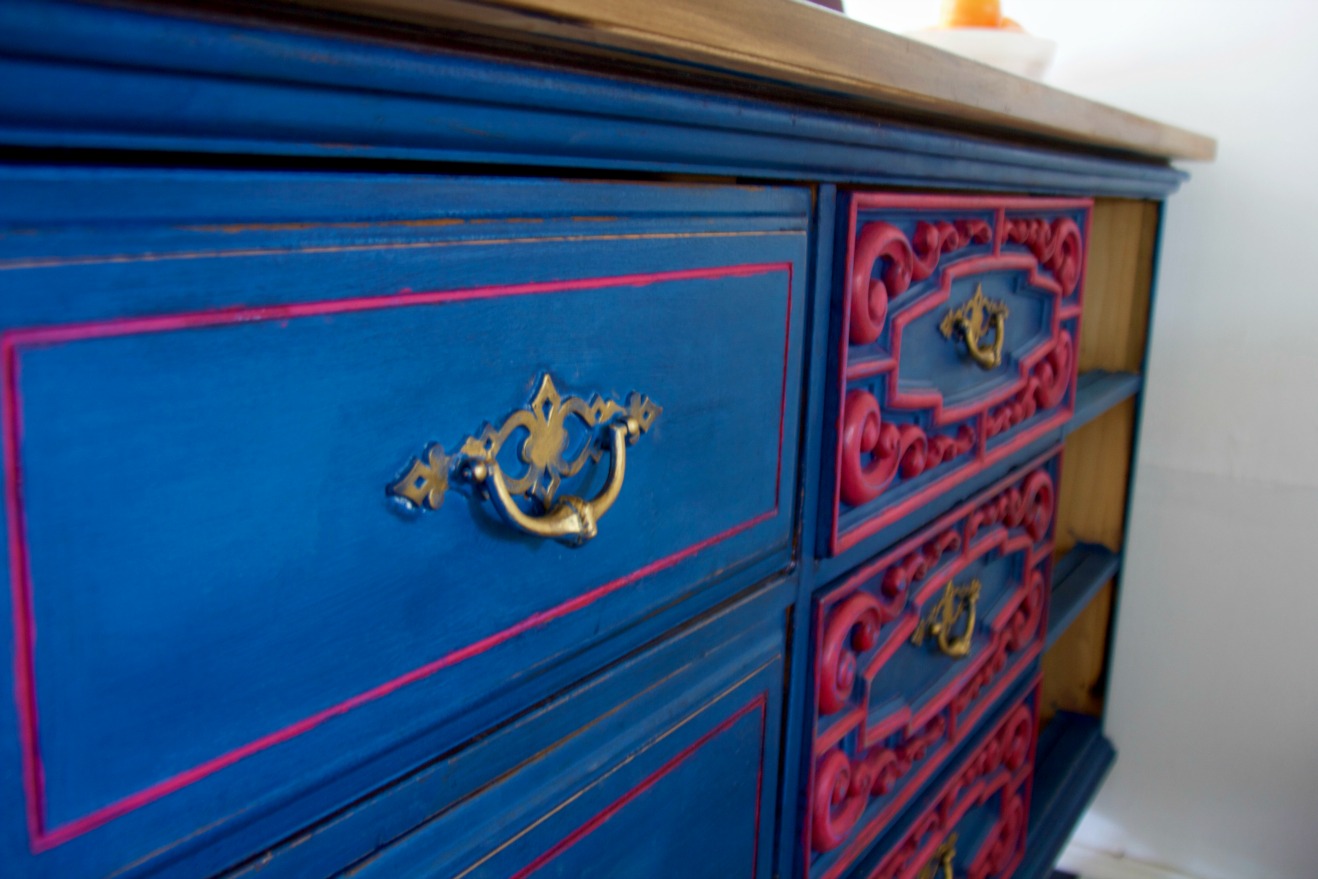

And I was wrong about the gold hardware… my Mom watched it and said, ” in the video the handles are blue but in the photos they are gold?” and then the comments came in asking about the gold drawer pulls and how I got them that way…
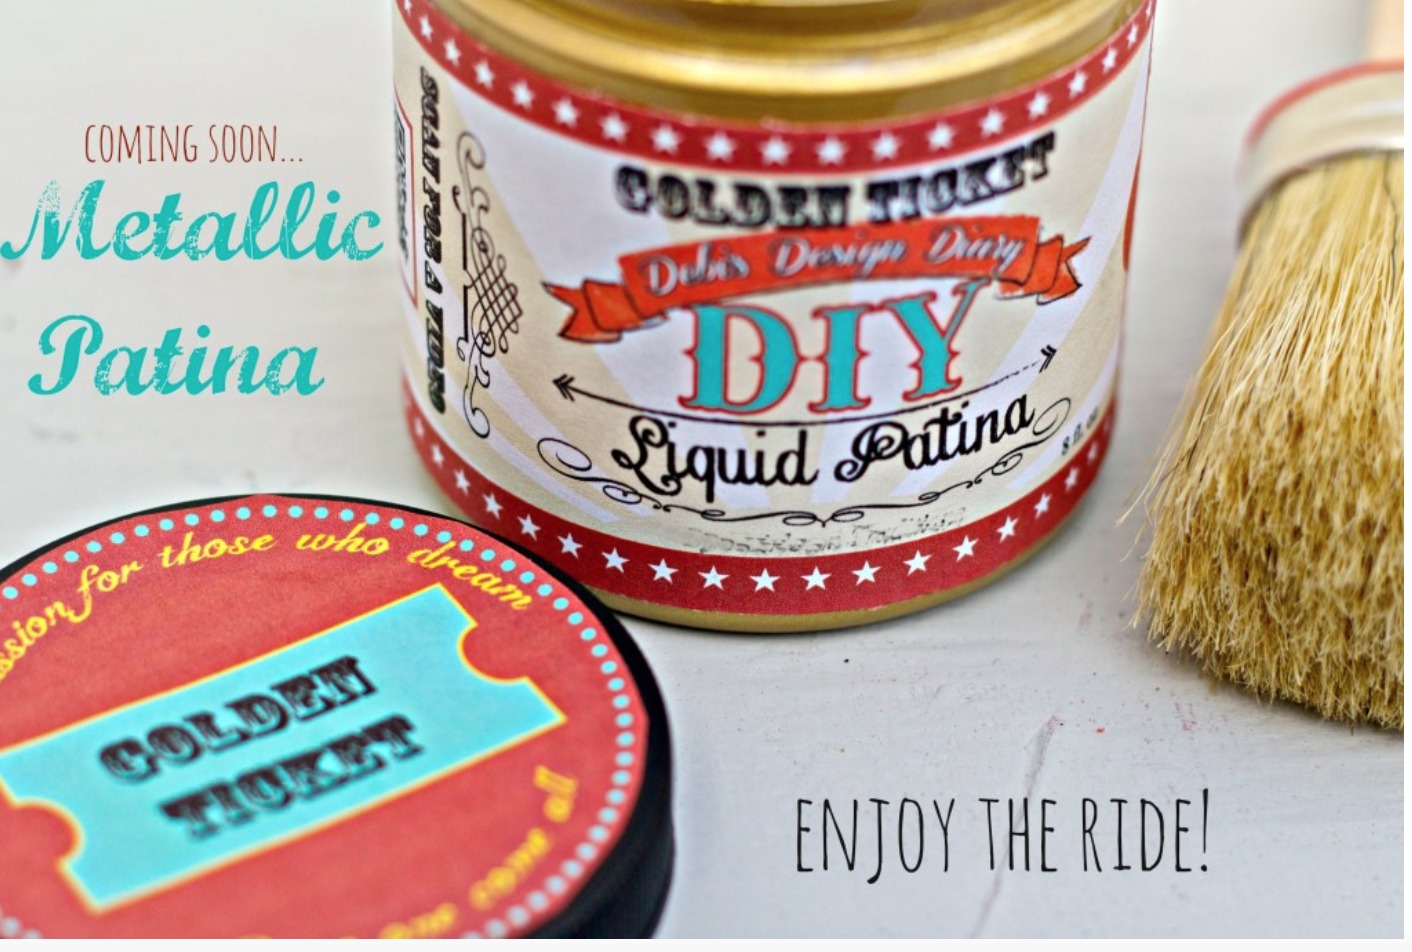
Gold Metallic Patina will be sold online soon and from a retailer near you, to see our map of DIY Paint retailers, click here.
I still need to paint the bar stools and cover the thin cheap looking particle board that once was the back of the dresser, so I’ll show how I made the hardware gold in an upcoming video.
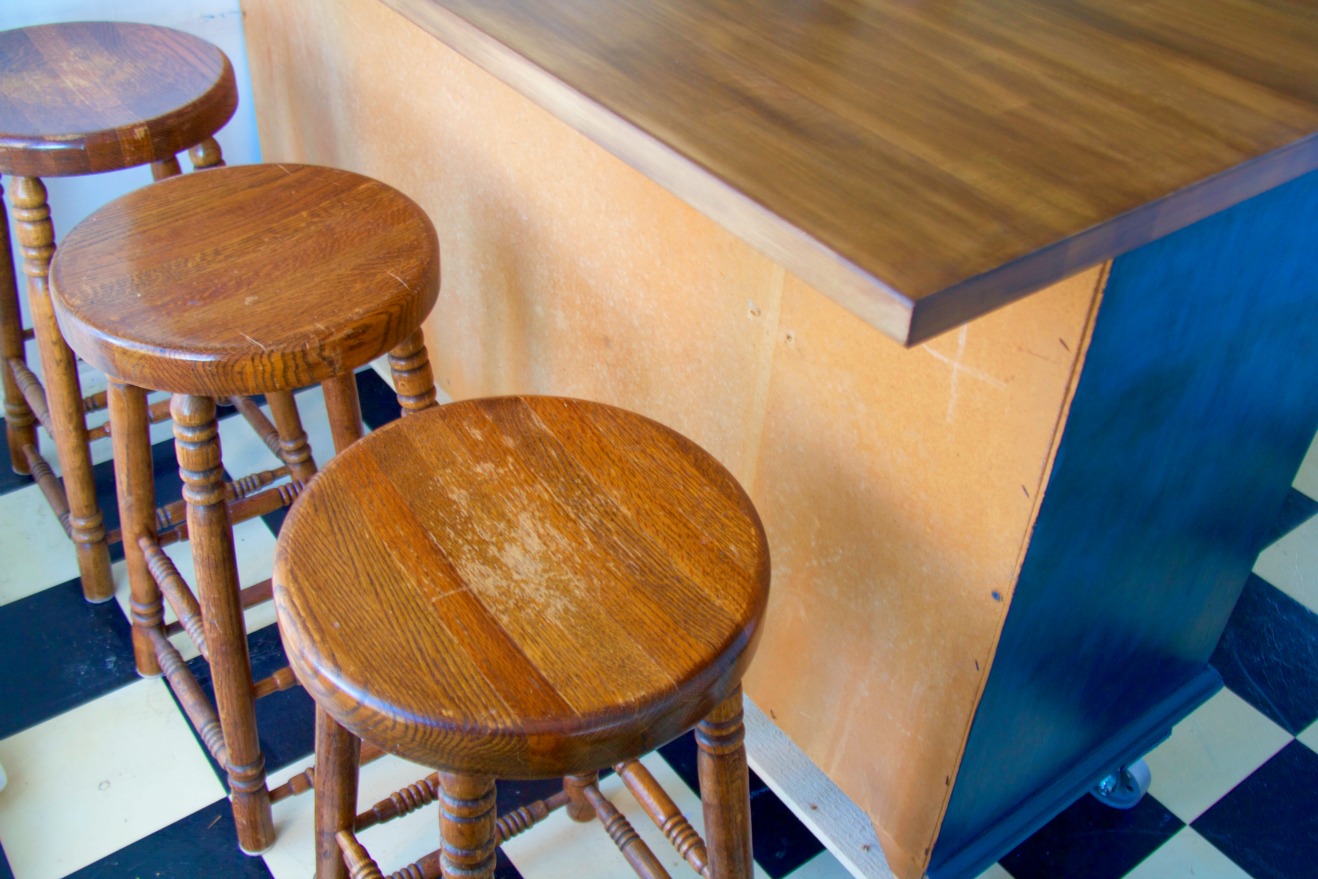
What should I do to the bar stools? I have a Pinterest board with lots of ideas here, I really like the ombre stools and the boho crochet tops! Let me know what you think in the comments, also how to disguise the ugly particle board. What about decoupage or pallet wood? Here is my kitchen island idea board too.
This completes episode two of my house makeover series. I’m really excited to share how to decorate an entire house on a tight budget right down to the silver ware! I’m currently using one single spoon that my sister gave me and some plastic forks, why because I don’t want to cheat, I promised to furnish my house with this ONLY items that are found second hand and thats what I’m going to do. I have not yet seen silverware that I like at the thrift store so for now the one spoon is totally fine with me 🙂 the upside, dishes never pile up in my sink!
To see my move in day, empty house tour and find out why I don’t have furniture, click here.
I want to end this post with a HUGE thank you to my new Patreon supporters! I am so grateful for your help!
I will be starting the Patreon Facebook group this week and can’t wait to chat with you and get your input!
I started a Patreon page, I’m using the support to help get videos posted faster and to get some help shooting so I can do some field trip videos, to yard sales and flea markets. You can check out my Patreon profile here. Please know that I feel so blessed that my videos are being watched and enjoyed! if you can’t be a part of Patreon that is totally ok, but if you can you have my sincere appreciation!
Until the next episode, thanks for watching and have a creative week!
Debi
- if you would like to find out more about selling DIY paint in your store Click here, we have a wonderful retailers program!