Product materials list:
This weeks video brought out some tears and a few unmentionable words…
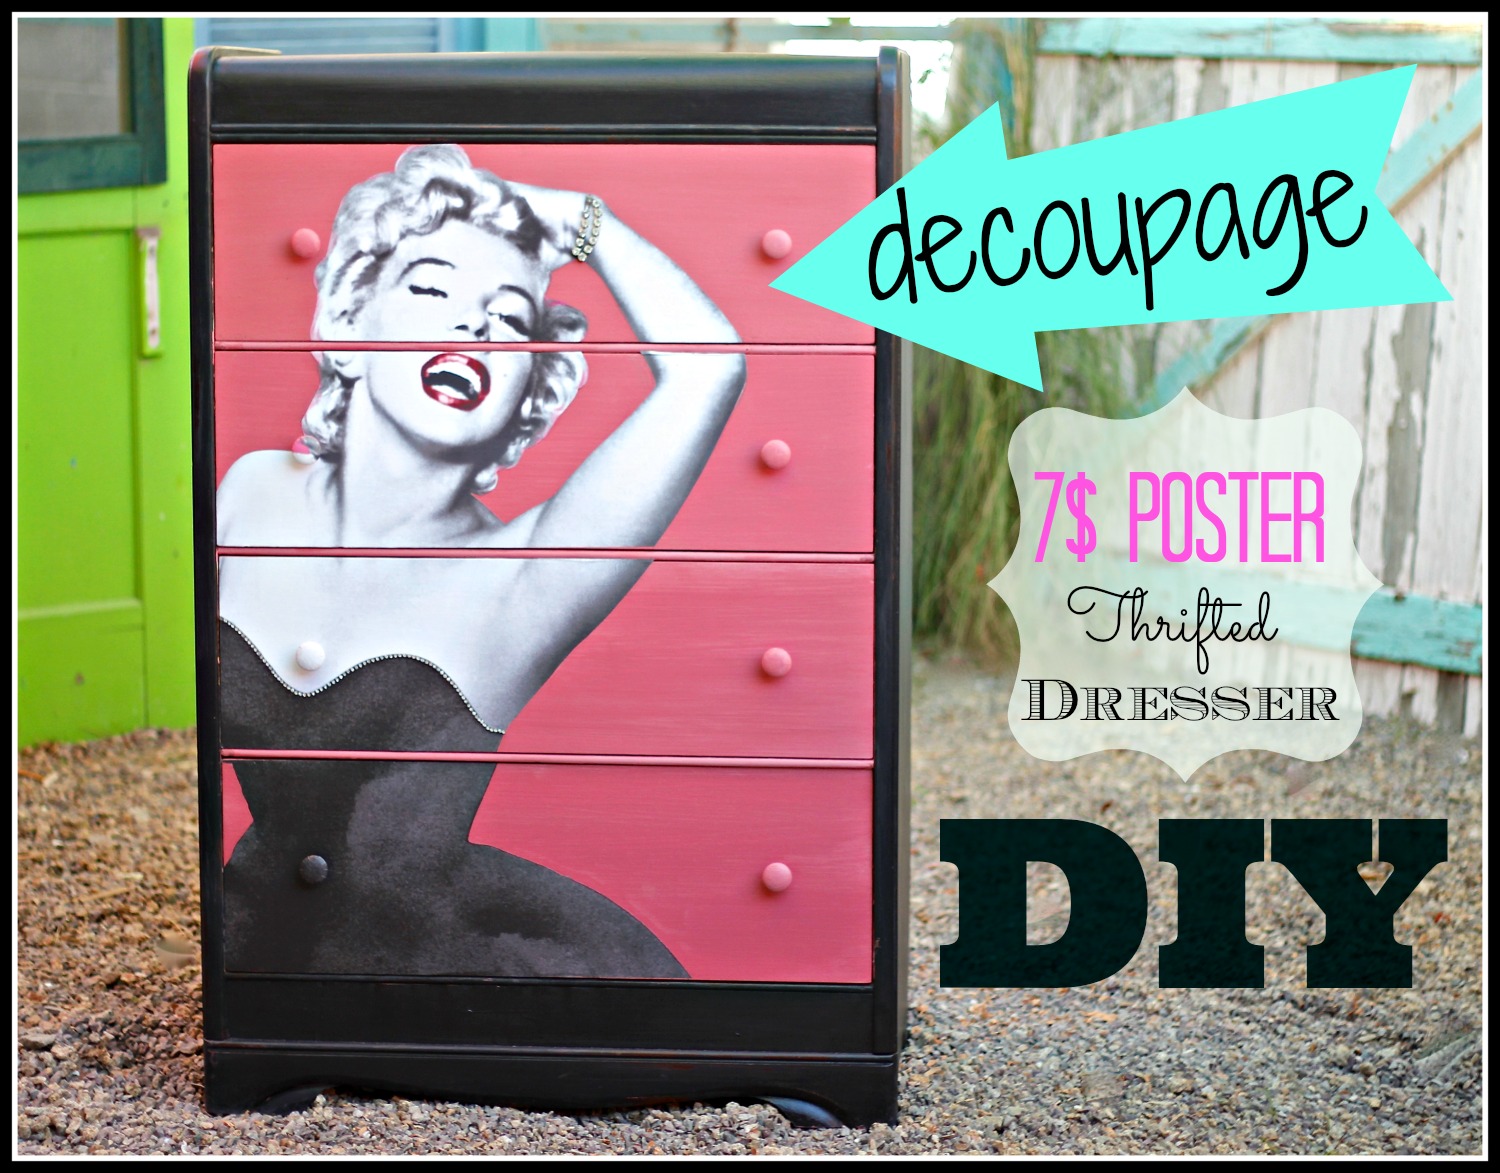
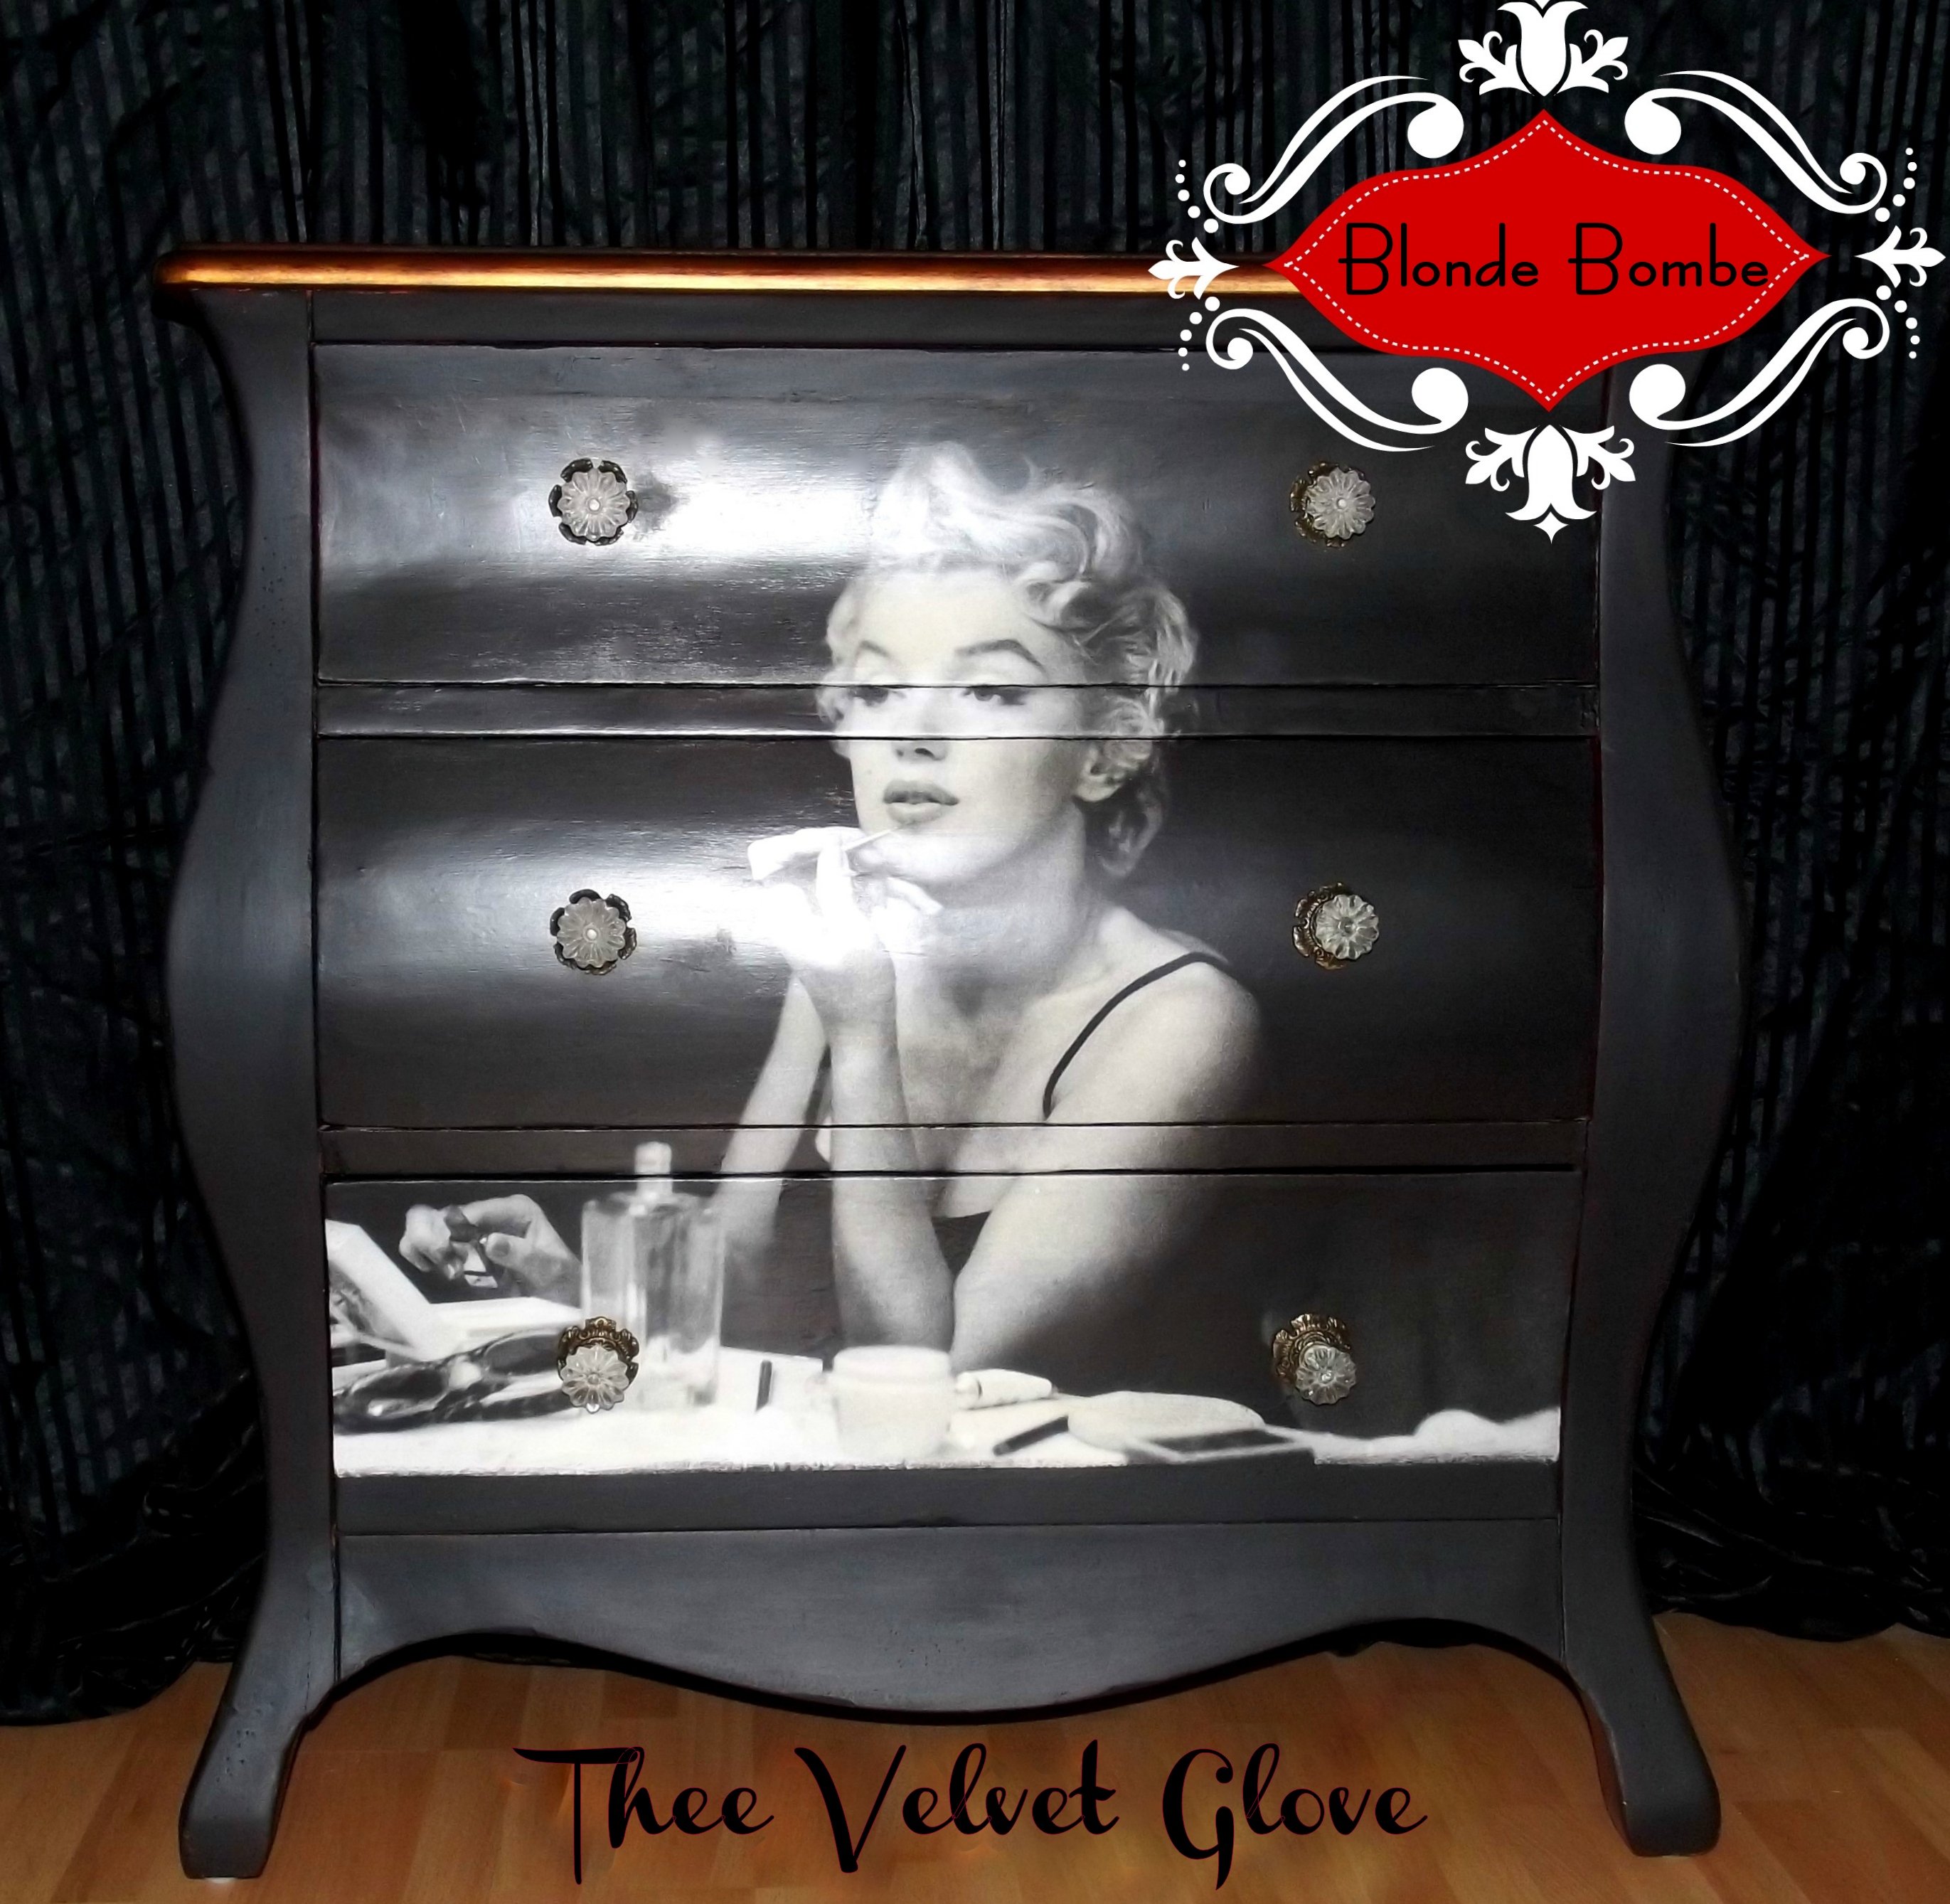
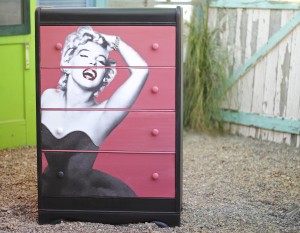
I saw a beautiful hand-painted dresser of Marilyn Monroe on Pinterest and fell in love with it. Then I saw a post about a Marilyn Monroe dresser that was decoupaged by my friend Lori at Thee Velvet Glove.
After I saw this drop dead gorgeous work of art that Lori created, I said, “okay that’s it, I have to try doing something like this.”
(BTW if you have not paid a visit to Lori’s website, it’s a must see, everything she does is unique and jaw dropping, it’s one of my favorite blogs for painted furniture)
Once I made the decision to decoupage a dresser I started doing some research,
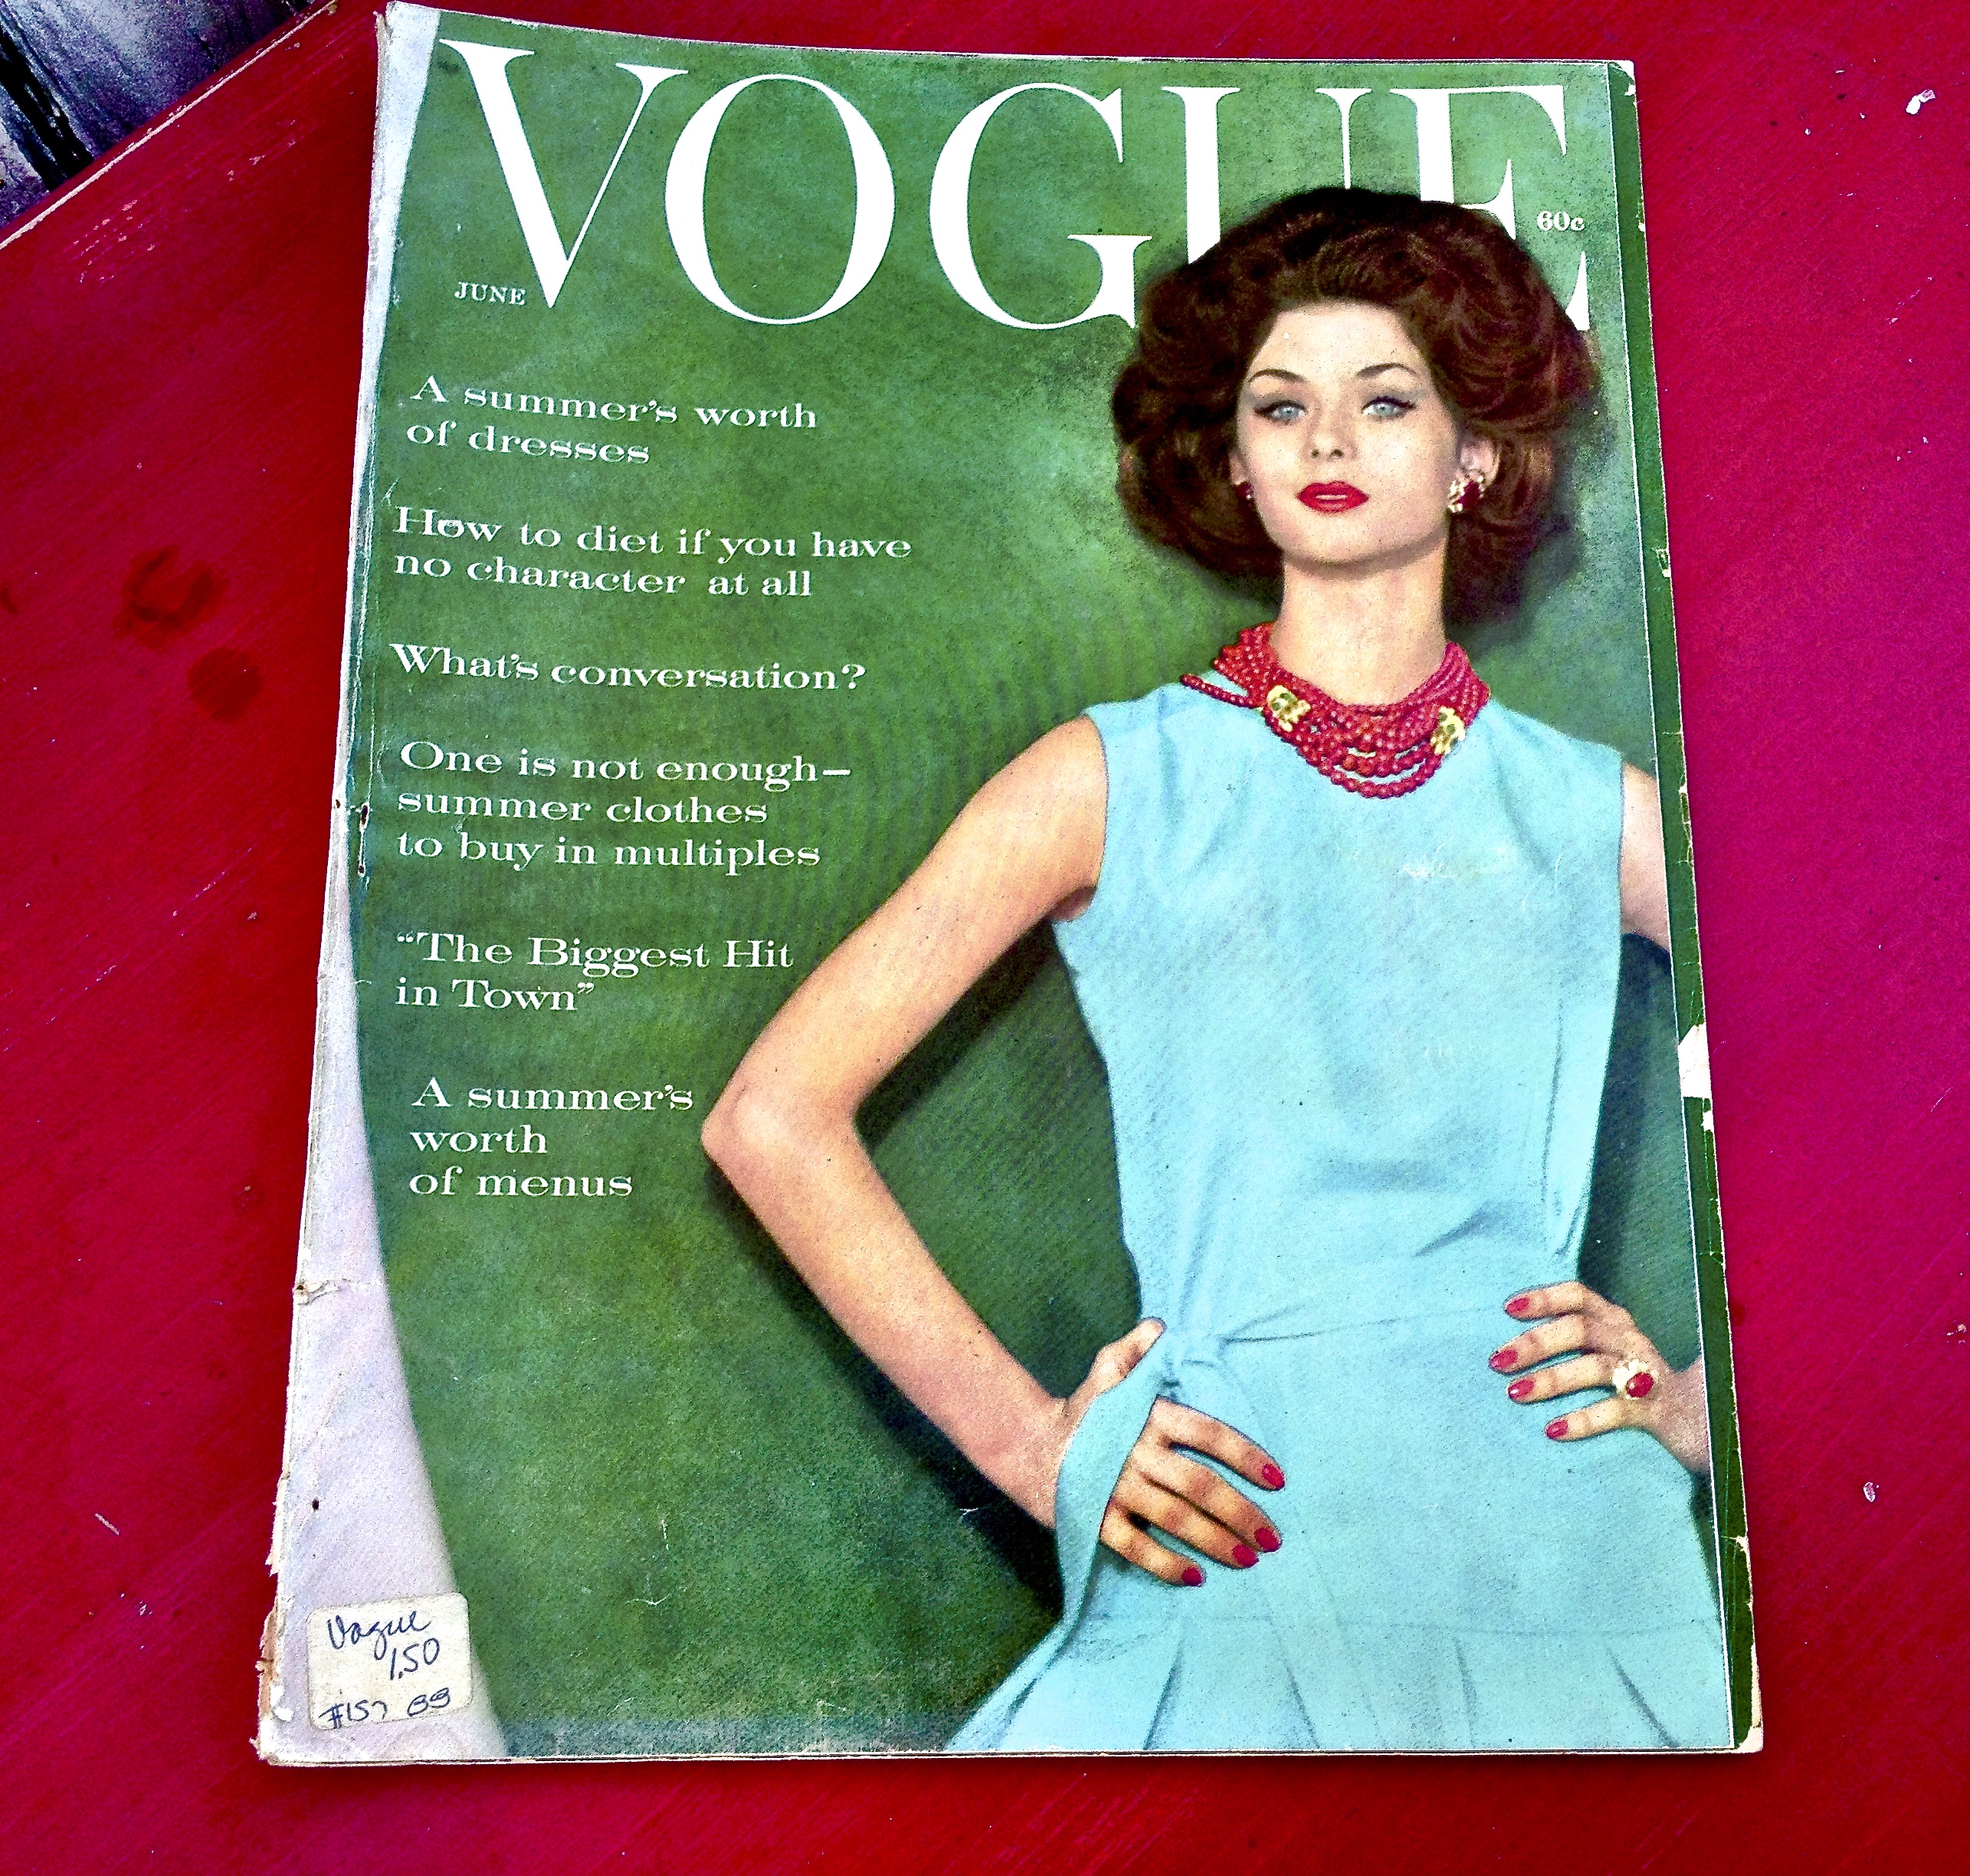
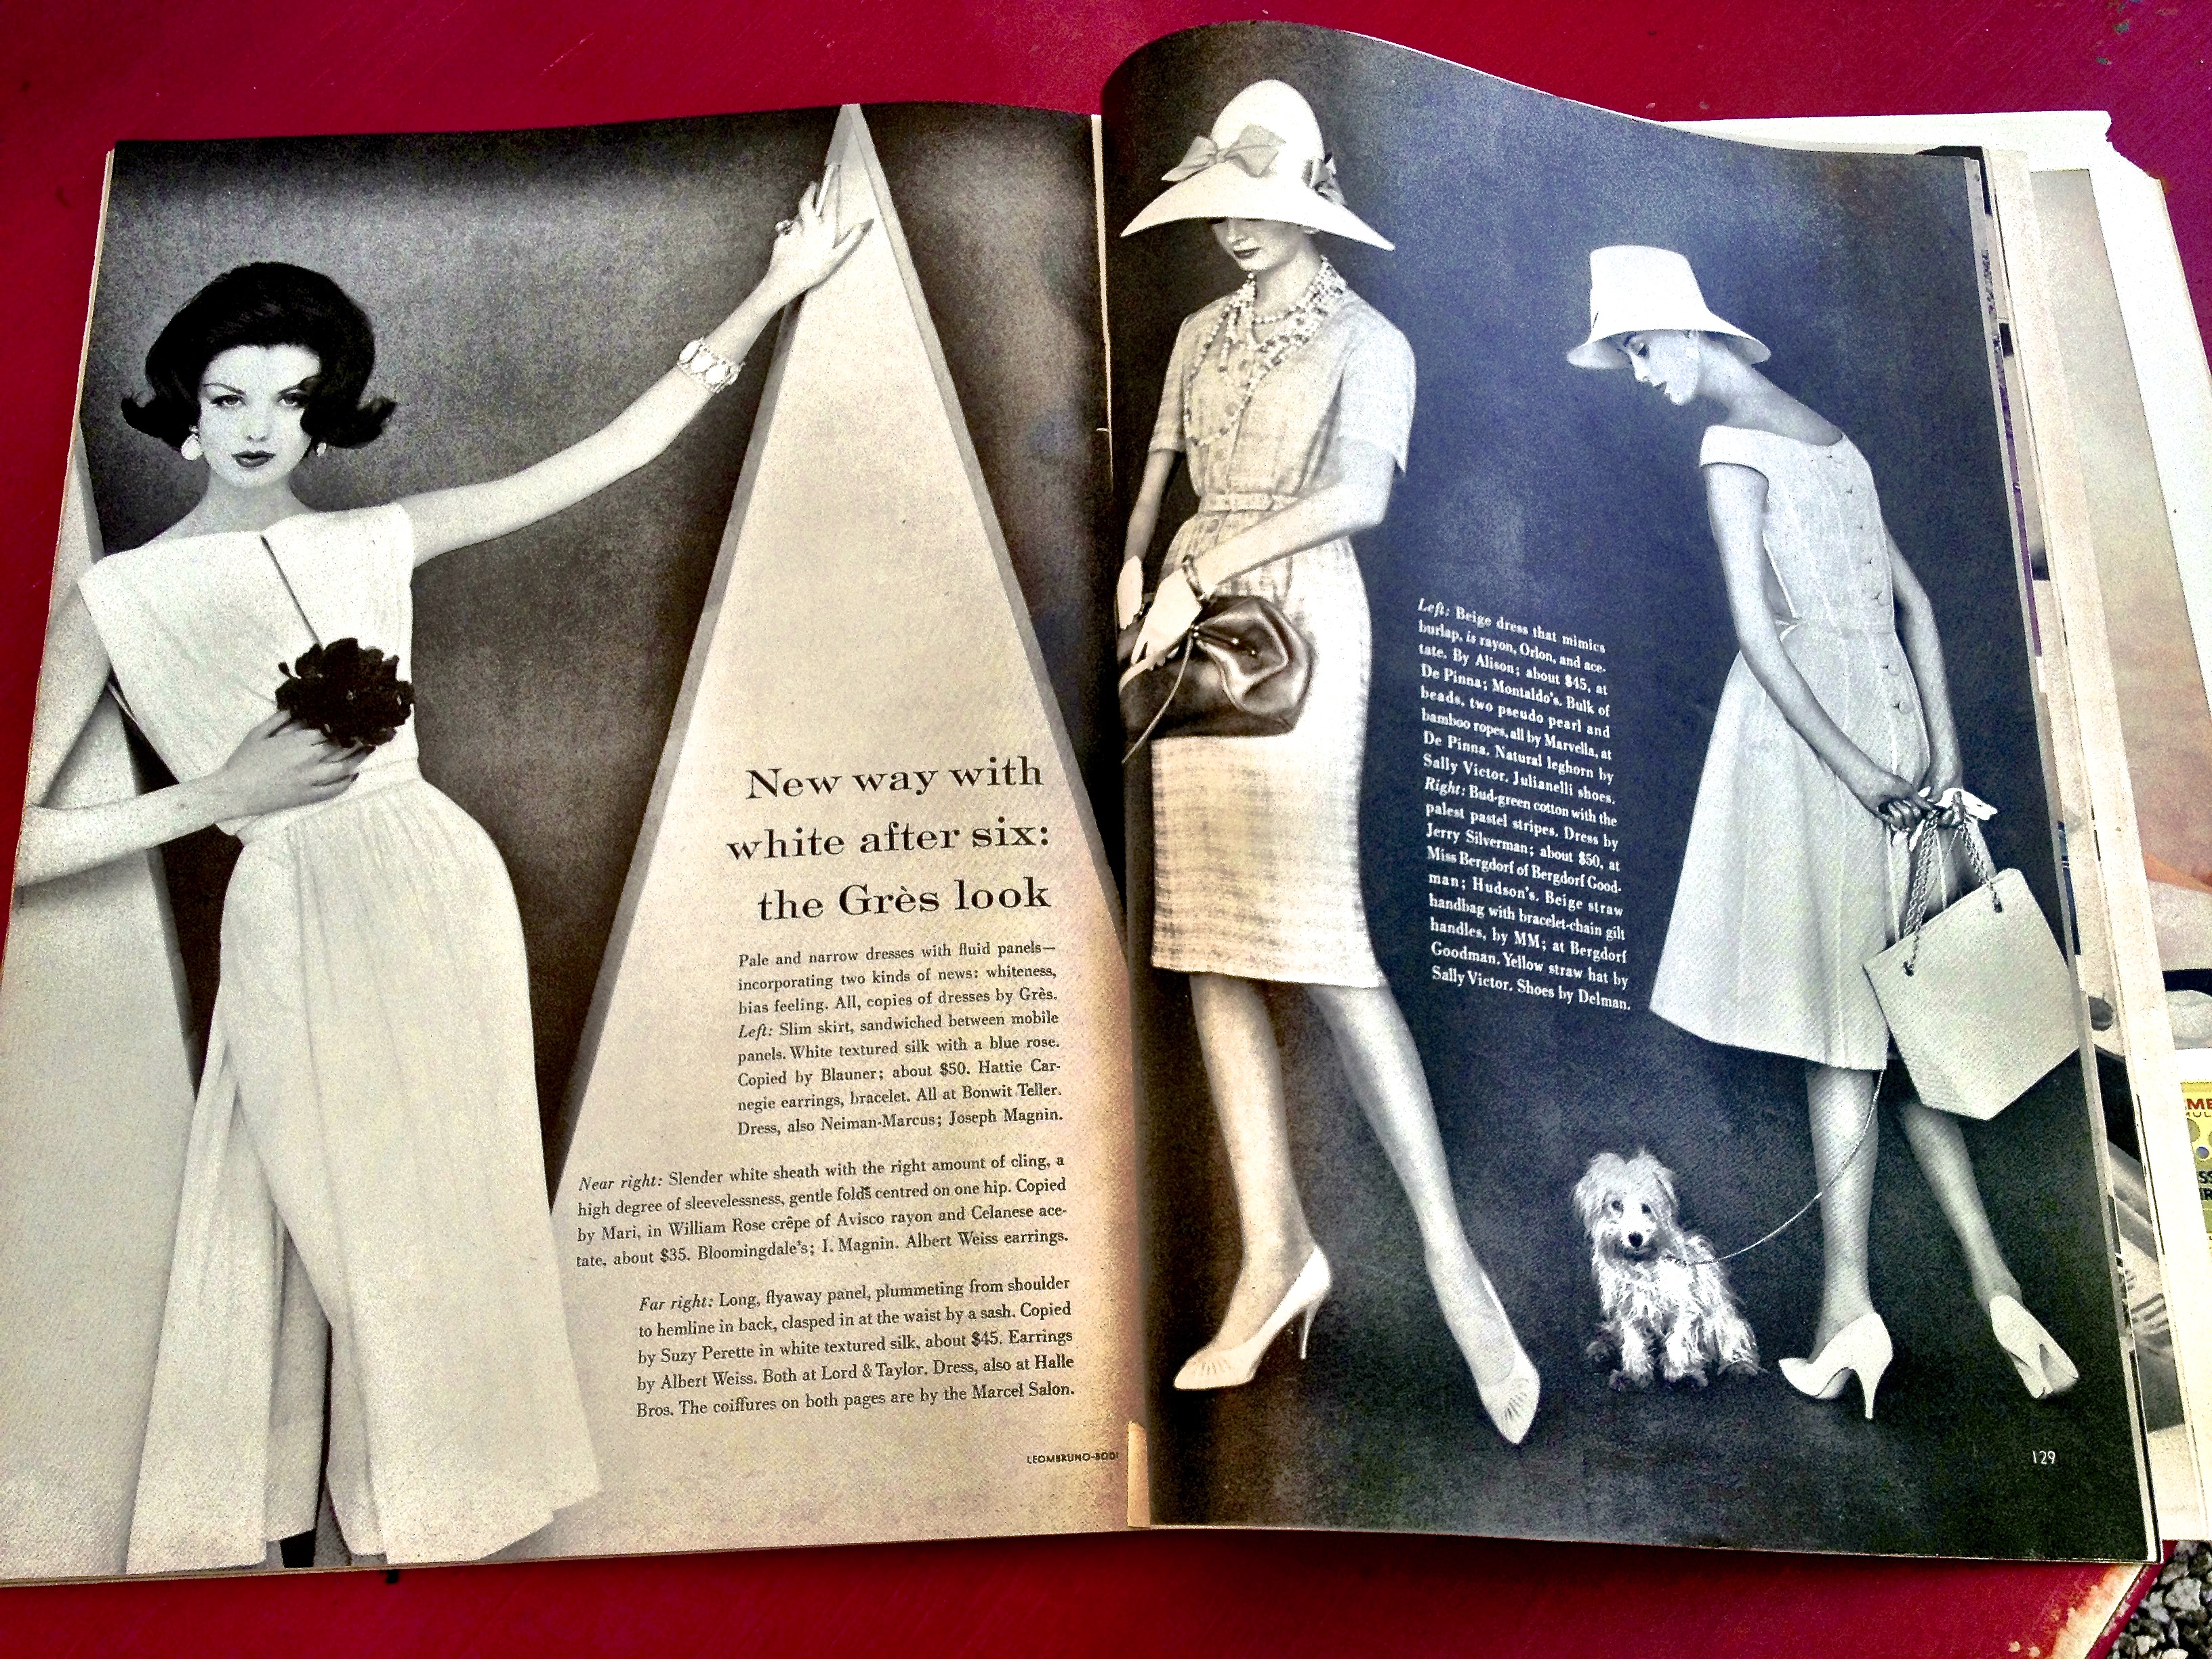
I was hoping to use an image from one of the vintage 1950’s Vogue magazines that I have collected.
Then I discovered that enlarging these images to poster size would make them too grainy to use, so I headed out in search of a poster.
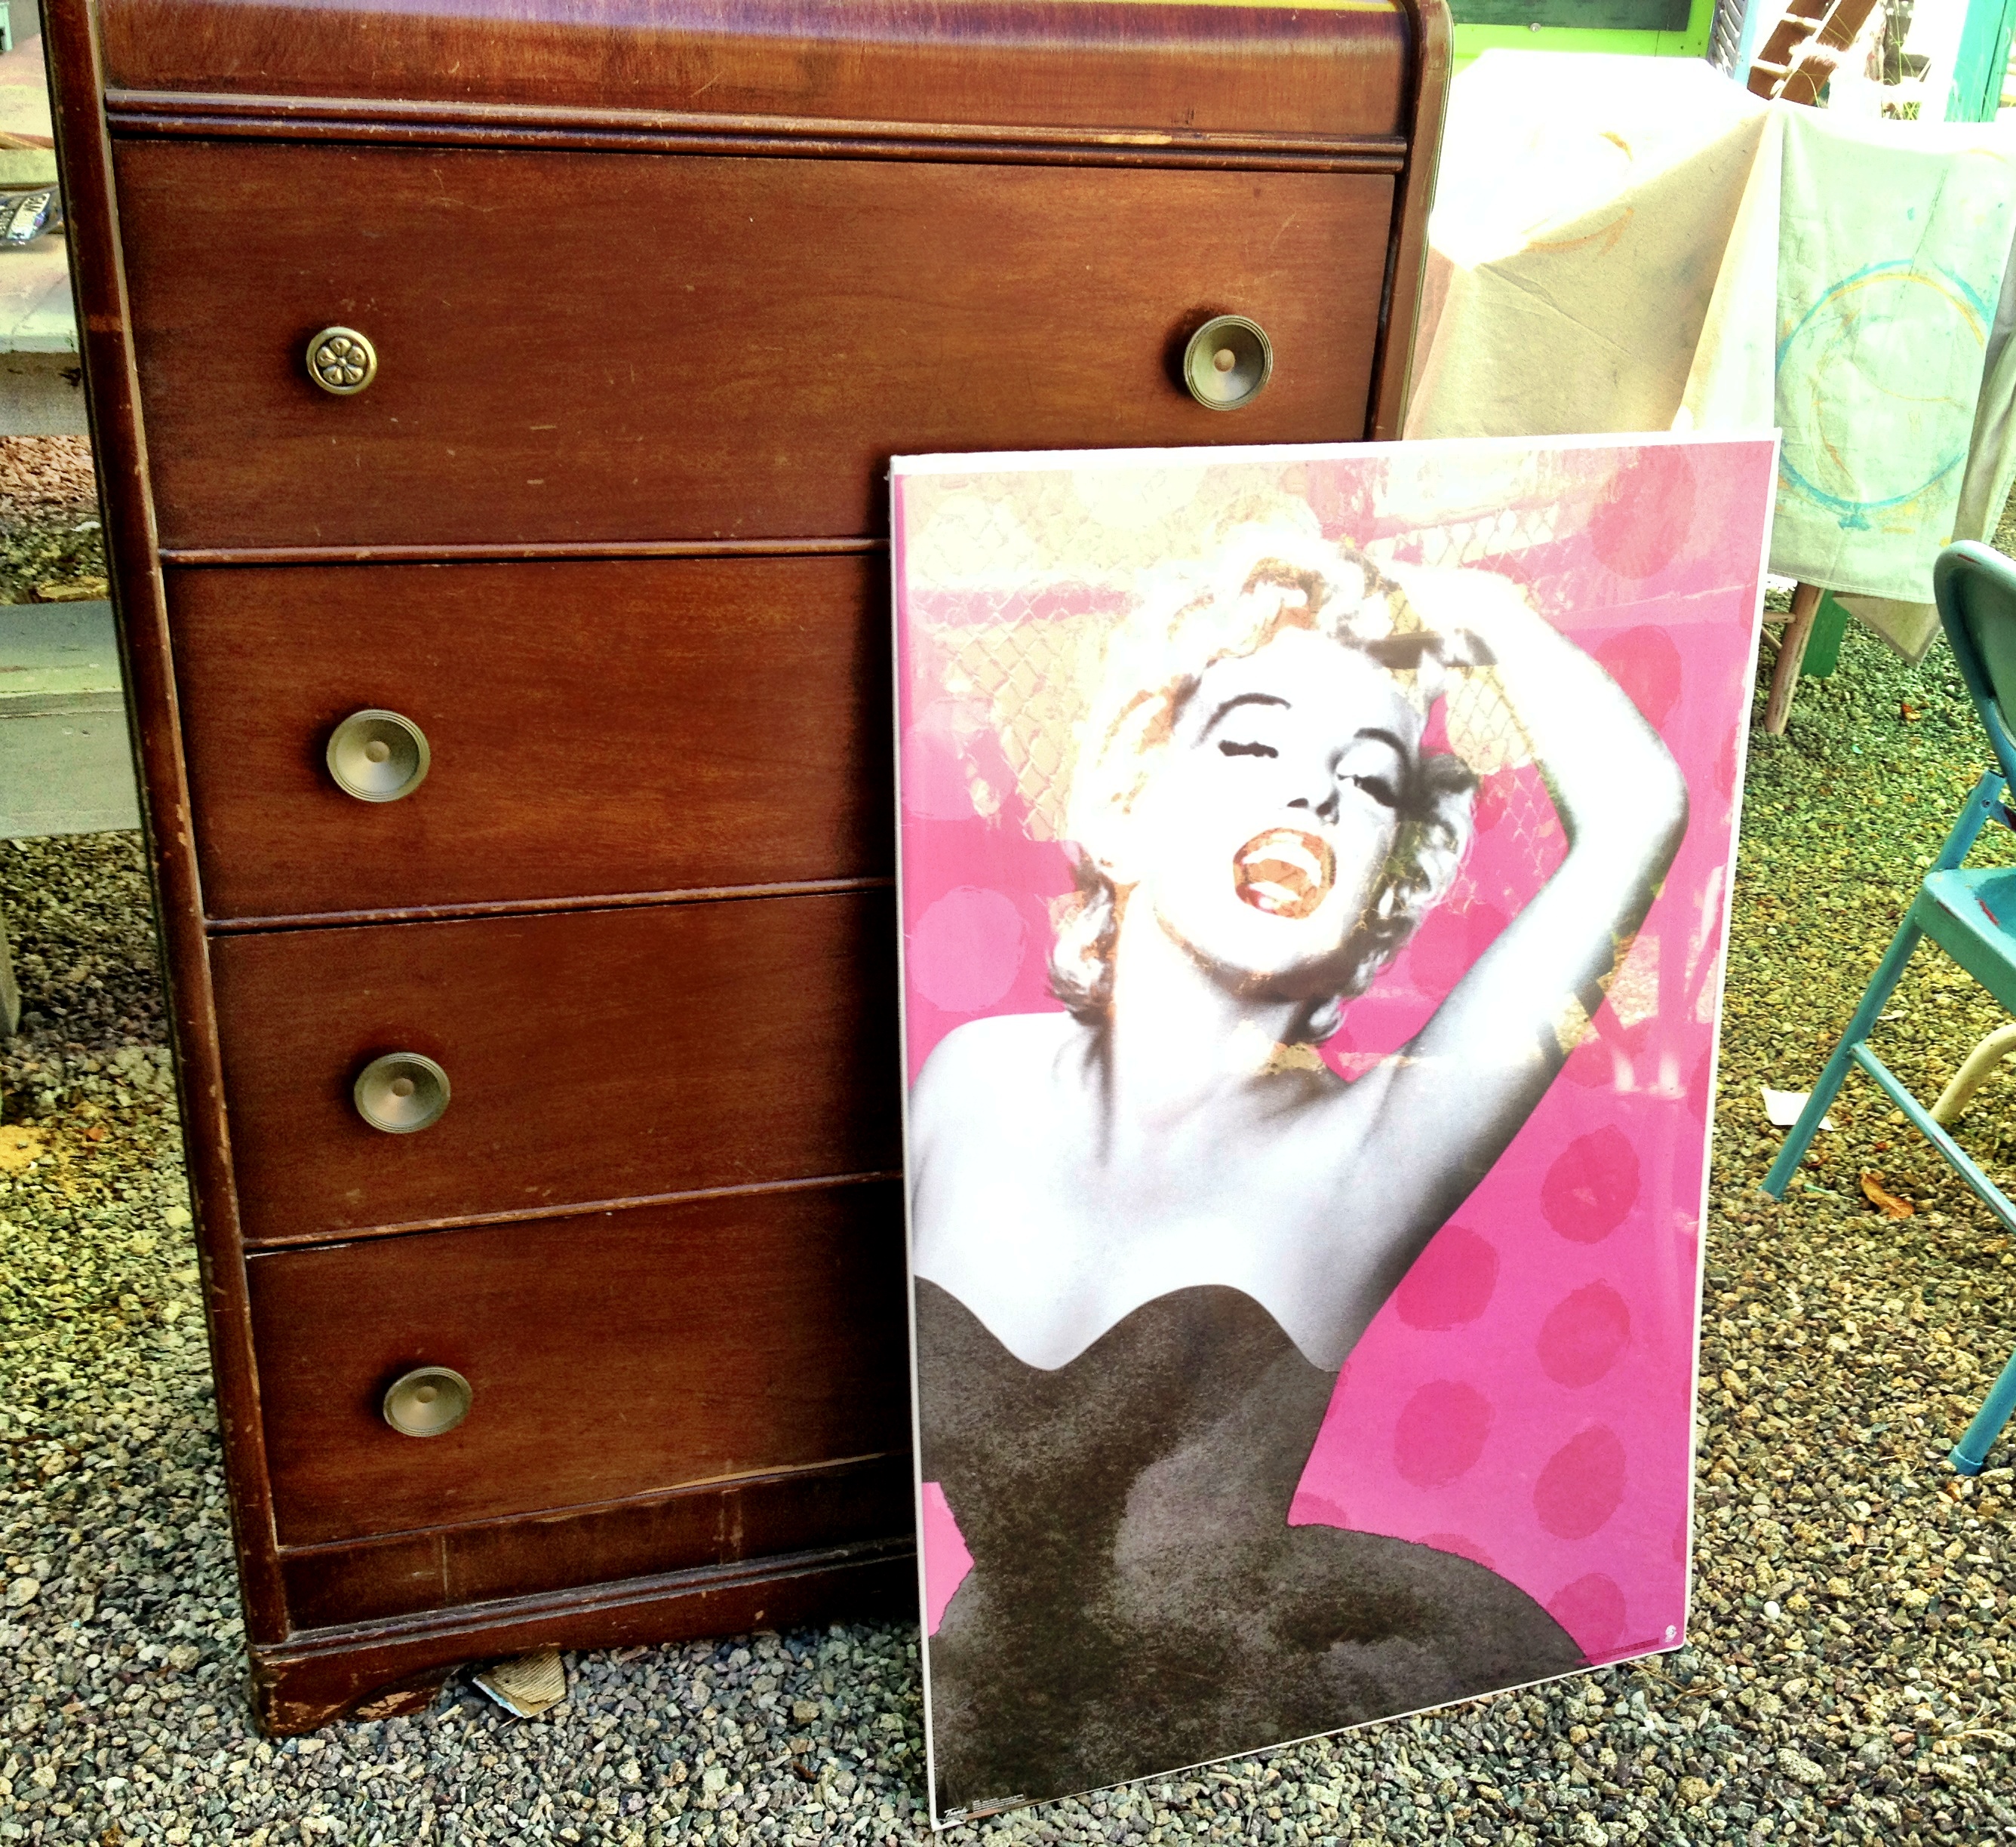
I found this poster at Michael’s craft supply and I knew it would be a good choice it was only $7.50 with my 50{5e62096f11cd115efe5b7844d56c8a16bfa9fa0d3c0285231e5ea9c5a6d2e2c2} off coupon.
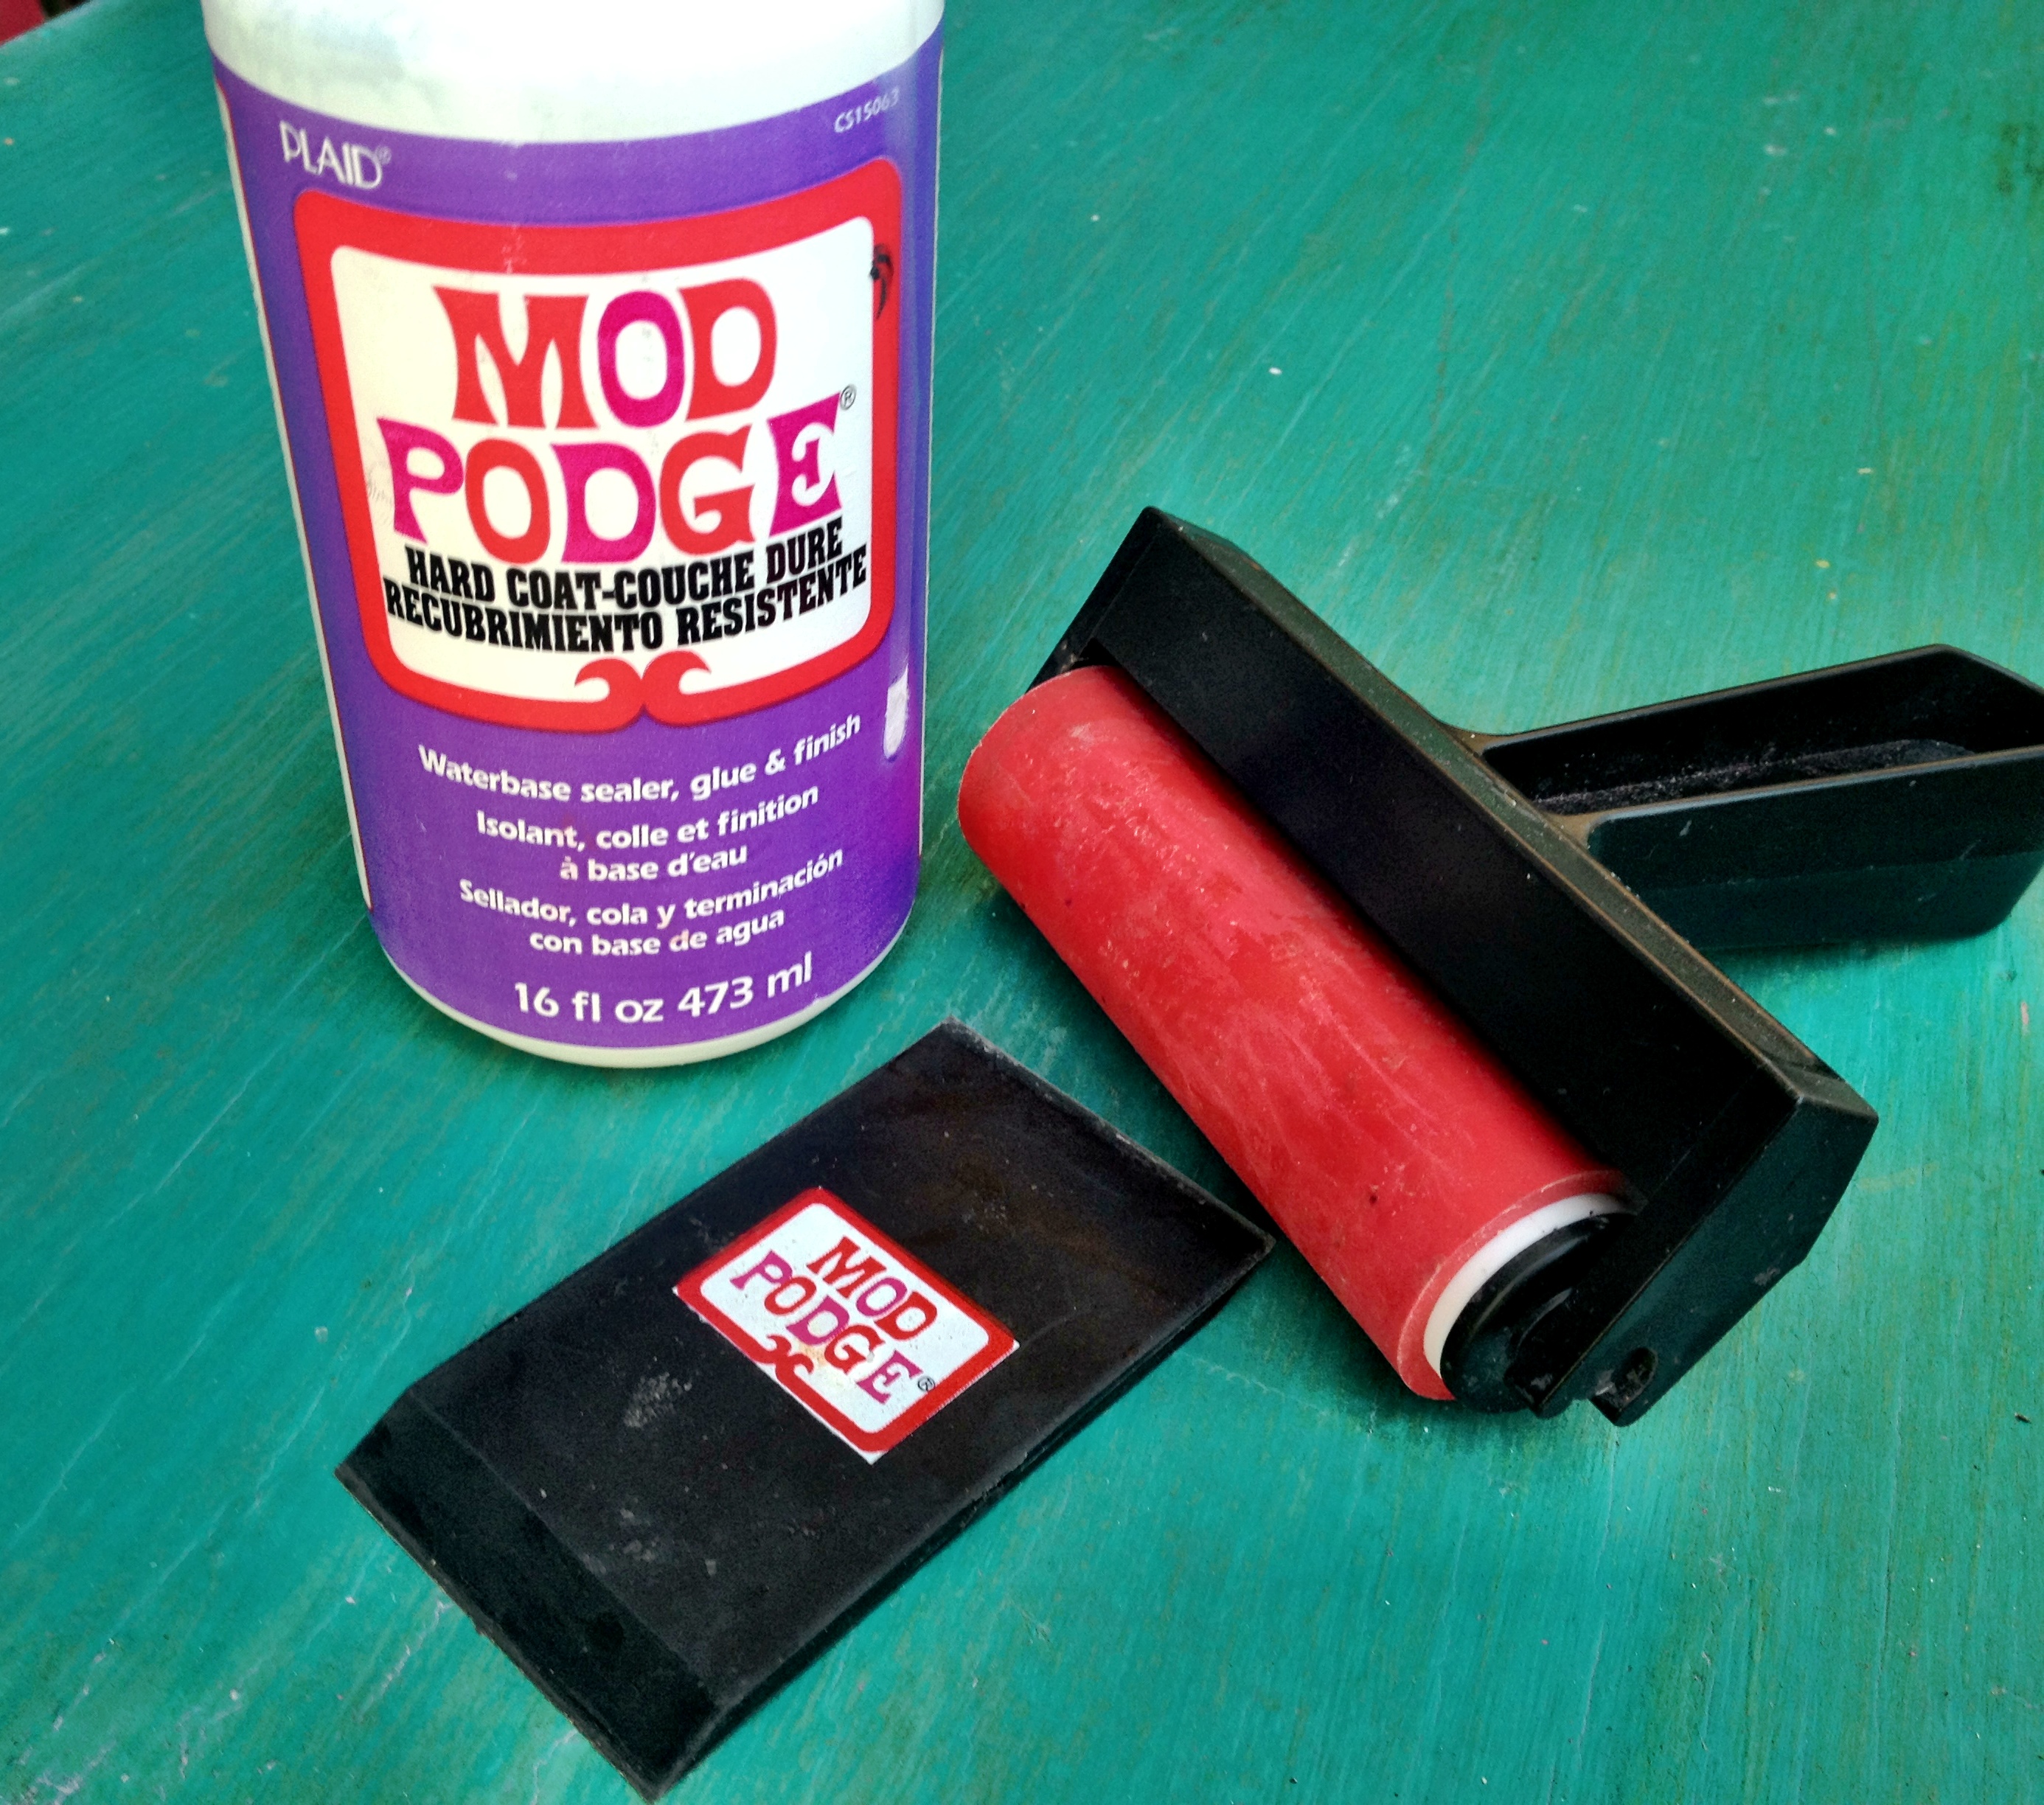
I purchased the poster, along with some Mod Podge and a brayer.
( you can find the brayer and the squeegee tool sold together in a pack at Michaels right next to the Mod Podge.)
I already had a dresser in mind for this project, when I got back to my shop I realized that it was the wrong shape
and there was a lot of space between the drawers that would make cutting up the poster more challenging.
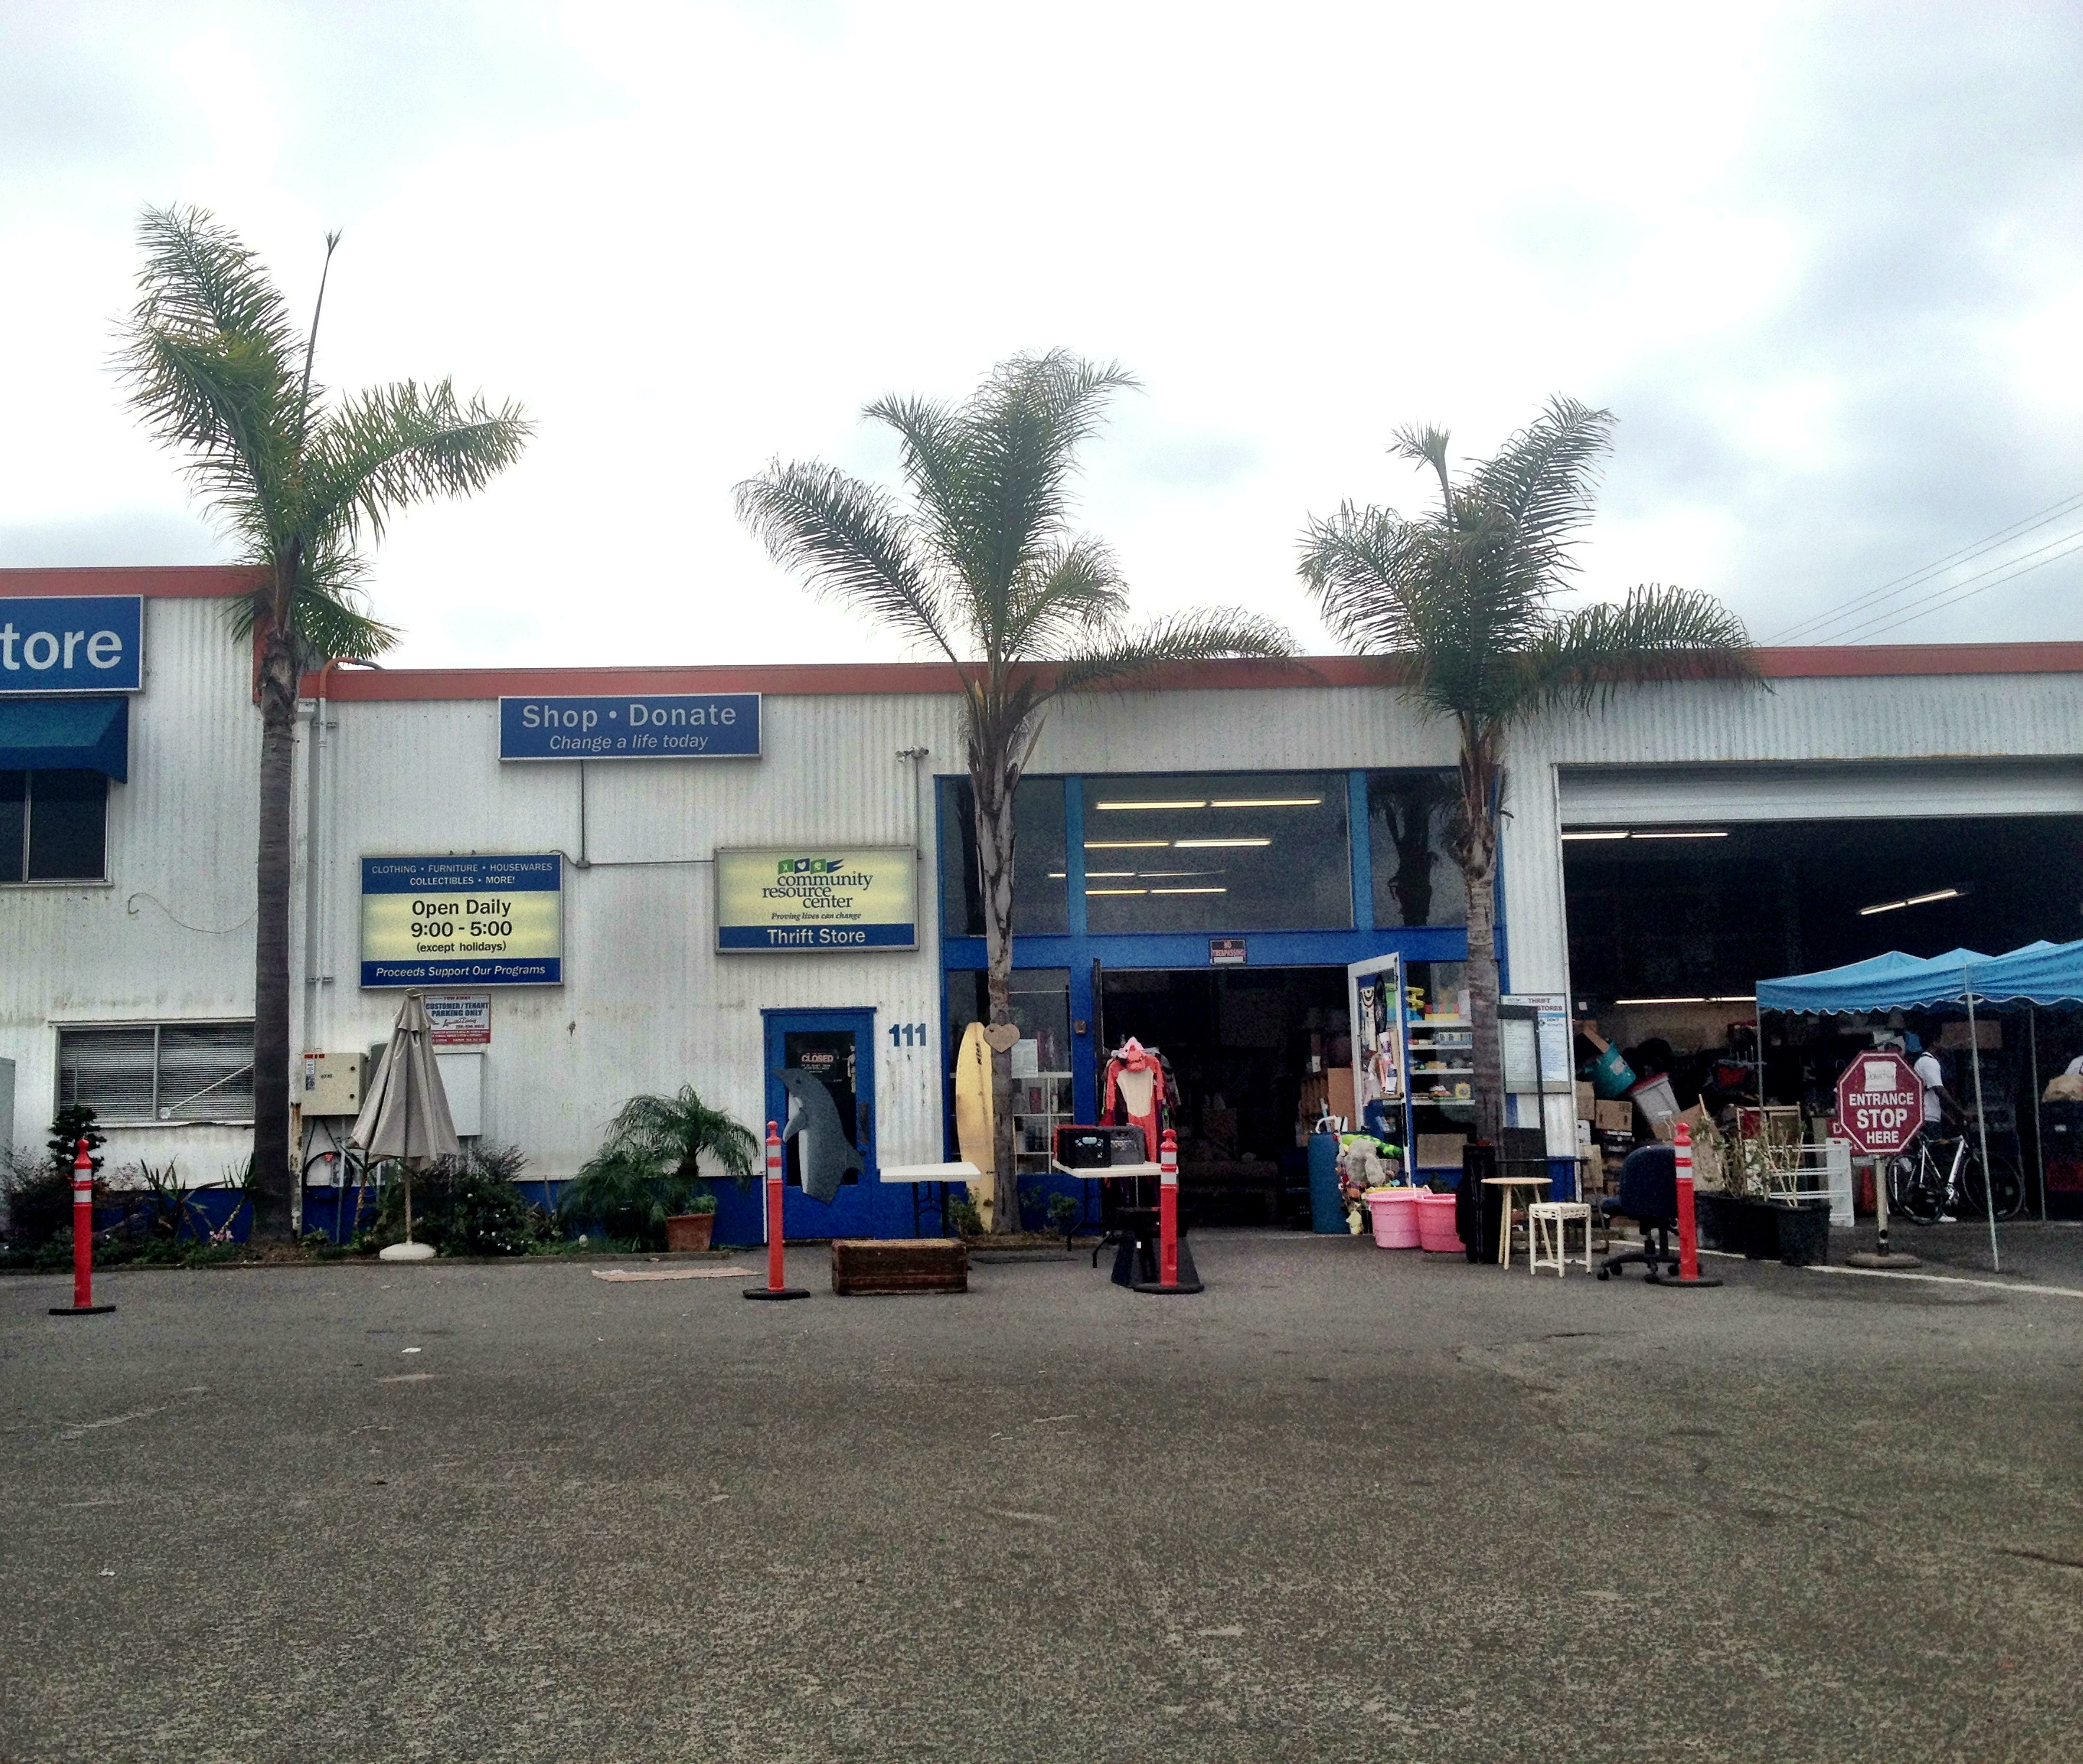
So I headed out to my favorite thrift store, The community resource center in Encinitas.
It happened to be Tuesday which is The Community Resource Center’s, discount day, they have a really fun program, you take your purchase to the register and you get to pull a number out of a hat, depending on which number you select, you receive anywhere from an extra 10 to 30{5e62096f11cd115efe5b7844d56c8a16bfa9fa0d3c0285231e5ea9c5a6d2e2c2} off !
I have found lots of fun things at this place, it’s located just off Highway 101 in old Enciniatas.
The service is also great, Robert had my dresser on a dolly and wheeled out to my car waiting for me while I paid for it!
If you have already watched my video you know that I ran into some trouble, I discovered a lot of things in the process of making this project.
I don’t want to say that it was difficult, but I will say this…
when it comes to decoupage if you don’t know what you’re doing you can get some pretty crappy results.
Needless to say I had a lot to learn when it came to decoupage,
even though I had scanned a few tutorials and I had done a few small decoupage projects before,
my project went south pretty fast.
Lot’s of air bubbles and wrinkling… boo.
The Michael’s in Encinitas didn’t have another poster,
I had to drive to another Michael’s, it was the night before Halloween and they were so busy that I couldn’t get through on the phone.
I wanted to verify that they had the poster in stock, before I made the 30 minute drive in traffic.
I finally got through five minutes away from the second Michael’s location,
only to hear the clerk tell me, “I’m sorry we don’t have that poster but we have the other Marilyn poster…
you know the one in the white dress with her skirt blowing up from the air vent?”
I was ready to cry at this point.
I decided to keep driving, double check for myself,
As I circled the parking lot, I prayed, “God please let that poster be hiding inside this store somewhere.
I squeezed my car into a miniscule parking spot and entered the store ,
weaving my way around frantic moms and crying kids way back to the belly of Micheal’s where they keeps the posters…
I found Marilyn with in five minutes, oh hallelujah!
I got up early on Halloween morning and went to my shop to film round two of the Marilyn debacle.
There was construction going on right in front of my store and a flock of birds were squawking like crazy,
I had to stop every few minutes to wait for the noise to die down so I could film.
You can see a little bit of my frustration in the video, I decided to not edit out those parts either, this is how my life really is.
I hit speed bumps all the time in my video making process, I’ve come to the understanding that this is just part of trying to put your work out into the world
it’s not easy but it’s fun and worth doing.
Even with all of the obstacles, I love to make videos on projects that I have not done before.
Many of the ideas I post are original thoughts that pop into my head,
or altered versions of cool projects that have inspired me from other artists.
The problem with doing something on camera that you have not attempted before
is that you hammer it out and perfect it, while you are documenting the process.
I don’t edit out the mistakes because I think they are valuable lessons
and just as important as a successful outcome.
If you want to create a dresser similar to mine here are some helpful tips that might save you a lot of frustration.
*Look for a dresser where the drawers butt up against each other closely.
As you can see, my dresser has only a tiny space in between the drawers, but lots of dressers have bigger gaps.
If you look at Lori’s dresser you can see that she cut her poster not only to fit her drawers but she also decoupaged the space in between the drawers,
I did not even want to try attempting this, I felt it was too advanced for my first effort.
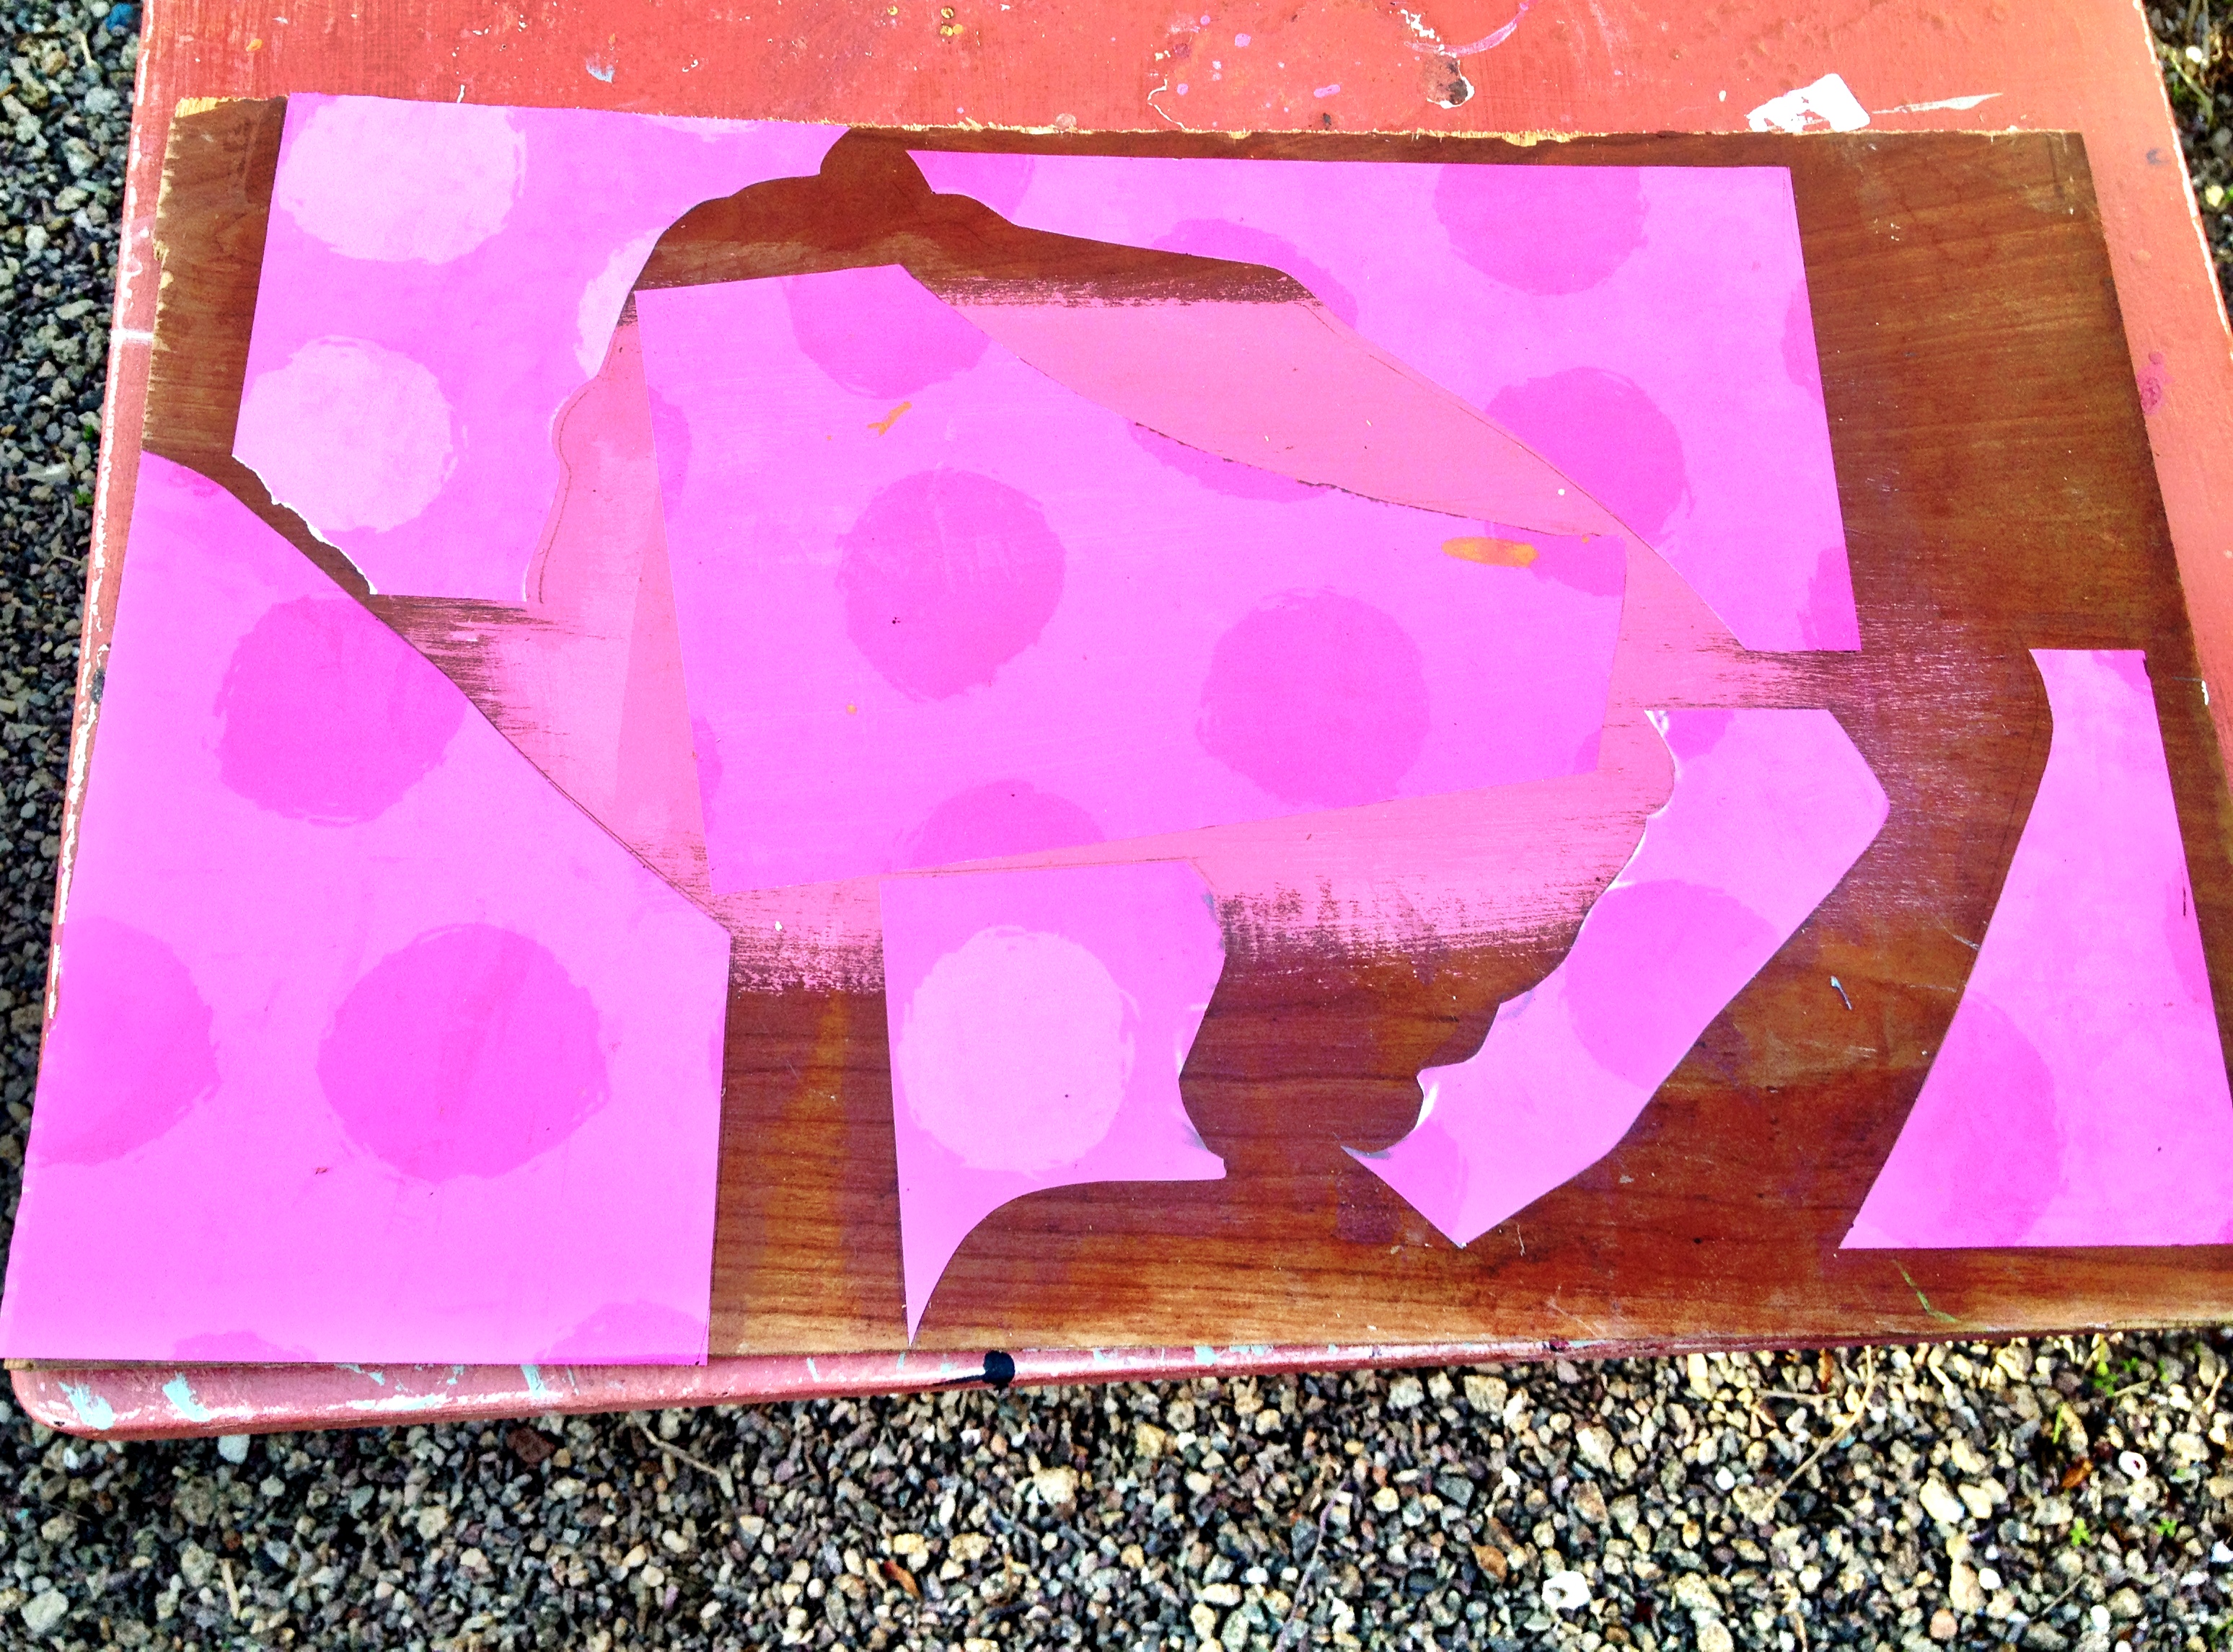
* practice decoupaging on a scrap piece of wood.
After my first failed attempt I didn’t want to ruin the second poster, especially because it was so hard to get,
so I took the scrap paper from the background that I cut away from Marilyn and traced around it,
until I was satisfied that I could adhere the paper to the wood surface without air bubbles and without messing up the registration.
My first attempts on the scrap piece of wood were also unsuccessful, here is what I finally learned after my trial and error process.
* Start by gluing down a small section of your piece, just 1 inch at first letting it dry completely.
By doing this it will be almost impossible for your paper to become out of alignment.
The first time,I was working too fast and the paper was slipping around and never ended up inside the lines that I traced out.
* After you have your first inch secure and dry, then move on slowly gluing down a little bit at a time, pushing the air bubbles out with the squeegee. ( as seen in my video.)
* Do not use too much Mod Podge,
be sure to keep your squeegee clean the excess Mod Podge will push out beyond your design and get onto your squeegee
and then it will transfer onto the paper and cause uneven glue spots to form.
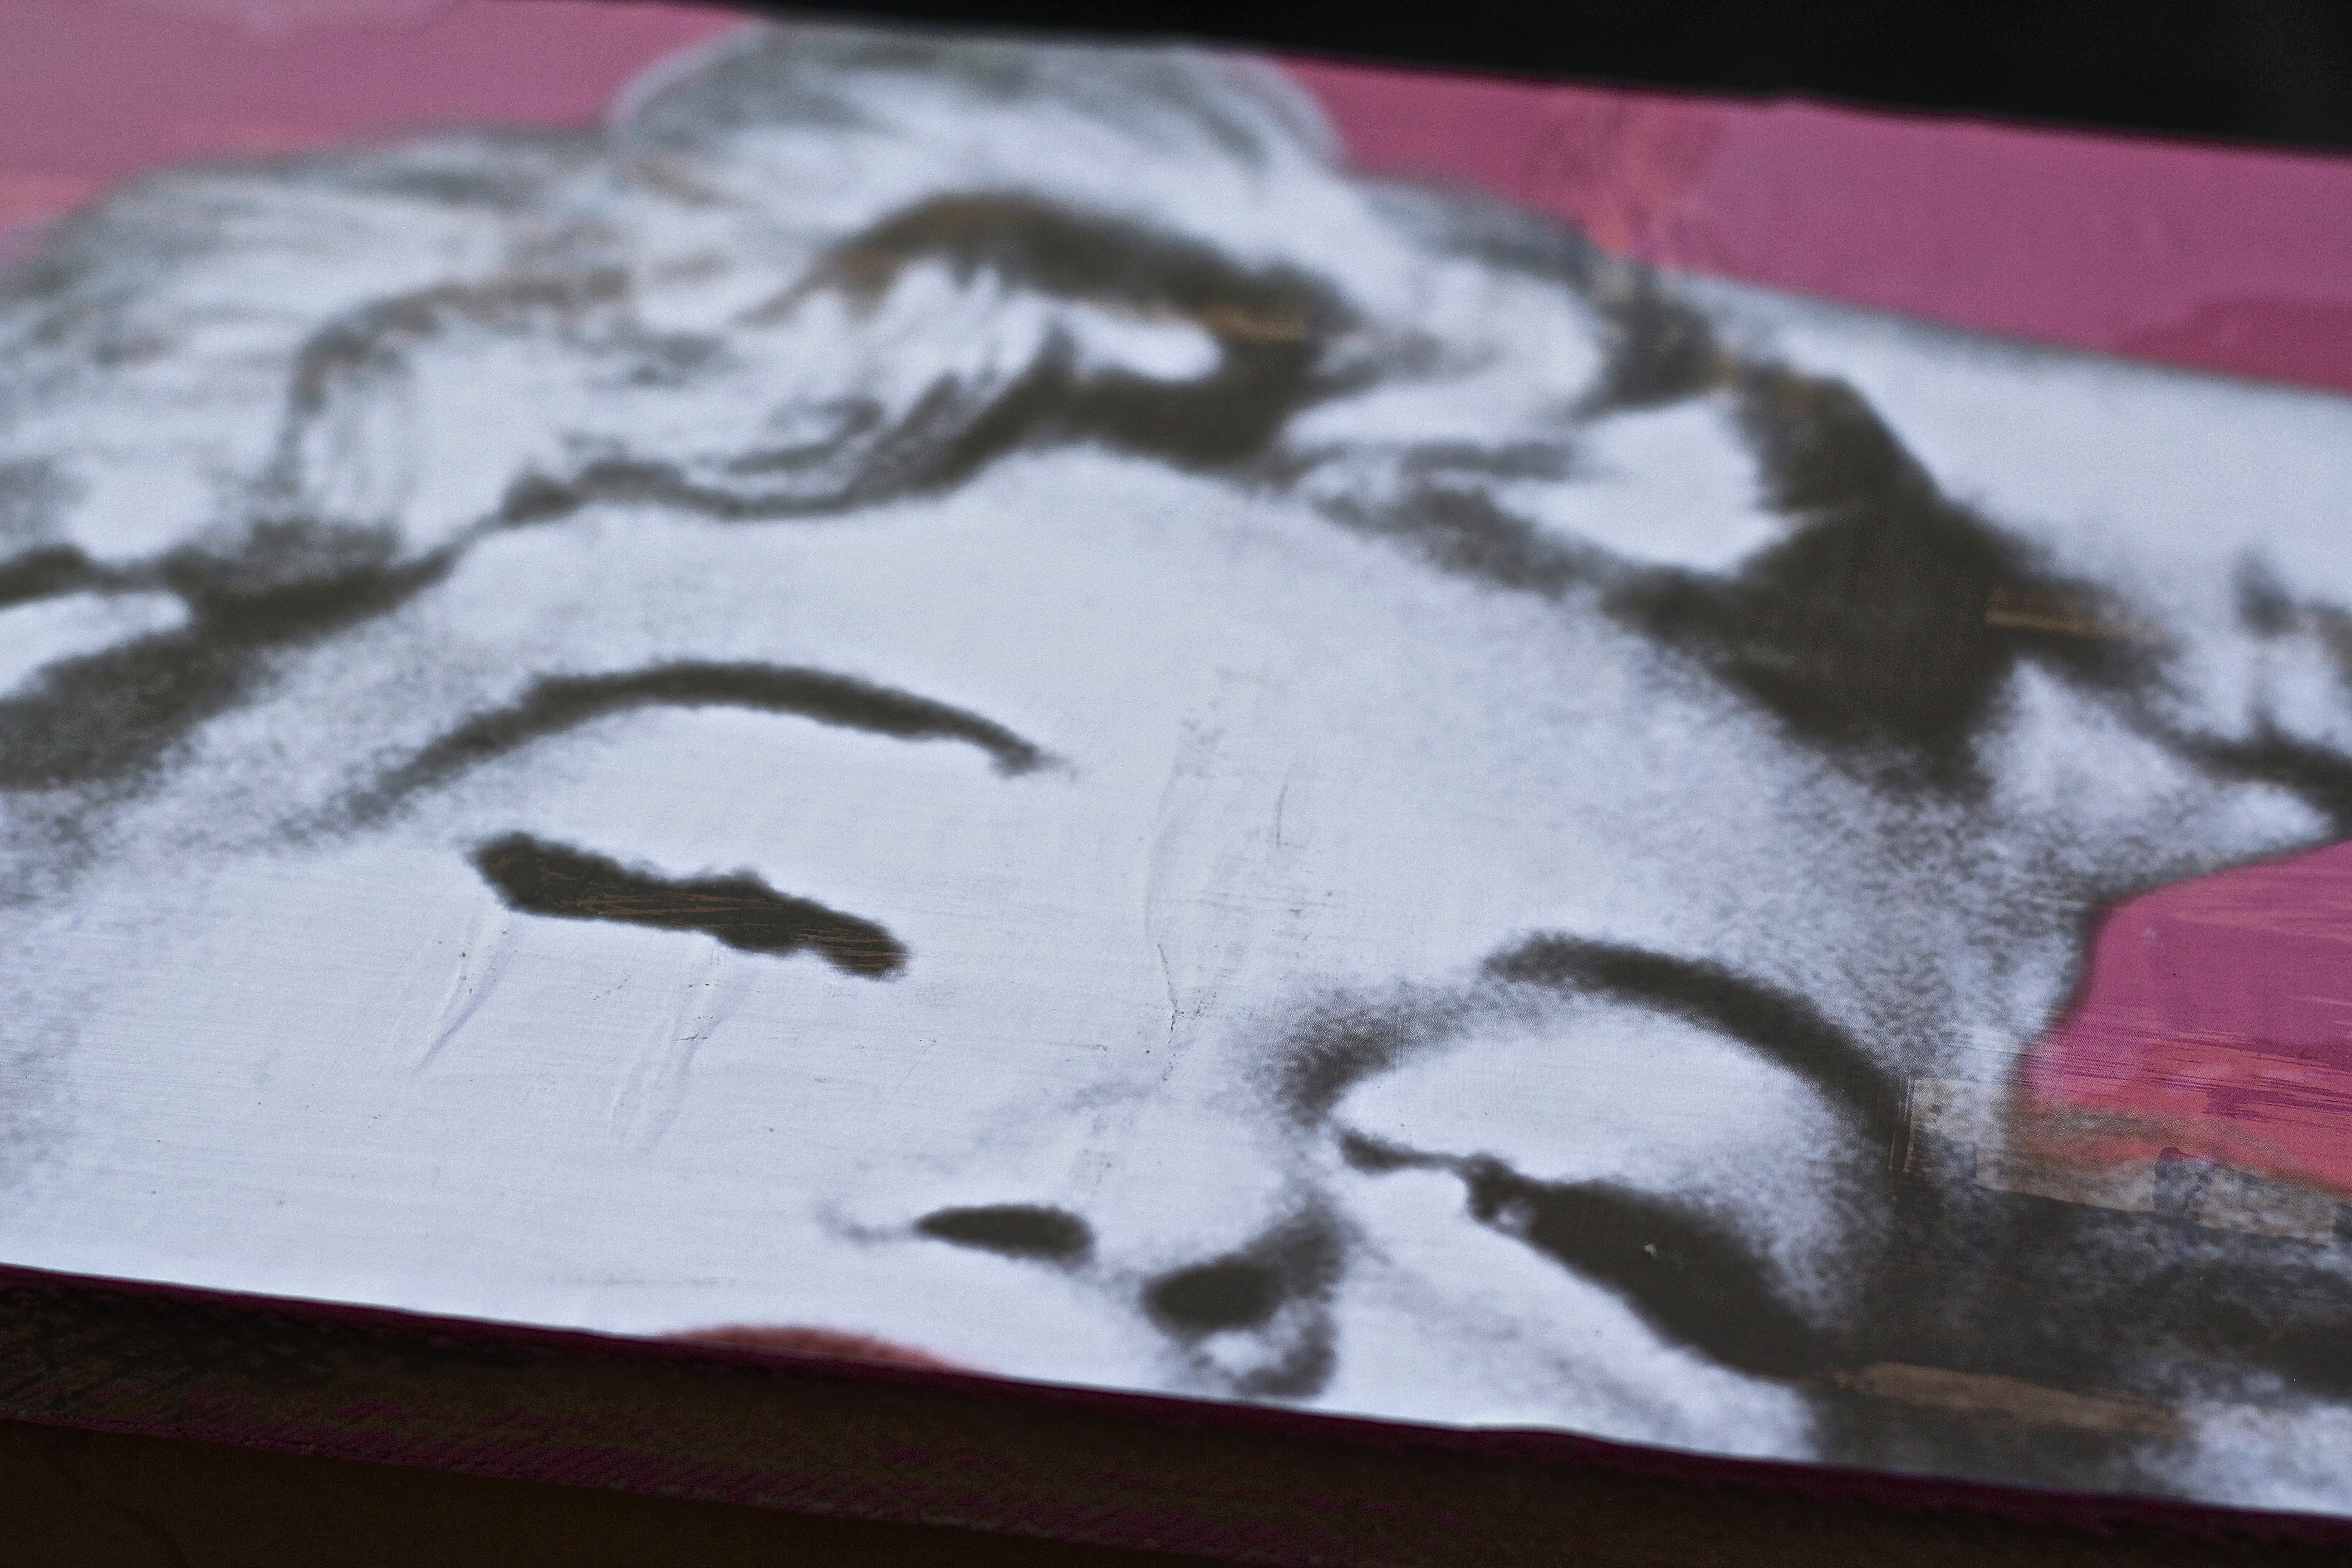
these spots will be especially noticeable in any areas that might have a lighter color, like Marilyn’s face.
Keep paper towels close by so you can wipe off your squeegee as you go.
* Before you start to decoupage, make sure you seal the surface you will be working on, otherwise the paint could bleed through onto your paper.
I used CeCe Caldwell’s Satin Finish to seal the surface of my drawers.
I didn’t attempt to use wax, I wasn’t sure this would be a good idea, wax has a lot of oil in it,
I was concerned that the wax might also discolor the paper.
* Keep in mind that thicker paper is harder to work with,
one of my Facebook readers suggested that you relax the paper in water before gluing it down,
poster paper is very thick so this might be a really helpful tip although I have never tried it.
I would imagine that the paper also becomes more fragile and subject to ripping but I don’t know for sure.
* Paper stretches as you add the glue to it, so it’s almost impossible to get the registration exactly perfect.
This is something to keep in mind if your design has a lot of curved areas in it.
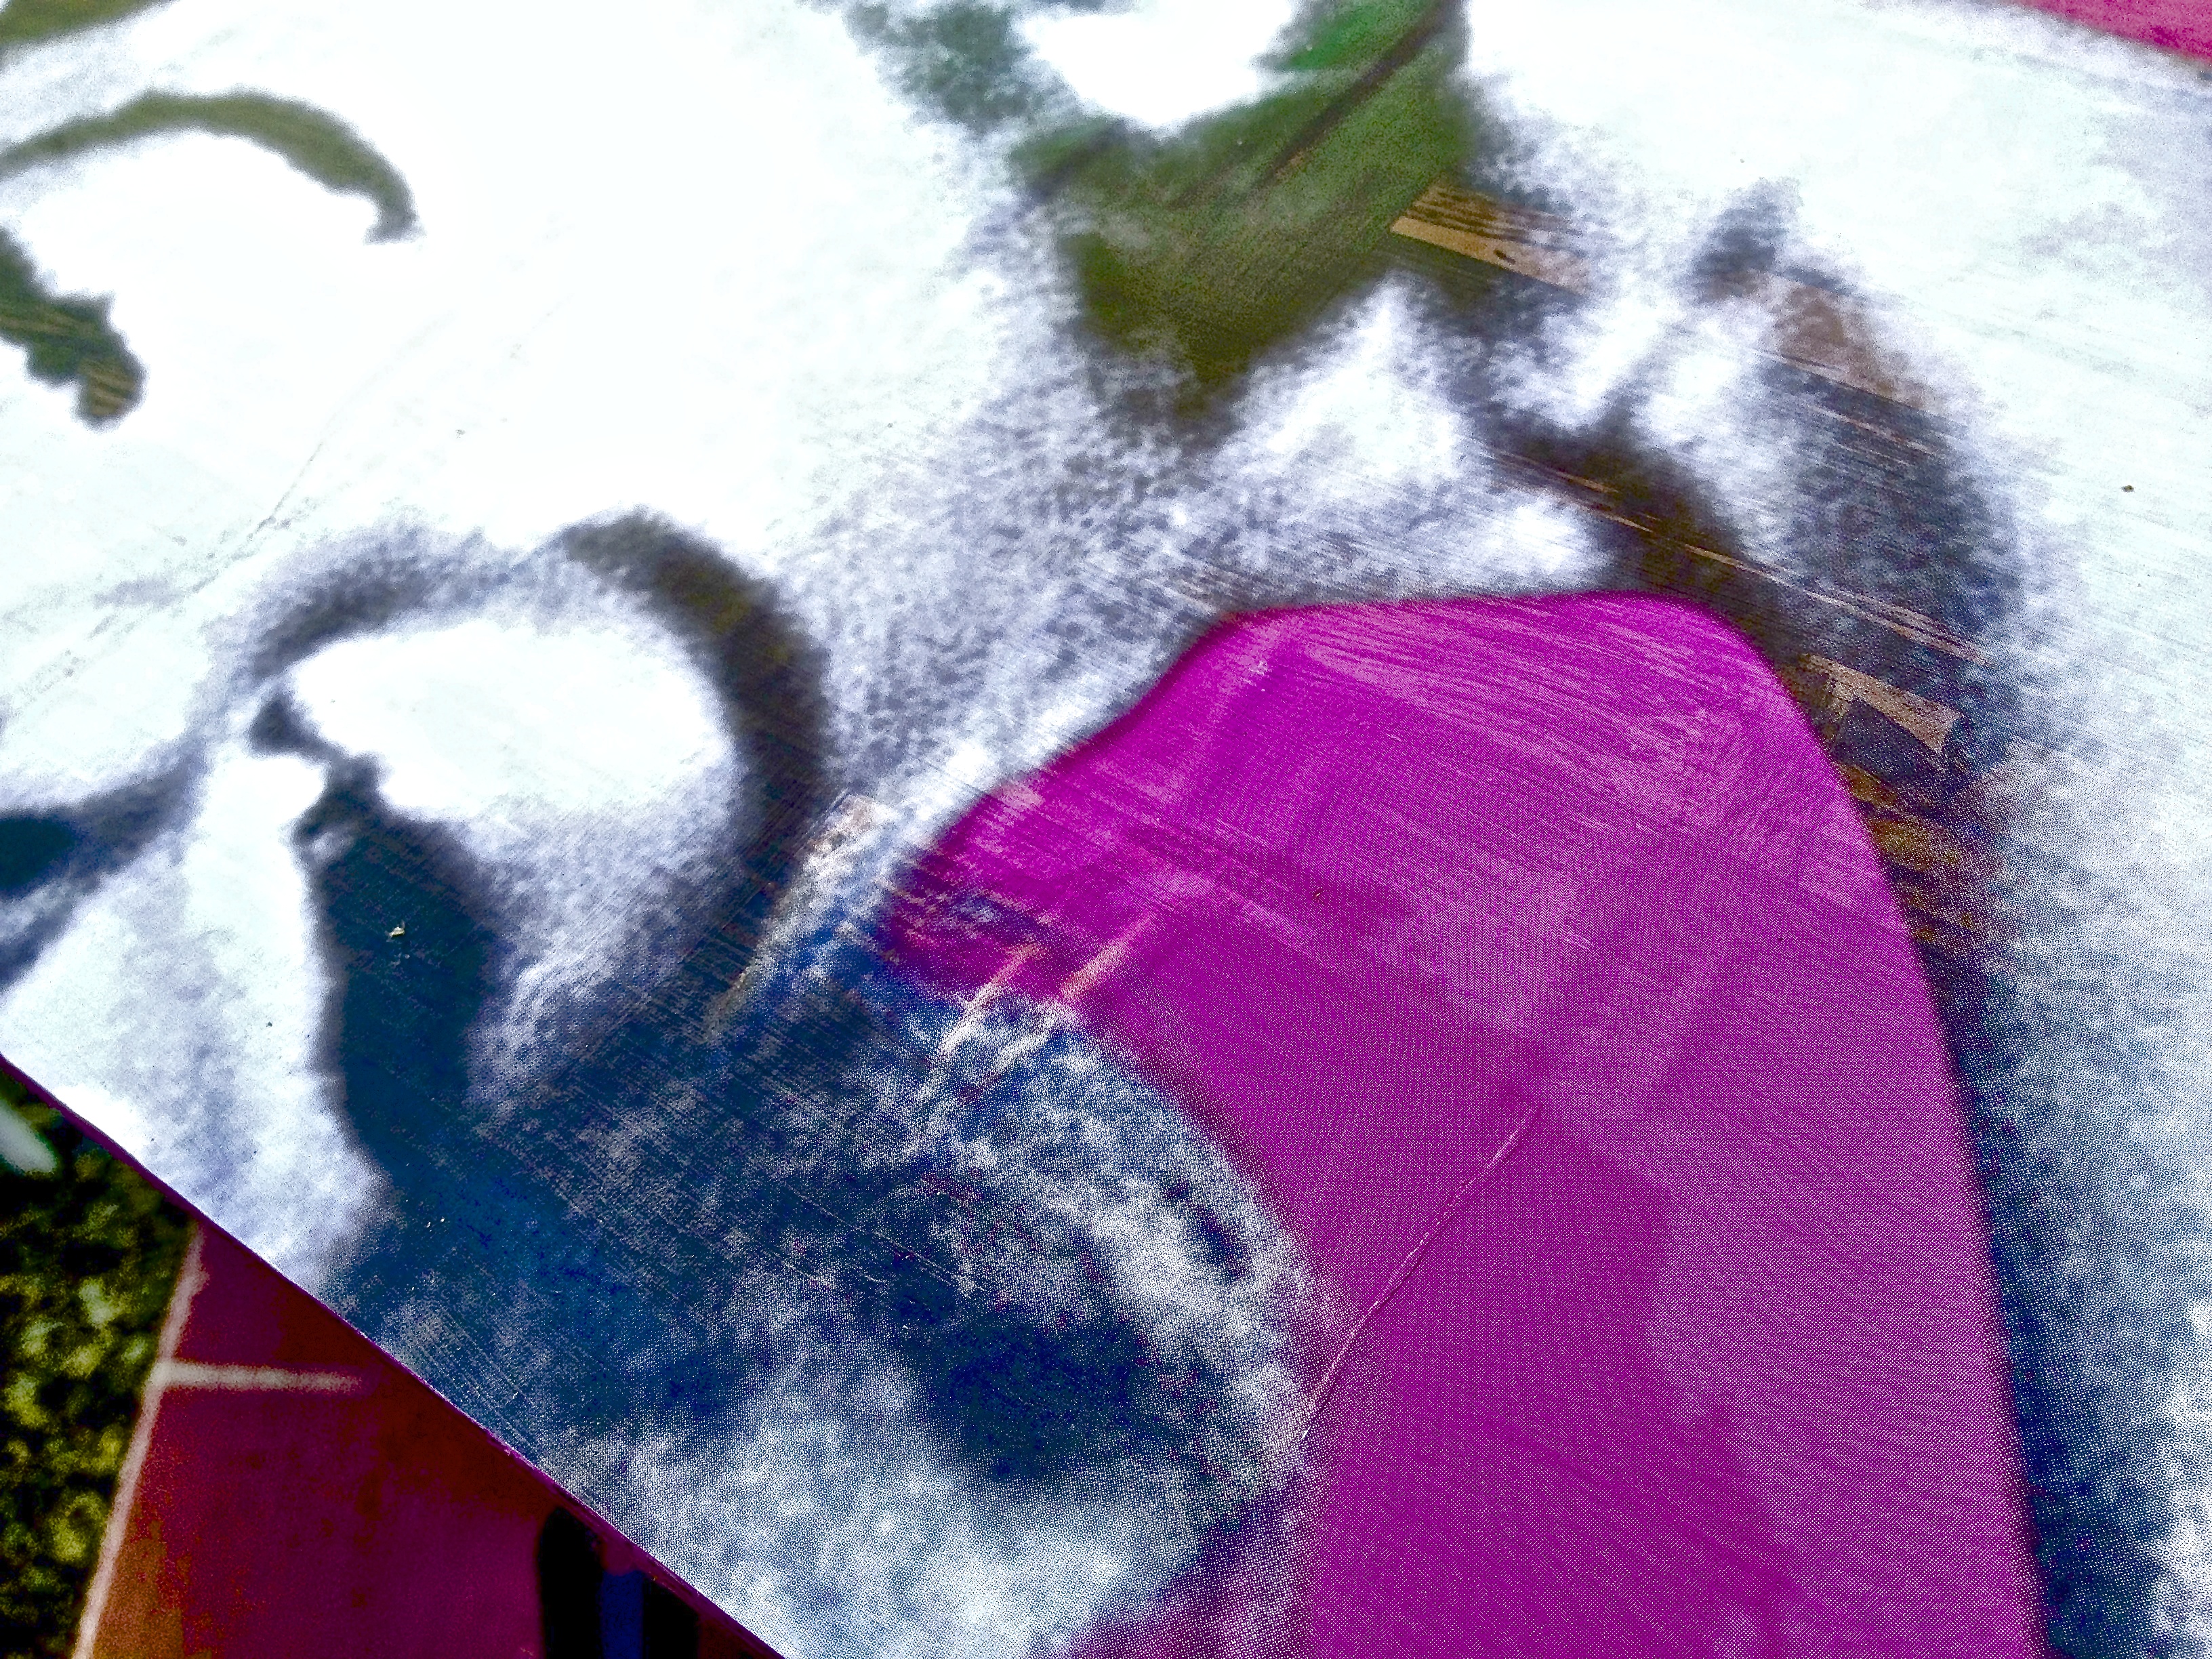
On the top drawer where Marilyn’s arm curves up to the top of her head, I did have a tiny bit of minor bubbling,
it’s barely noticeable but it was disappointing because the bottom three drawers were pretty much flawless.
The paper stretched out and folded over on itself right at her wrist point,
I was able to cover this up by gluing the rhinestone bracelet on top of this area,
but if I were to do it again I would have cut her hand away from her head and glued the final drawer on in two pieces,
I think this would’ve eliminated the finite air bubbles and the folding.
Heavy sigh, live and learn…
* Chalky type paints can reactivate when you add a top coat
The last step was to add another layer of Mod Podge over the entire surface of the drawers,
as shown in my video .
I used two separate brushes,one brush for the paper,
and one brush for the painted surface area,
as I didn’t want the pink paint to transfer on top of the paper.
On that note, I want to add CeCe Caldwell’s Endurance Finish to this piece, as it will make it a lot more durable,
however, I have not done that yet because I am hesitant to try anything that is untested on top of my masterpiece.
I am going to try adding the Endurance on the scrap pieces and see what happens I will let you all know what the results are.
The Mod Podge I purchased with the purple label is specifically made for hard surfaces like furniture,
so if I don’t end up adding the Endurance finish, hopefully my dresser will be pretty durable on it’s own.
If you would like to learn more about decoupage, I highly recommend checking out the Mod Podge Rocks website,
this is an awesome resource for all kinds of fun decoupage projects.
I am selling the Marilyn Dresser on my website you can view the link here, Marilyn Dresser for Sale.
As with all my video projects, I will only have the one item that was made for the video to sell.
My passion is sharing the process through my Youtube Channel,
Selling the one of a kind sample does help to pay my dental bills,and allows me to keep making more videos.
So if you want to own my Marilyn Dresser, don’t wait too long, because it’s a one-of-one 🙂
I will also be happy to sign the back with personal note.
The price doesn’t include shipping, please call the shop for a shipping quote, 858 755 7630 or come see us in person!
If you have any decoupage tips for me, please leave them in the comments,
I have to say I am so happy with the way this piece turned out,
I am ready to take on a few more decoupage projects, maybe something with an image of Einstein on it?
Did my project inspire you to decoupage?
If so, please send me a photo of your decoupage masterpiece,
I would love to share it on my Facebook page!
Happy Crafting.
Sincerely,
Debi
I’ll be linking up here this week! Redoux Interiors and Miss Mustard Seed


Debi, I love your dresser of Marilyn Monroe. Your imagination and perservance is inspiring.
Rediscovered Debi. Loved her channel!
You are absolutely adorable. Awesome finish, great video, you are a generous and talented lady. Well done.
Your dresser turned out amazing and what a great tip about mod podging it in sections! I’ve seen your videos through Pinterest posts and didn’t realize you lived in San Diego until finding your blog. I’ll have to come check out your shop 🙂
Love, love, love you and your stuff! I did a mod podge side table many years ago. I worked for a printing company who did lithos for several local artists and i used one of the lithos for the table. then i crackled it with elmer’s glue, and aged the crackle with a dark glaze…would love to send you a picture, but now sure how? tried dragging, copy and pasting no luck….
Love it! And your so cute in this video! Gonna try this on my next project…I’m sure I’ll have some choice words as well as I go along. 🙂 Thank you for the inspiration! 🙂
Wow! I love your dresser.I’m going to try this. Thank you for being so creative. Linda
I absolutely love the Marilyn Monroe dresser. I definately plan on doing something similar.
love it I like to mod podge alot very nice work
i know your frustration!! but do not wet poster paper! i do a lot of poster/ pretty thick paper projects and sell them- they do get bubbles but you have to press them out with your thumb- no tools because the tools dont work and end up ripping the poster paper. it is possible to work with a poster you just really need to literally rub each bubble out press your body weight on it- its a lot easier with a table, and make sure the glue undernearth is equally distributed bc any areas with no glue- will definetly bubble.
ok wow just finished watching your video and love the idea of doing it piece by piece! totally learned something new
I have figured out a way to decoupage that has worked so well for me & anybody else that I’ve taught it to. Anytime you add glue to paper, the paper will curl. And, as you found out, if you try to push the bubbles out, you end up smearing the ink off of the printed side. Next time: put your mod podge on the printed side first!! While that dries off to the side, cover your drawer with mod podge, so you don’t have to add that coat after you’ve added your paper. When the front is dry, add the mod podge to the back as usual, stick it to your drawer front & just squeegee it out. The mod podge in the front of the paper will protect your ink from getting smudged & since the paper has already done it’s curling, it doesn’t curl up again. Try it next time!