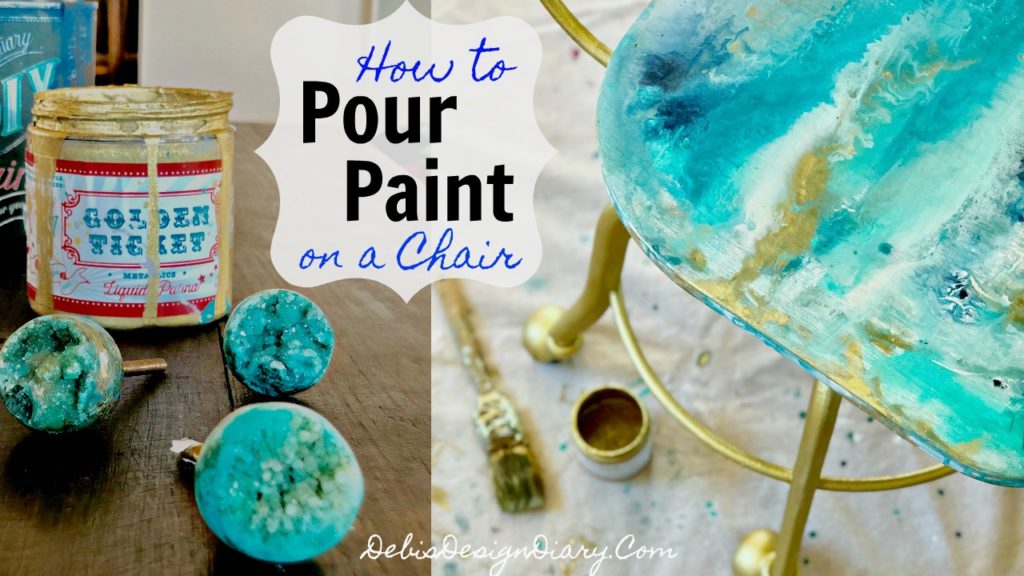
How to do a “Geode-Paint-Pour” on a Chair- Inspired by Anthropologie Drawer Knobs
For more detailed step-by-step instructions, you can watch my YouTube VIDEO below.
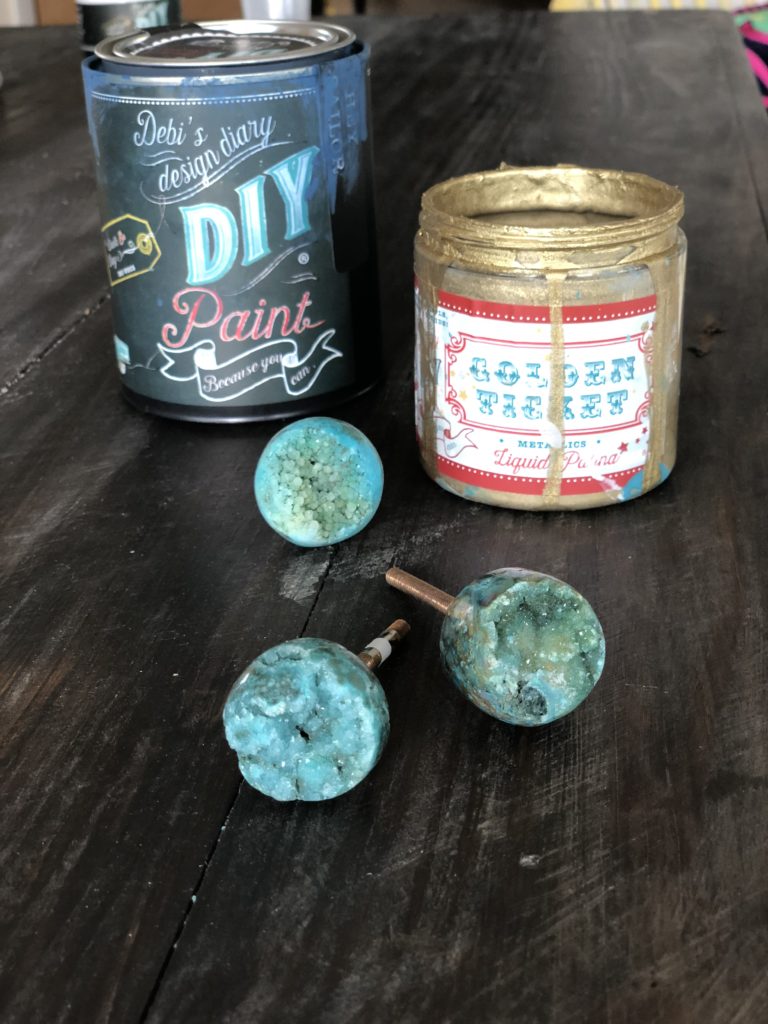
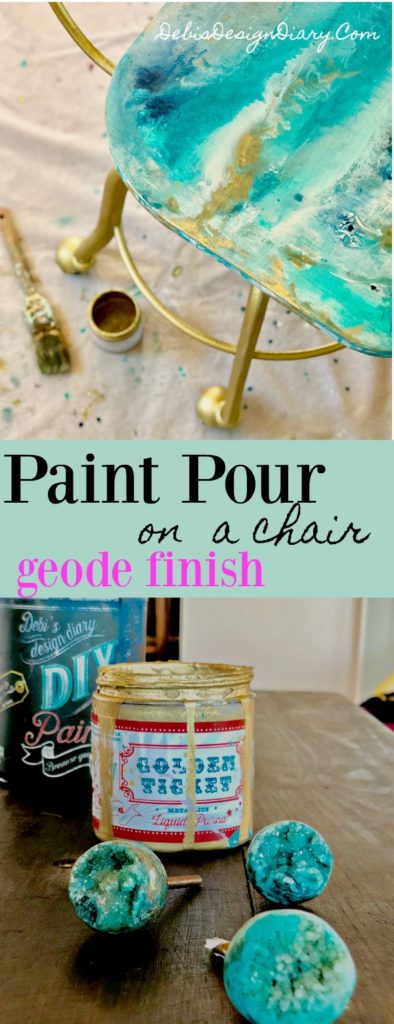
My INSPIRATION… I was inspired by these Anthropologie’s drawer knobs that I recently bought.
*This blog contains affiliate links
For this project I used the following supplies:
- DIY Paint- Golden Ticket
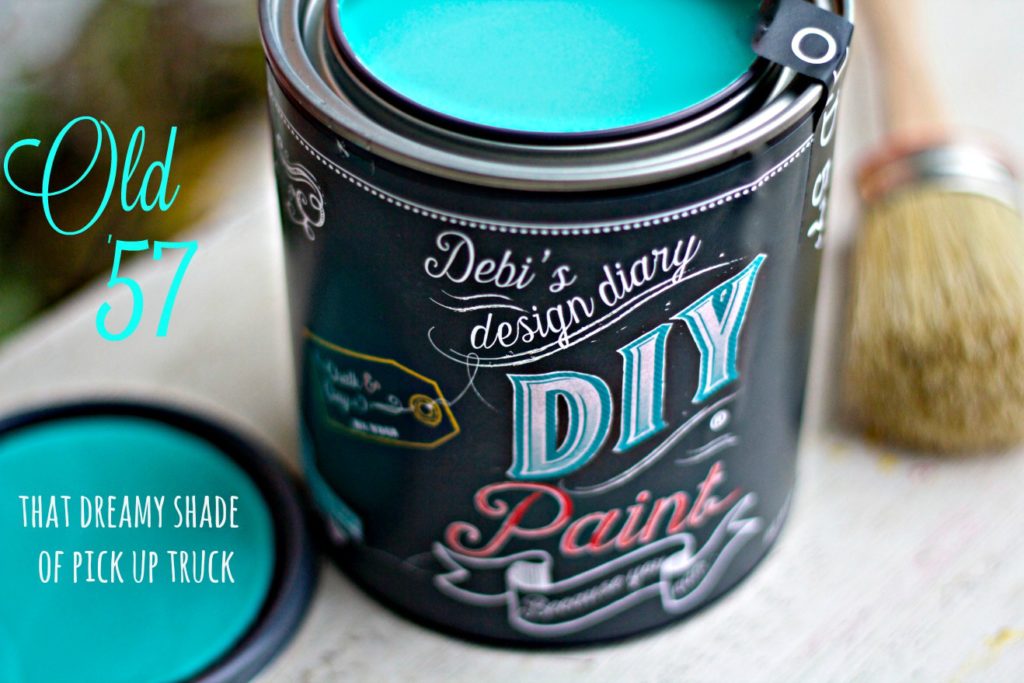
- DIY Paint- Old 57
- DIY Paint- Farm Fresh
- DIY Paint- Vintage Linen
- DIY Paint- Hey Sailor
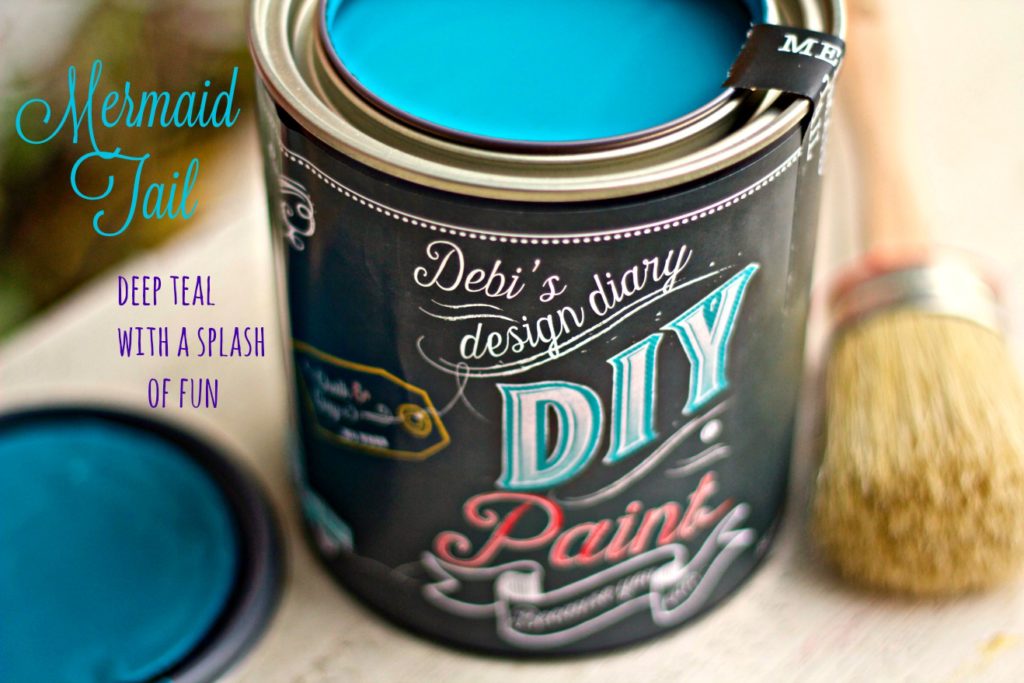
- DIY Paint- Mermaid Tail
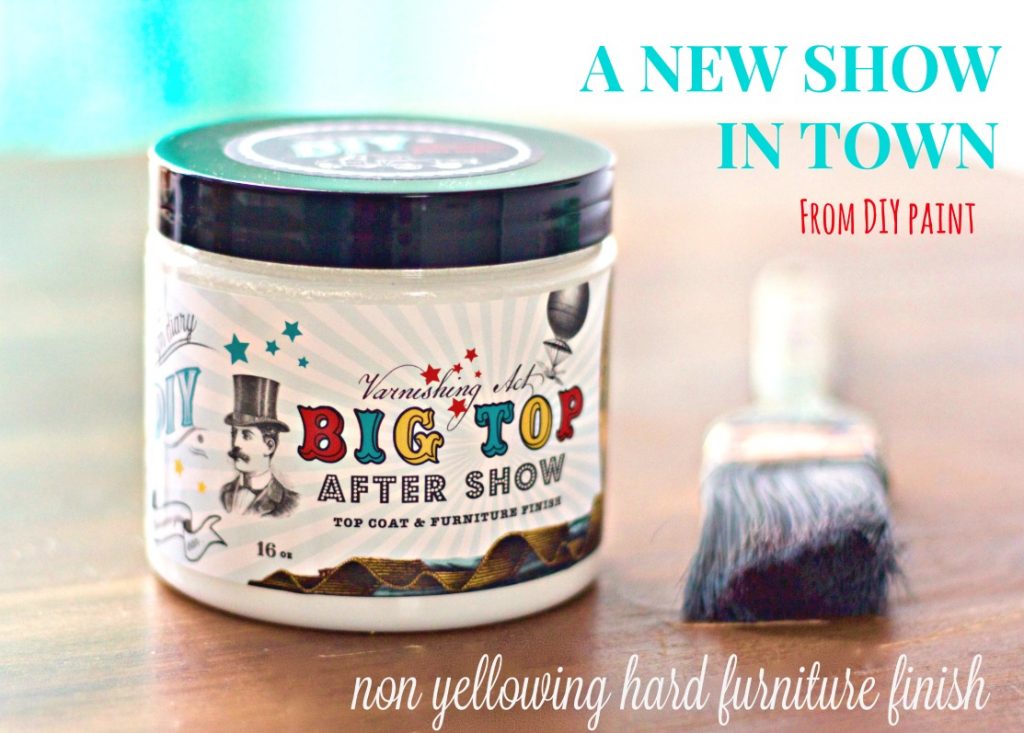
- DIY Paint- Big Top
- Pottery Barn or Vintage Desk Chair
- Sanding Sponge
- Aluminum Baking Trays
- Small Canvas
- Plastic Cups
- Large Craft Sticks
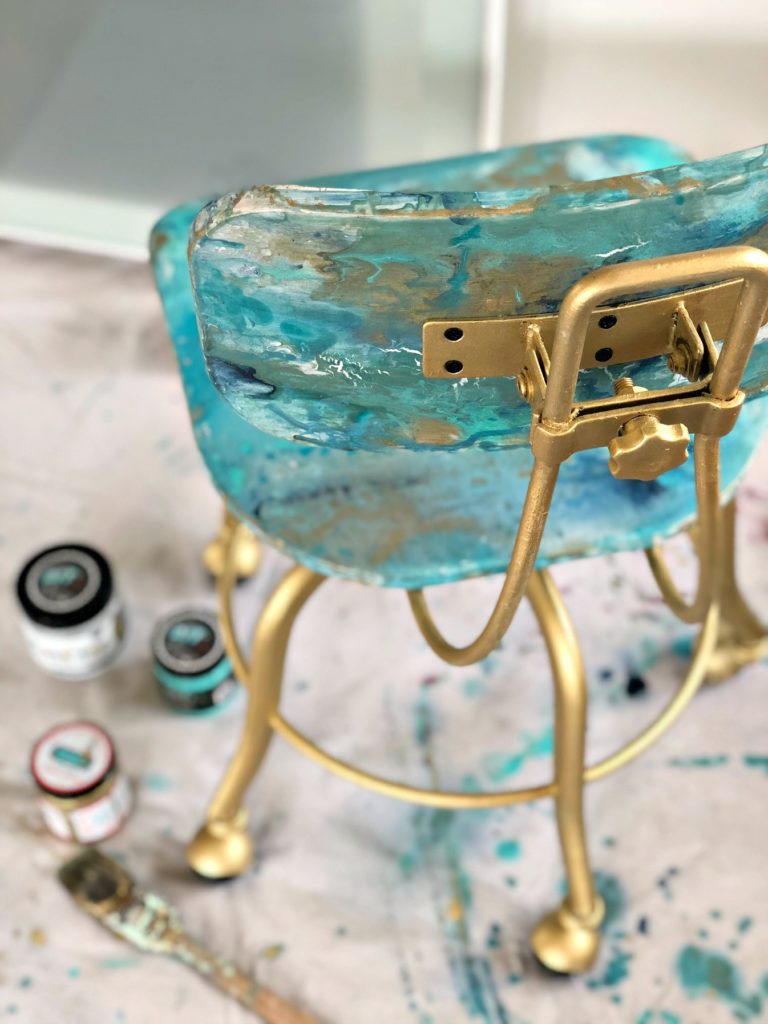
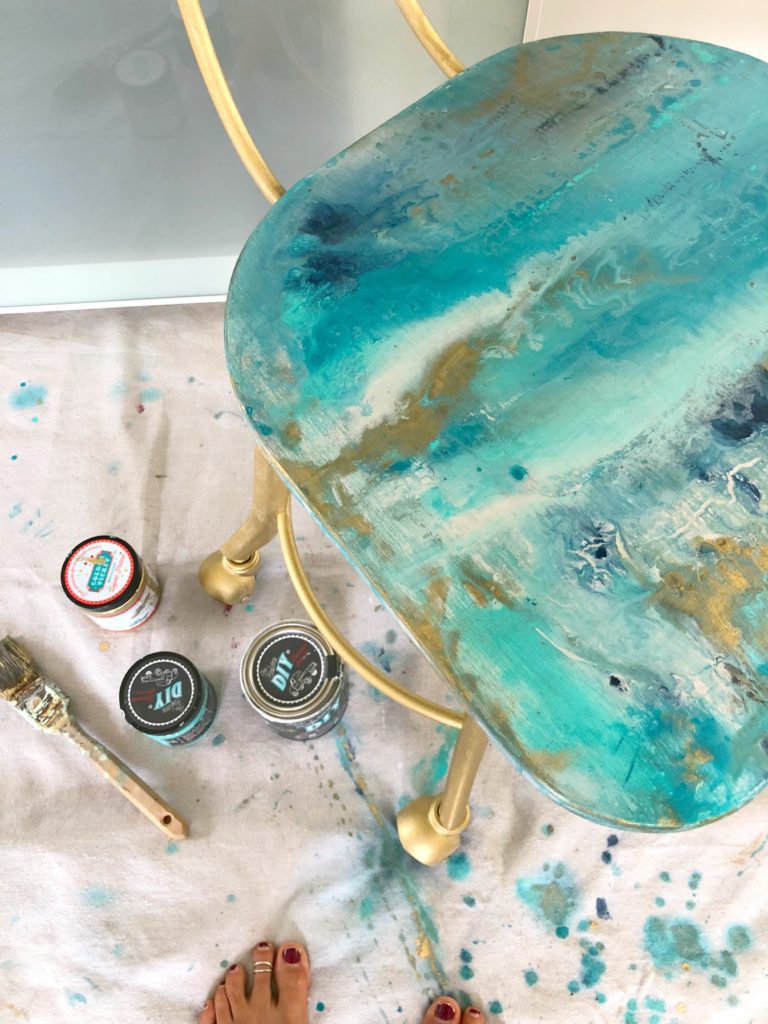
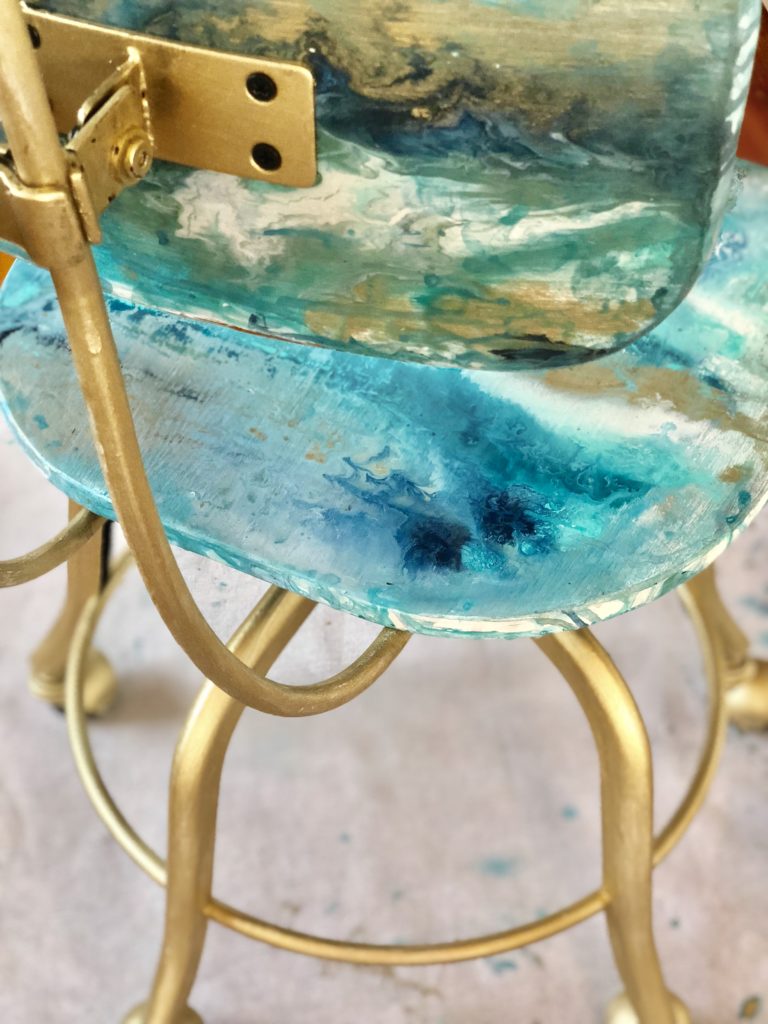
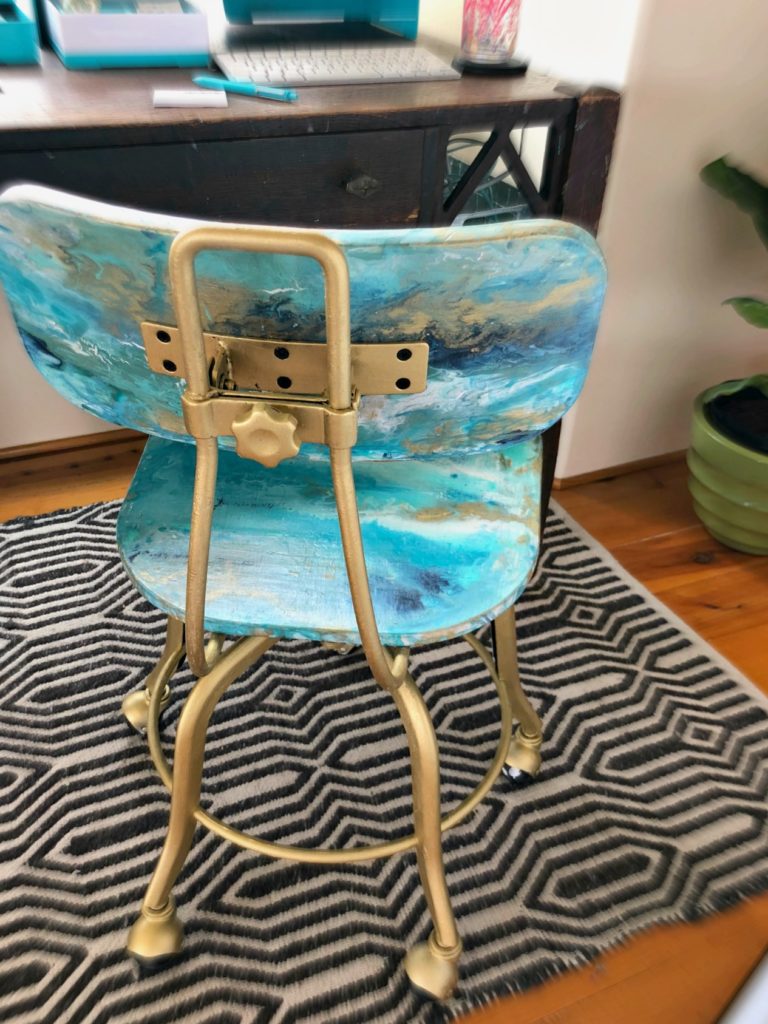
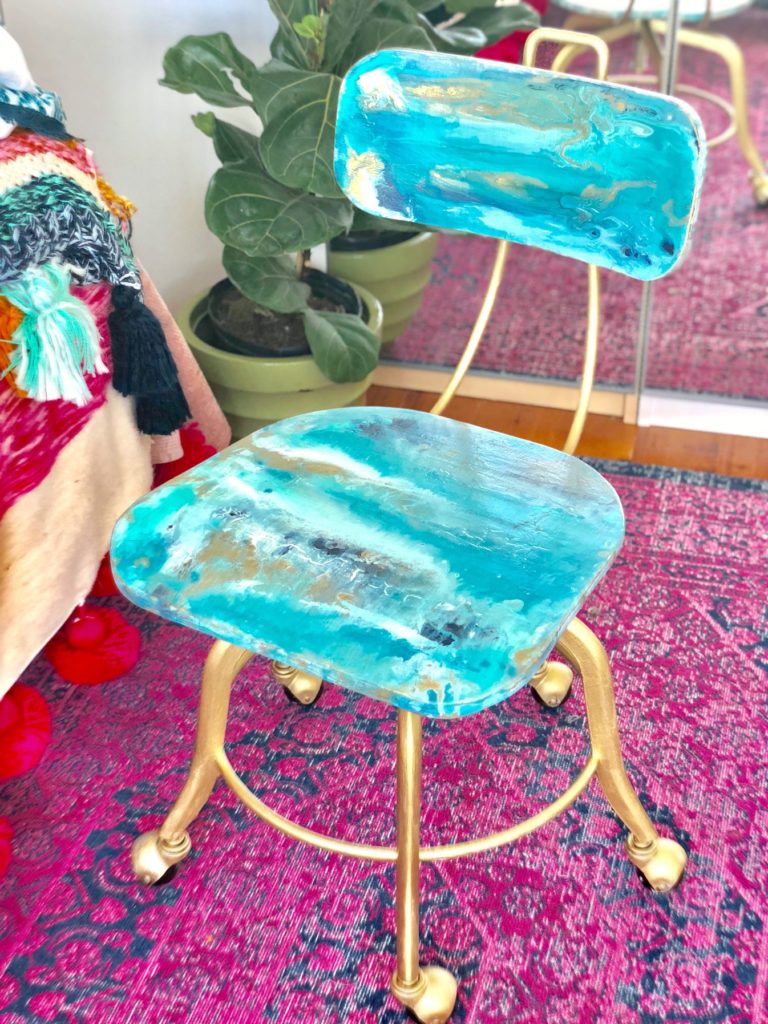
I found a beautiful Pottery Barn chair at the swap meet for $5.00 and I knew immediately it would be the perfect piece to demonstrate the popular painting technique called “Paint Pour”. However, I am putting a slight twist to it, because I wanted a geode-like-look.
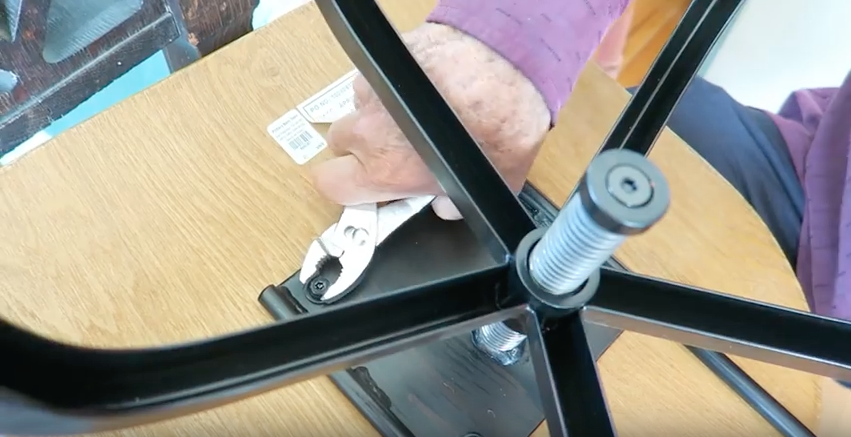
I started by disassembling the chair.
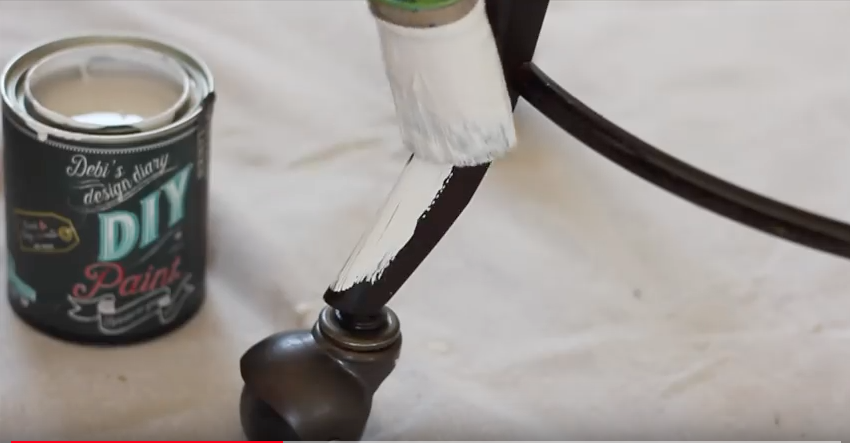
I used DIY PAINT for this entire project. DIY PAINT is clay-based, highly pigmented and doesn’t separate and in most cases, covers in one coat. DIY Paint will adhere to almost anything without sanding or priming, because it is clay-based.
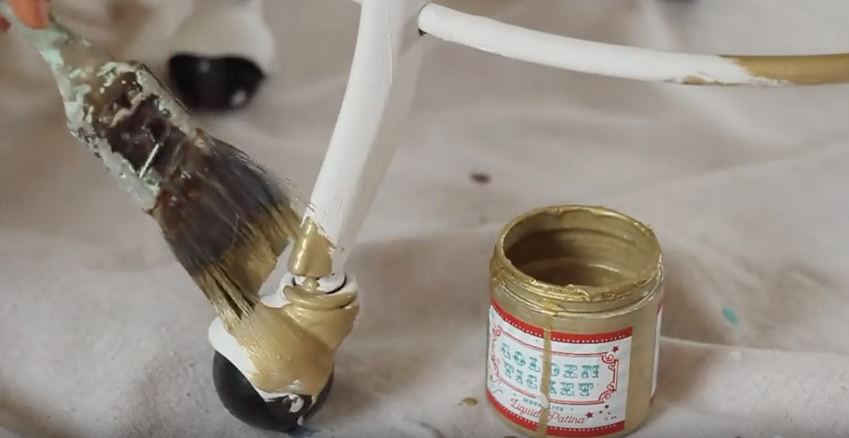
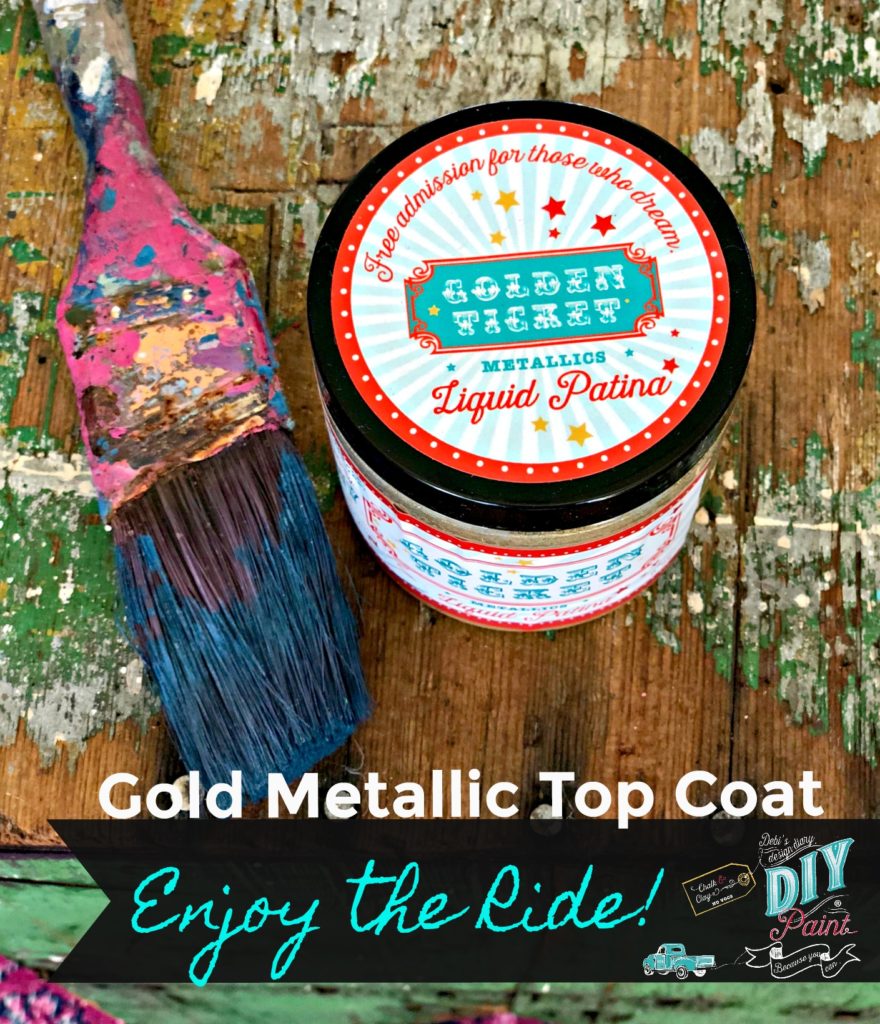
The chair had a metal base and an oiled-bronze finish, so I painted one coat of Vintage Linen and one coat of Golden Ticket. Golden Ticket is a metallic top coat, so there is no need to apply a sealer over it.
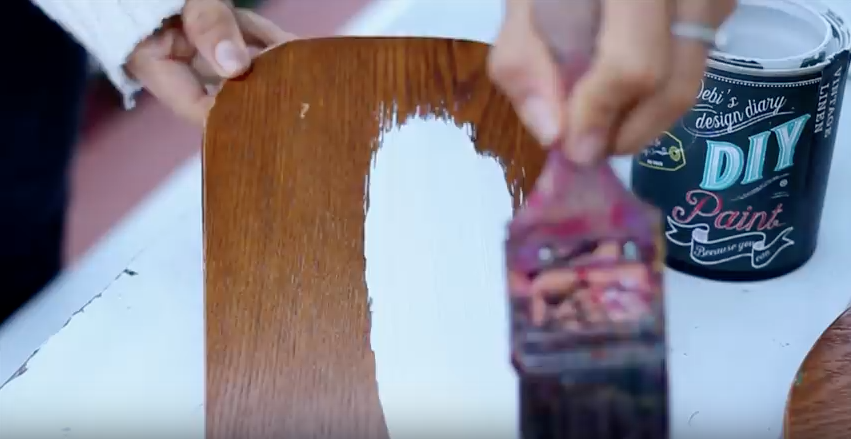
Next I applied one coat of Vintage Linen to the wooden seat and back rest.
*I was very nervous to immediately start on my chair with this newer technique, so I decided to practice on some small canvases. Each canvas turned out different but once I felt a rhythm I went back to my chair.
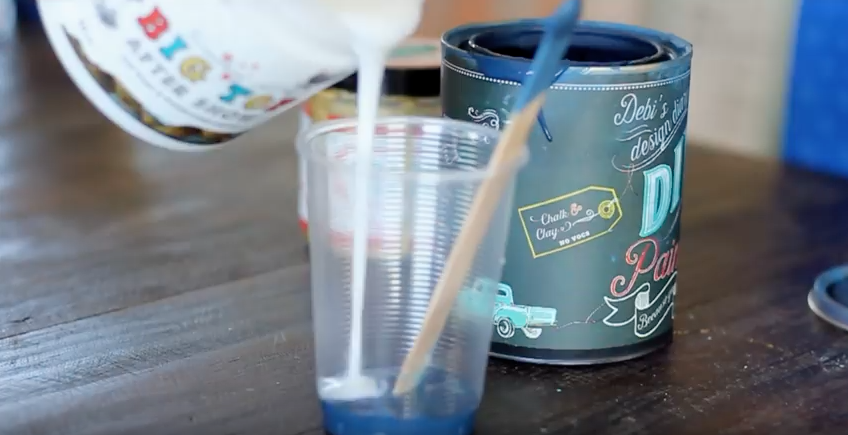
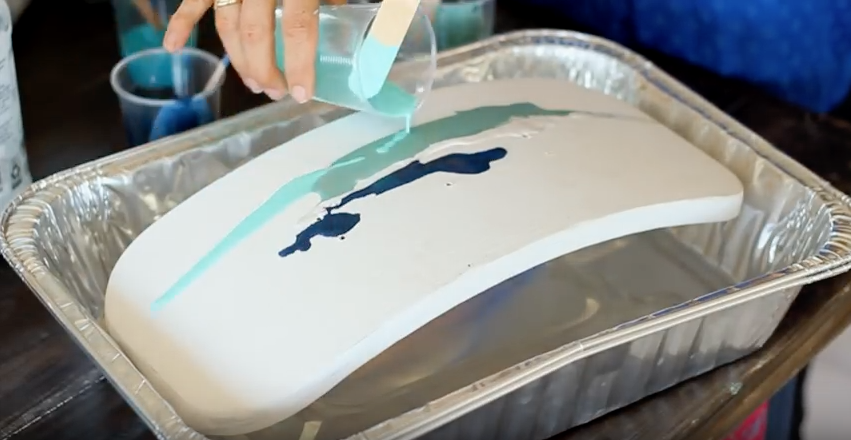
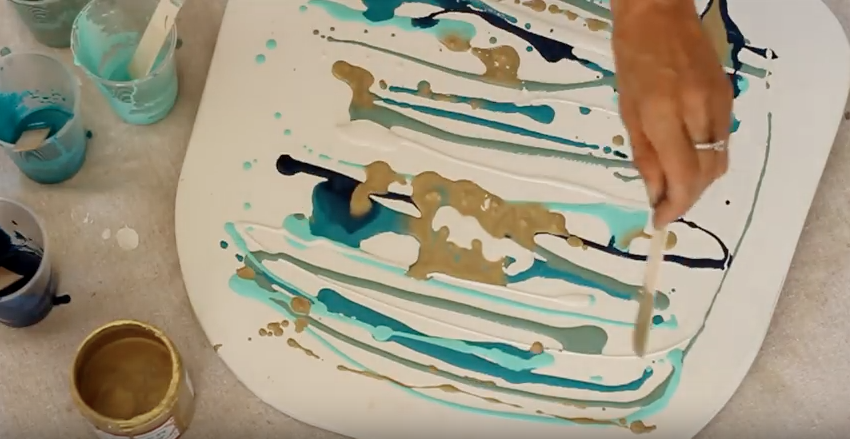
I mixed a 50/50 concoction of Big Top and each paint color separately in different cups, instead of all the colors in one cup. This will keep the colors from mushing together. Compared to the “Paint Pour” method videos I have watched on YouTube, I used a lot less paint. I decided to do it differently, because I was concerned it would take too long to dry with or that it might peel up over time if it was too thick.
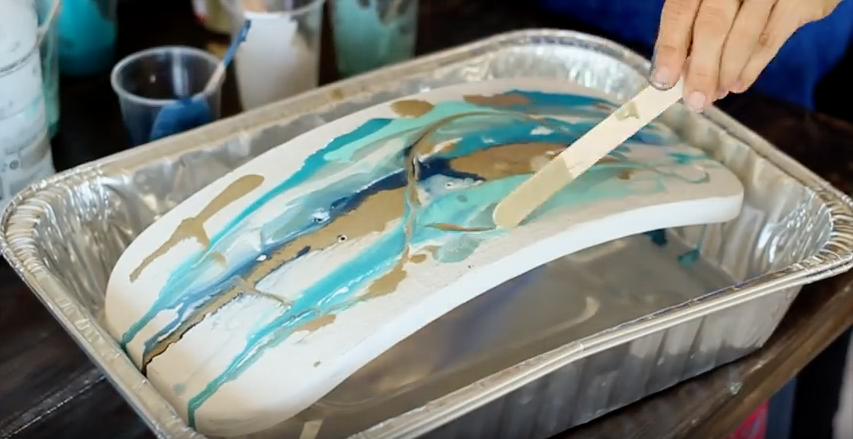
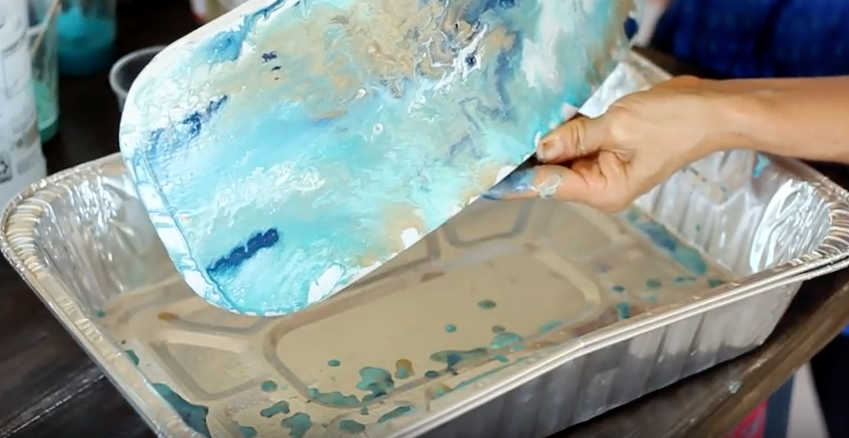
Holding the piece over an aluminum baking pan, I chose to pour a layer of each color, in thin stripes, because I wanted it to look similar to a geode crystal that had been cracked open. I wanted a simple pattern.After pouring each color, I used a spray bottle full of water and a craft stick to help move the paint and allow to flow together as I tilted in different directions.
The way you tilt the surface is tricky, but it ultimately determines the pattern. You might try practicing, like I did, on a few canvases before attempting your final piece. It’s tempting to mess with it too much and not know when to stop.
TIP: I used a lot less of the darker colors, because I found that they can overtake and dominate the lighter colors. There are so many ways to get this look and so many links on YouTube for different results. To see a few of my favorites click HERE.
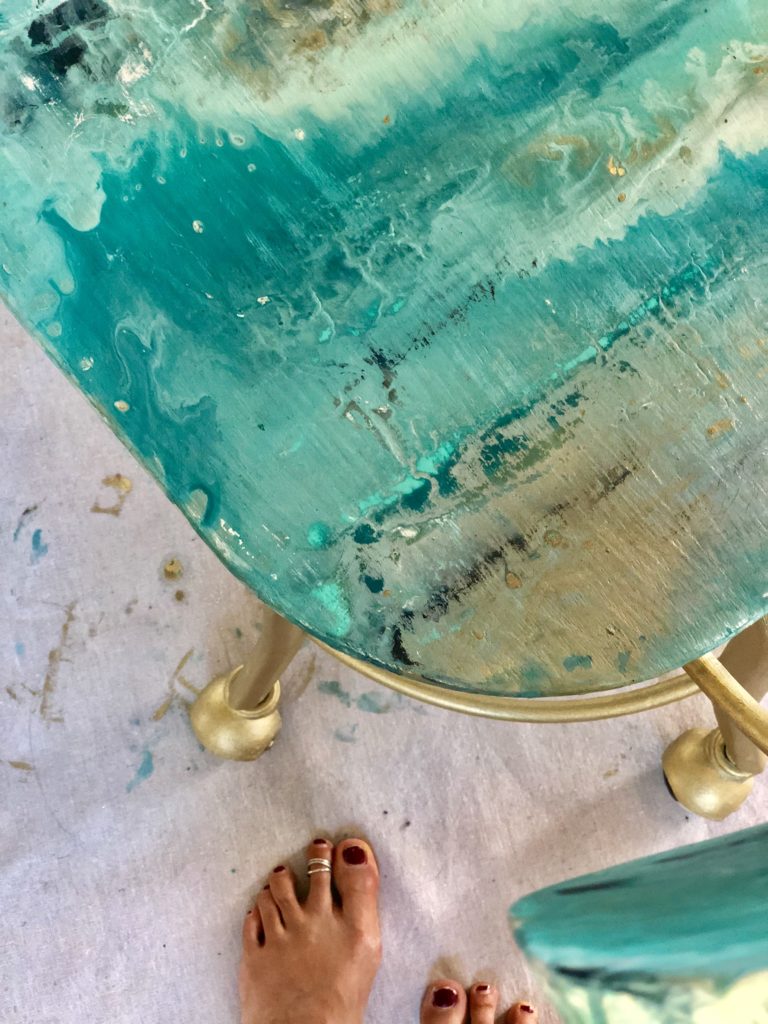
After the chair dried completely, I sanded it very lightly to bring out the details. Then I gave it a coat of Big Top to protect the surface and make the colors POP.
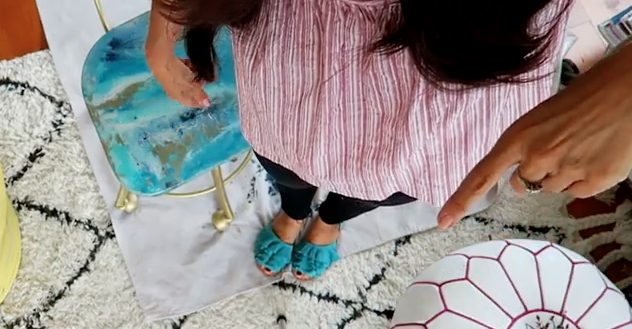
One of my favorite things to do after finishing a successful project, is treat myself to something new. I found these turquoise shoes to match my chair. What do you think?
Thanks for stopping by,
Debi

I’ve tried a zillion times to subscribe-
Maybe I hv bad breath- -hummm
Peggy Sue
Who is your dealer nearest me?