*This post contains affiliate links.
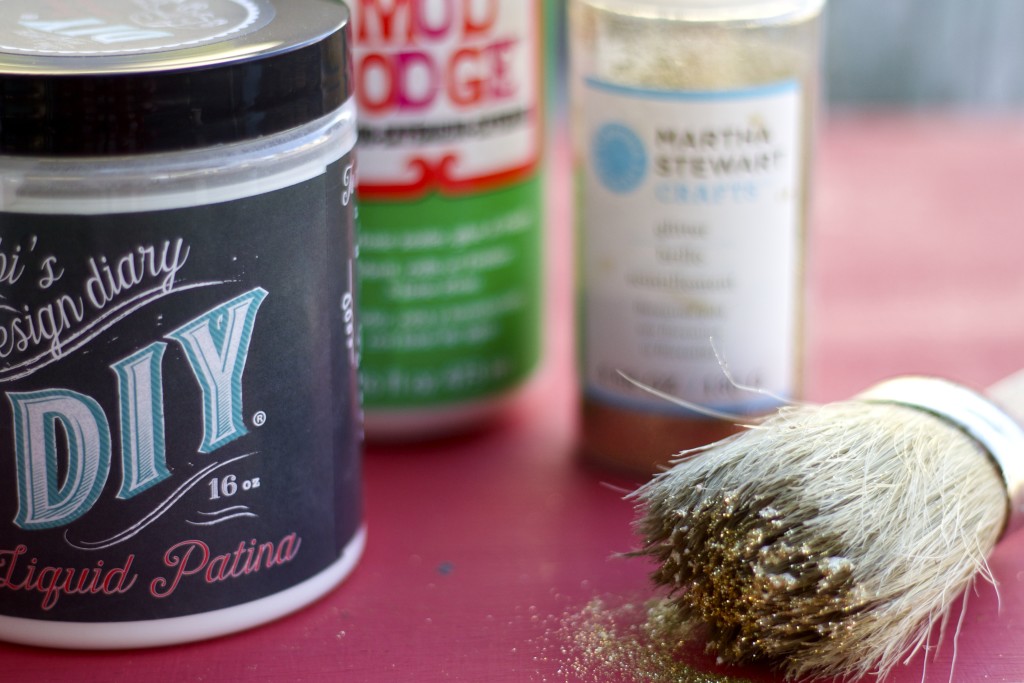
Here’s a list of products used to create this chair and links to purchase.
Mod Podge or Clear Patina… I used Mod Podge in the video, but since then I found out that our own DIY clear patina is a Decoupage, transfer gel and top coat all in one! It’s great product to keep on hand, I love multi purpose items!
Glitter– any glitter will work, the finer grit the better, my favorite is Martha Stewart, for this size project an 4.5 oz container is enough to cover with several coats.
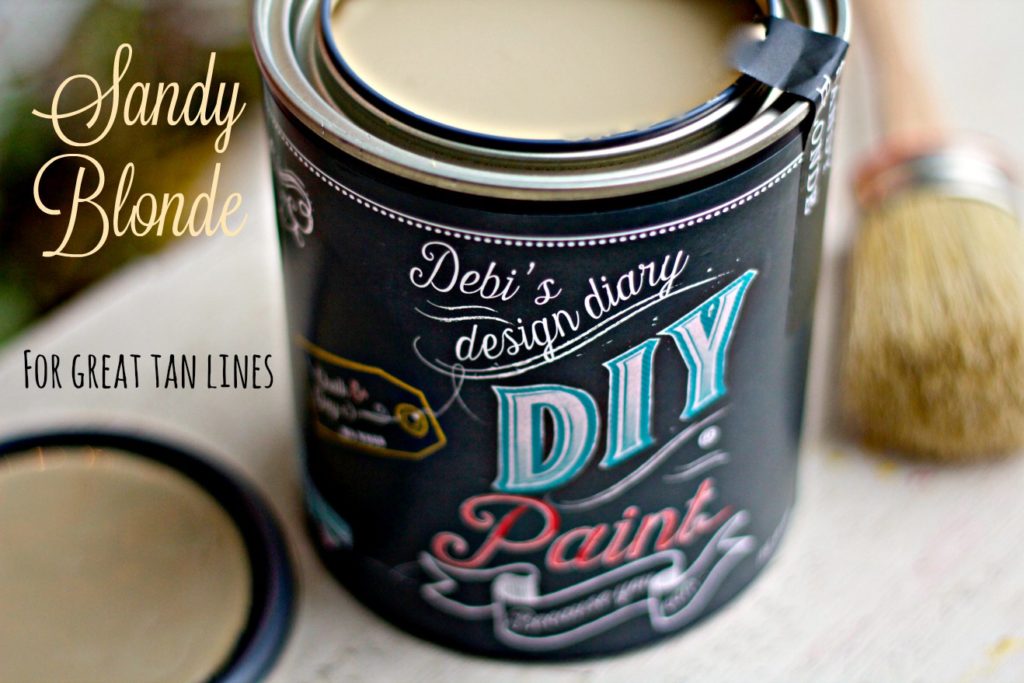
Paint, For best results paint your chair first in a color similar to the glitter you want to use, a chalk type works well because it is soft, water your paint down and work it into the fibers of the fabric. Hers a link to the color I used, Sandy Blonde I have a tutorial showing how to do this, Click Here.
Sponge brush I like to use these for project that require applying mod lodge or a glue type of substance as they are disposable.
Purdy Brush I love this for getting a nice smooth finish, this is a great tool for working the paint into the fabric before adding glitter and patina/ Mod Podge.
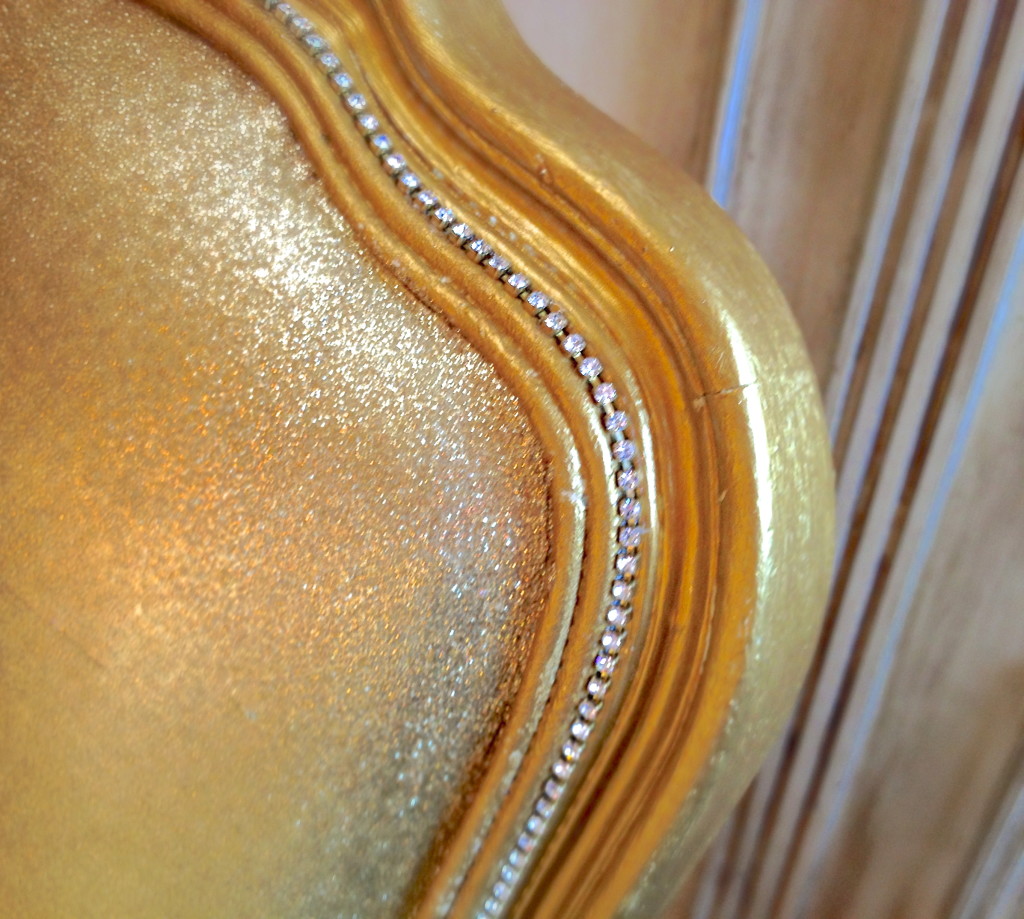
Rhinestone chain this is optional, I thought it was the perfect final touch.
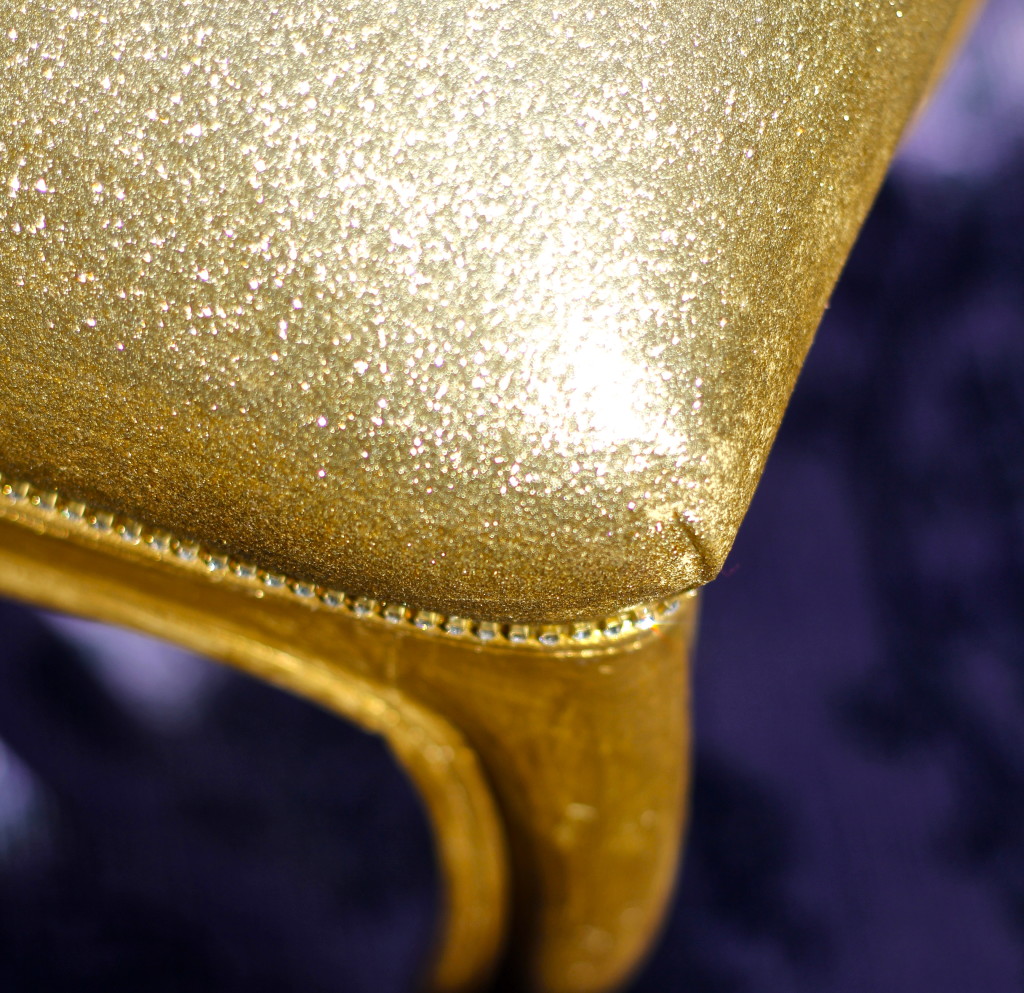
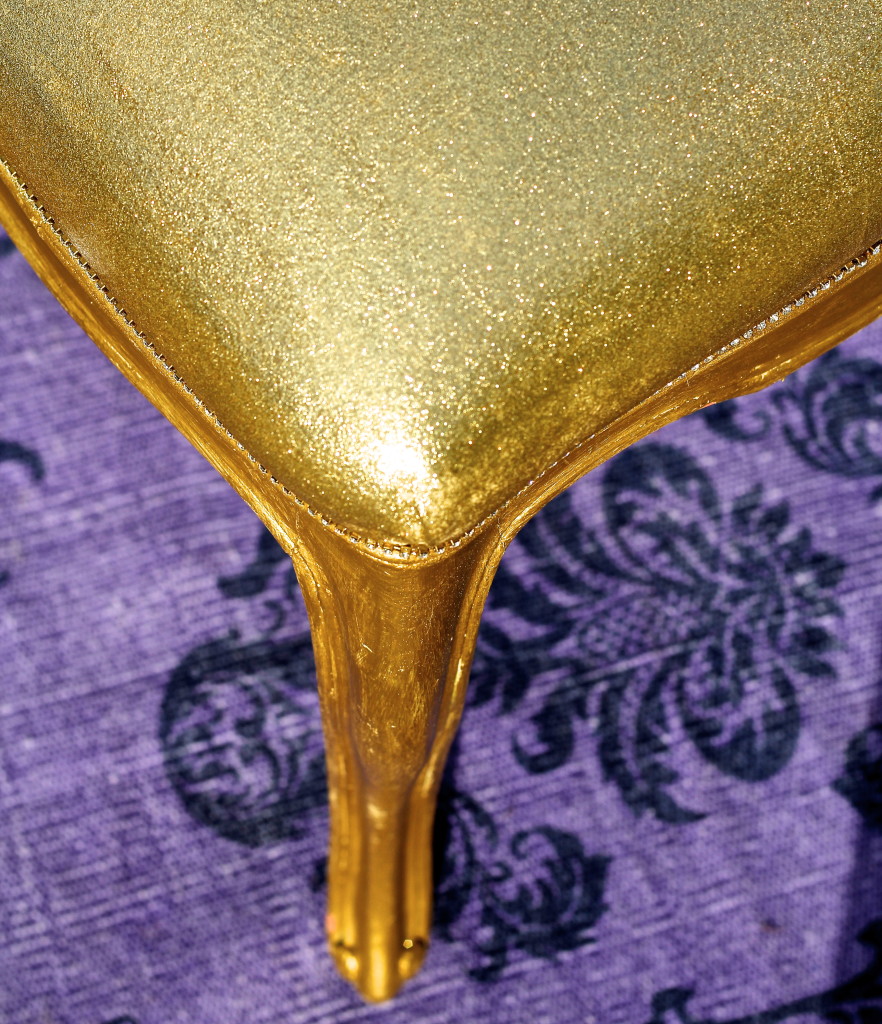
Let me start off by saying I took over 500 pictures of this chair, and I’m not exaggerating. I’m learning how shoot in manual mode, so I can improve the quality of my photographs. Capturing the magic of this chair had some unique challenges, most photographs are taken in the shade to avoid harsh shadows, when I put this chair in the shade all the sparkly goodness disappeared into the camera lens and when I tried to photograph it in the sun where it would shimmer and dance, the shadows were too distracting. I finally decided to photograph the entire chair in the shade and capture some the sparkly goodness by shooting close-ups of it in full sun.
I had so much fun shooting the video for this tutorial, of the 40 DIY video’s I’ve posted to YouTube so far, this has got to be one of my favorites!
Here are some tips not mentioned in the video…
-be sure to use a fine glitter, the Martha Stewart brand works really well, if you use a a large grit it will be scratchy when you sit on it.
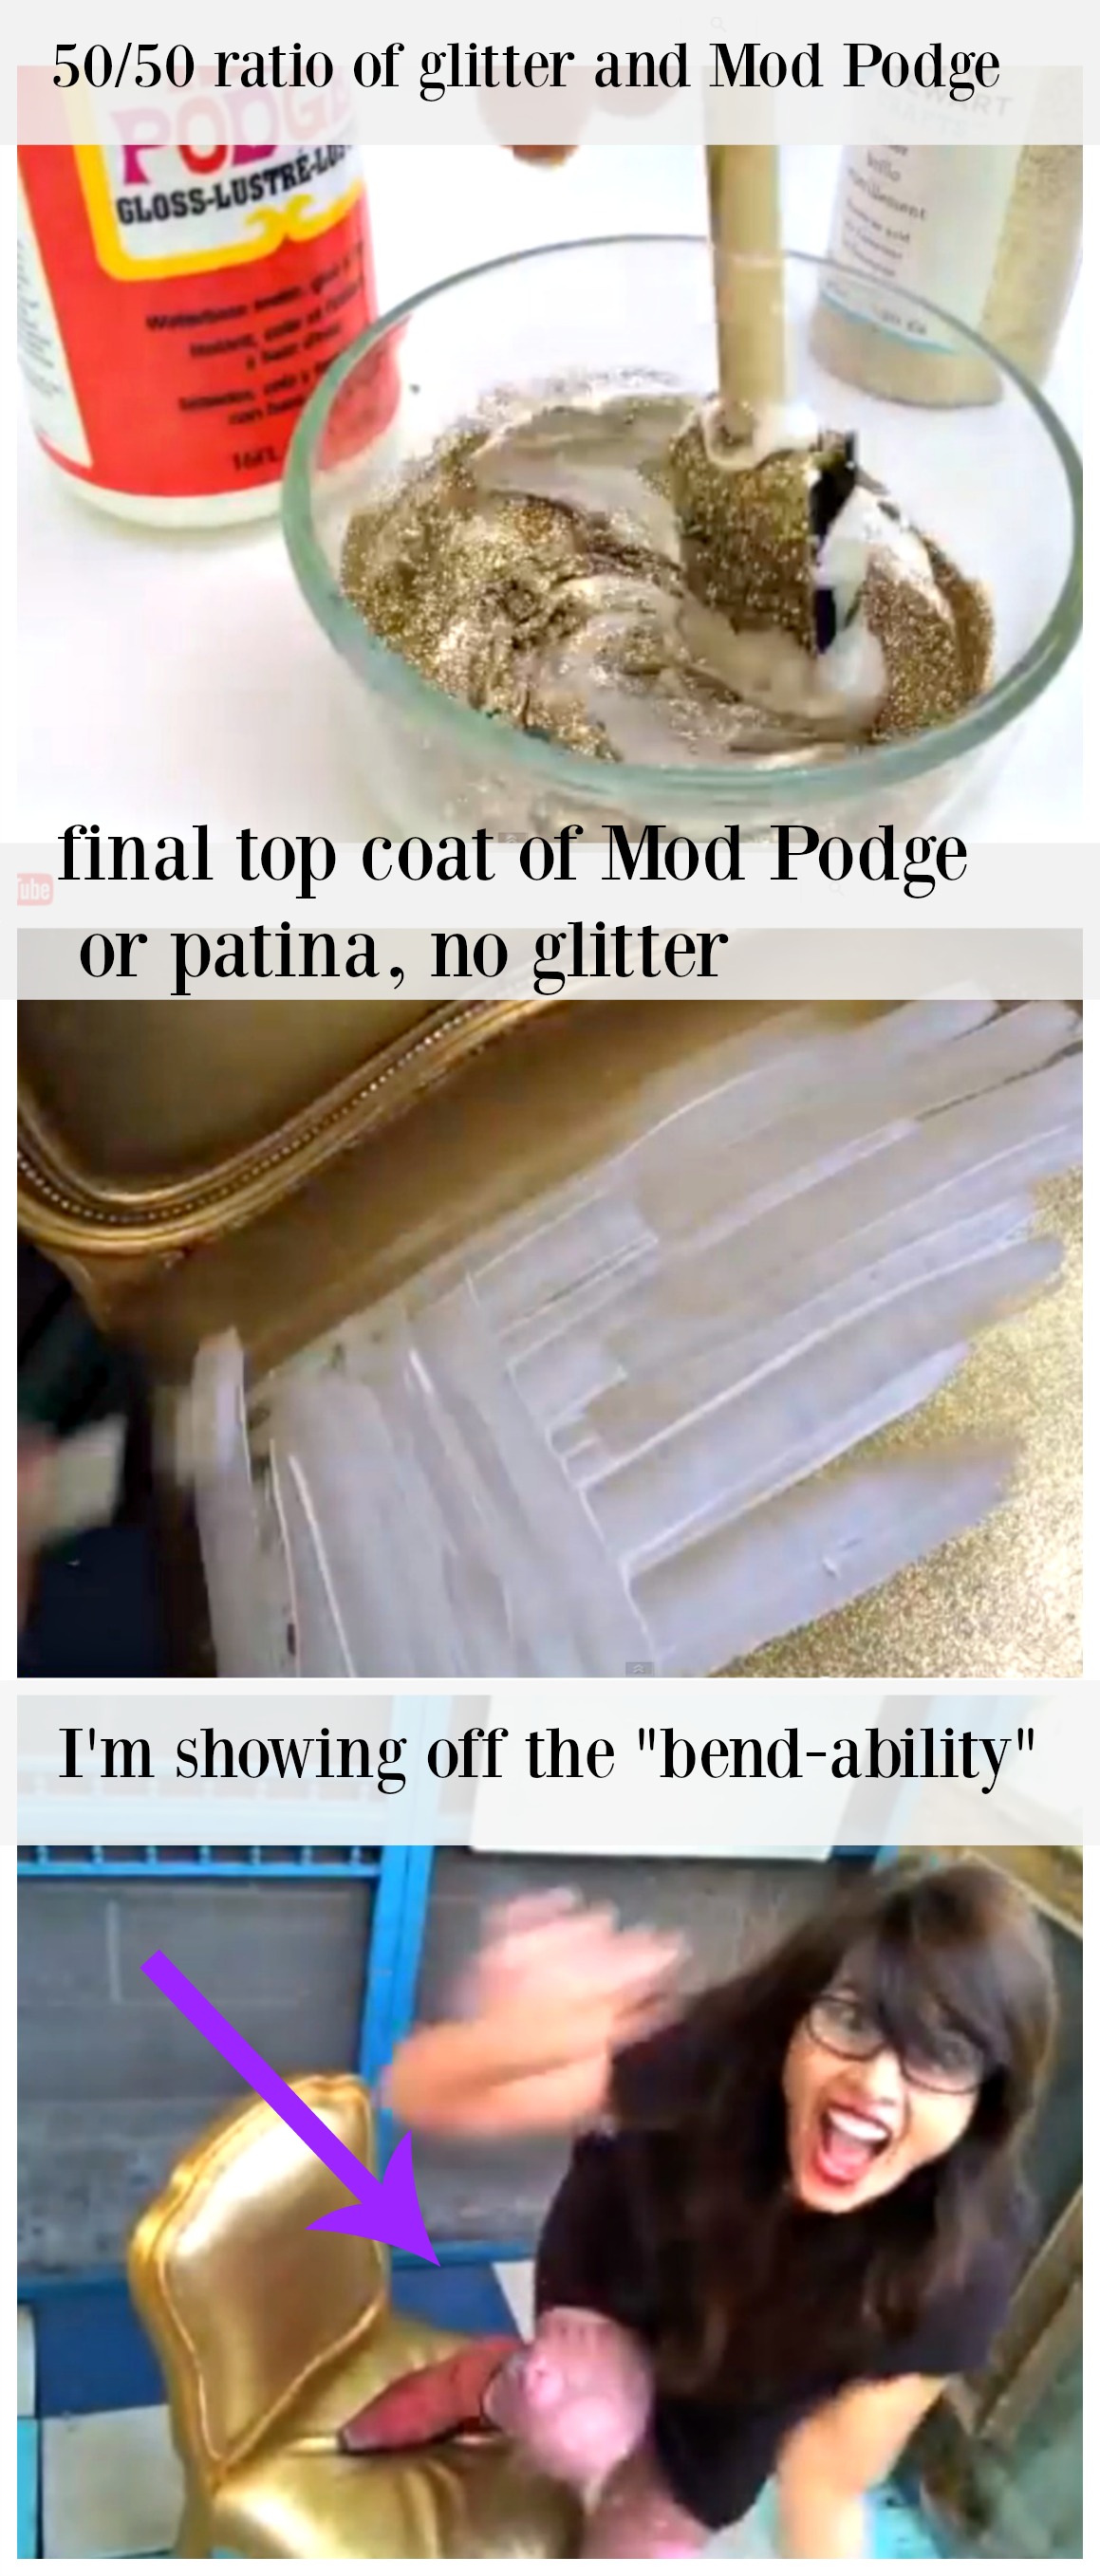
I was surprised to find that I only needed a small amount of glitter, before I started I thought that I would need several jars, because of my first attempt, which was a total mess, I used a ton of glitter that didn’t stick and went on patchy. This method was so much easier and big surprise, I only used about half a container of Martha Stewart’s largest size. ( 4.58 oz) DIY Paint, color- Sandy Blonde– https://diypaint.co/collections/diy-paint/products/sandy-blonde-diy-paint?variant=28012662472 Here are some screen shots from the video, It’s important to mix the glitter in until it’s smooth, no clumps, mine was about half and half glitter and Mod Podge. also it’s best to work in the shade or a cool area so the Mod Podge doesn’t dry too quickly. Add a final coat of Mod Podge or clear Patina over the top, this time with out glitter mixed in to seal it all up. The chair is very flexible, it never cracked or chipped and most importantly the glitter did not come off and create a mess.
– what you don’t see in the video is the first chair I attempted to glitter, it was a total disaster and I learned the hard way. I covered my first chair completely with glue and then dumped glitter all over it, the glitter didn’t stick and my house was a sparkly mess, and to top it all off, the chair was painful to sit on because I used the wrong kind of glitter 🙁 I wish I had a photo, it was so bad!
I hope that this post sparks a glitter frenzy and you all can benefit from my mistakes. If you end up creating a glitter project please let me know so I can post it on my Facebook page!
If you have any photography tips for me, please post them in the comments, I would love to hear them. I’m actually a little frustrated with the learning process right now.
I hope your day is glittery!
Sincerely,
Debi
linking up at, Miss Mustard Seed


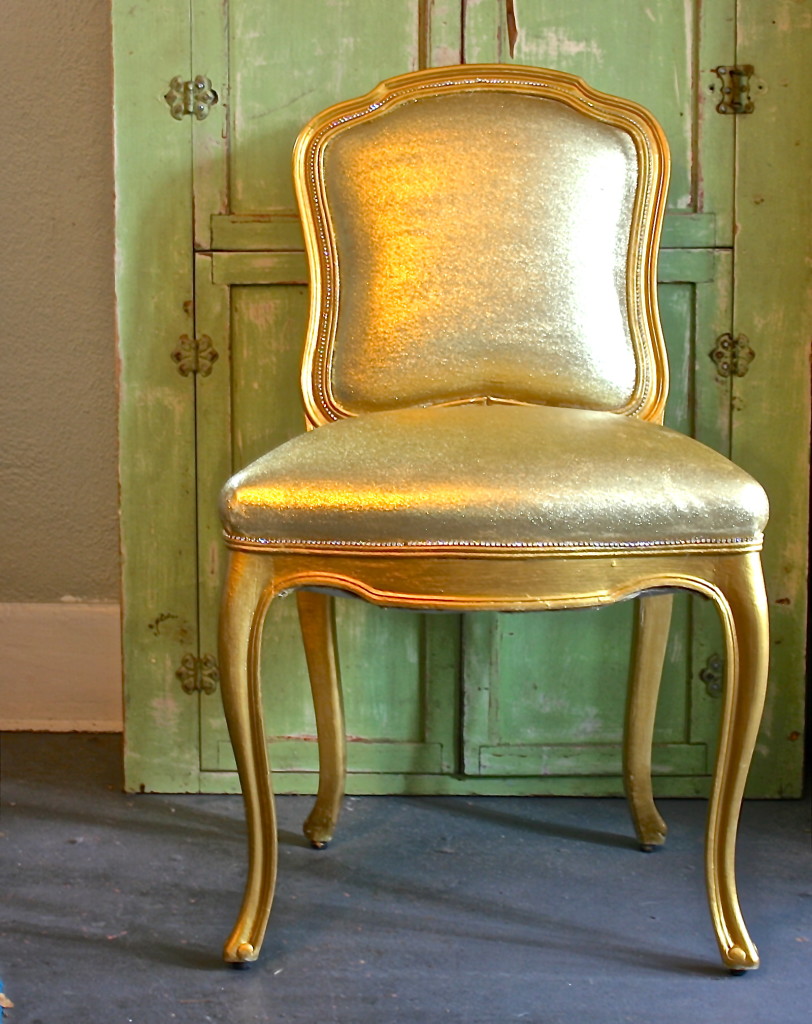
This chair is probably my favorite too. This summer Rachel and I are going to try this on a chair for her room. Hang in there, the photography gets easier! I think the chair looks mahvelous! Sharing on my FB page too.
xoxoKaren! cant wait to see your chair!
Love this!! I subscribed to all your “stuff” I love your blog background!!
thanks Lori! I’m glad I found your blog !
Debi, I LOVE your videos! They’re so cute! My sister and I used your crackle technique on a piece we did together and I can NOT WAIT to try the glitter! Keep following your <3 and living out your dreams 😉
WOW! LOOOOVEEEE! Im so going to do this! Thank you so much for sharing!
I can’t get enough of your videos!! Keep them coming, please maam!
hey i love this chair i am going to try and do this glitter chair in pink for my living room can u tell me where u found your glitter
Hi Ashley, I found the Martha Stewart glitter at Walmart and Michael’s good luck with your project!
I love this chair! I know you said it doesn’t crack or anything, but I tried glittering a pair of shoes with glitter and mod podge, and after only a few times wearing the shoes, it started cracking and looking awful. Maybe it’s the cece caldwell paint that helps it not crack?
Hi Tiffany!
It may help, but I think the super fine glitter also makes a big difference 🙂 shoes take a lot of stress but I have some glitter shoes that are holding up well… try several thin coats and fine fine glitter 🙂
This is so awesome. I am going to do one in black and silver.
oh that sounds pretty!
I LOVE THIS!!!!!
THANK YOU!!!! 🙂
Your chair is BEAUTIFUL! I have to try this!
Luv luv luv the chair ♡♥♡♥ you did such a great job I love evetything glitter
And I like your personality a lot it’s cute
Mercedes
Are you kidding me………what’s not to love…..anything with
bling. This opens up a whole new world………Yeeeeppppiiieee
I love this chair!
Do I absolutely have to paint under the glitters? Because here in Quebec (Canada) We do not have the CeCe painting, I have to order over the internet and with shipping is very expensive 🙁
Thank you and continue your beautiful DIY 🙂
You are adorable!! Good job and I like your energy!!!!!!
I was curious if this would work on a metal frame end table? Could you in all your infinite goofy wisdom, please advise me. Thanks. If so….I will have two silver glitter side tables in my living room. Look forward to hearing back. Love the chair!!! 🙂
You are so funny and you did a great job! Thanks for the video. I’m afraid when I start to glitter, it will never end.
OMG!! Love this!! made me laugh!! Cant wait to glitter!!
my upholstered glitter chair is totally dry, but it feels sticky/tacky to the touch. Debi, is there something i can put on it that will fix this?