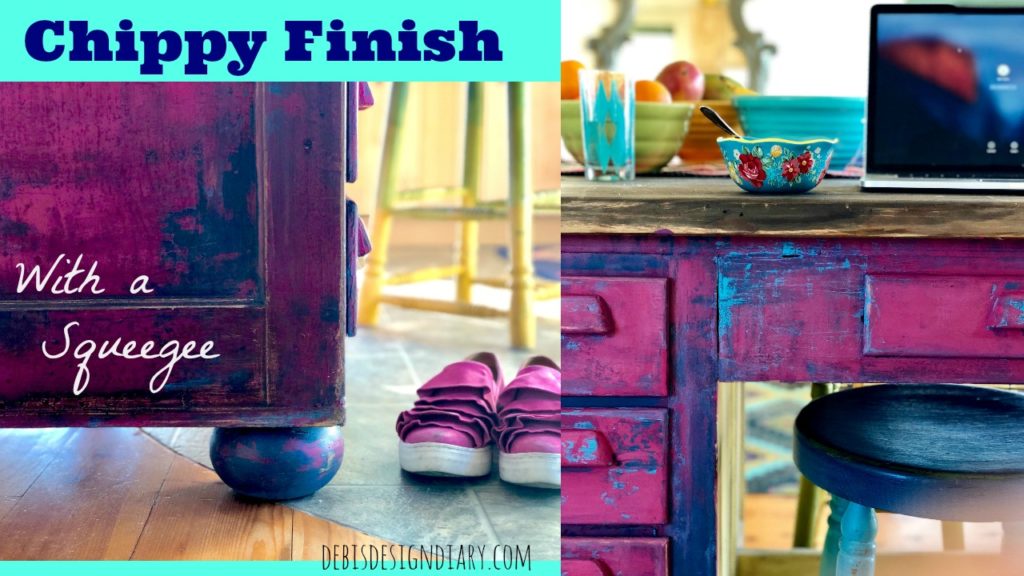
Wanna know how to create a chippy-layered paint finish using a squeegee, putty knife and a spray bottle….and NO brush?!?
*This post contains affiliate links.
For this project, I used:
CUSTOM EGGPLANT COLOR (watch video for formula)
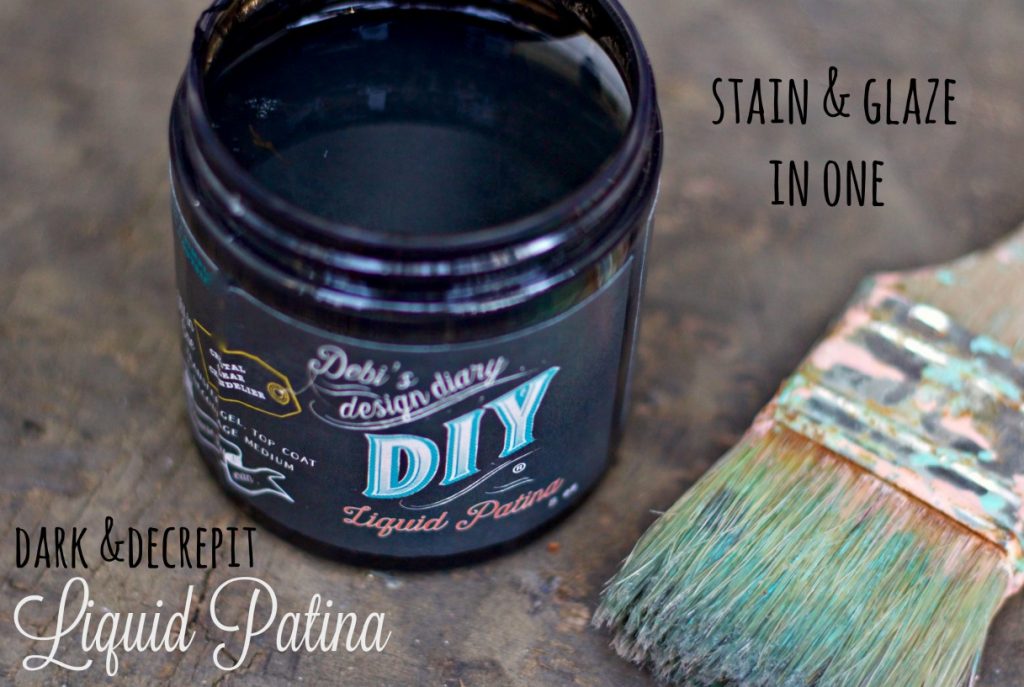
DIY PAINT DARK AND DECREPIT LIQUID PATINA
*NOTE: I’ve done extensive quality and cost research on supplies and products that I have needed to buy to complete my DIY projects on YOUTUBE. For a complete list of all my Amazon Favorite tools and supplies that I recommend and use for all my DIY projects, click the link HERE.
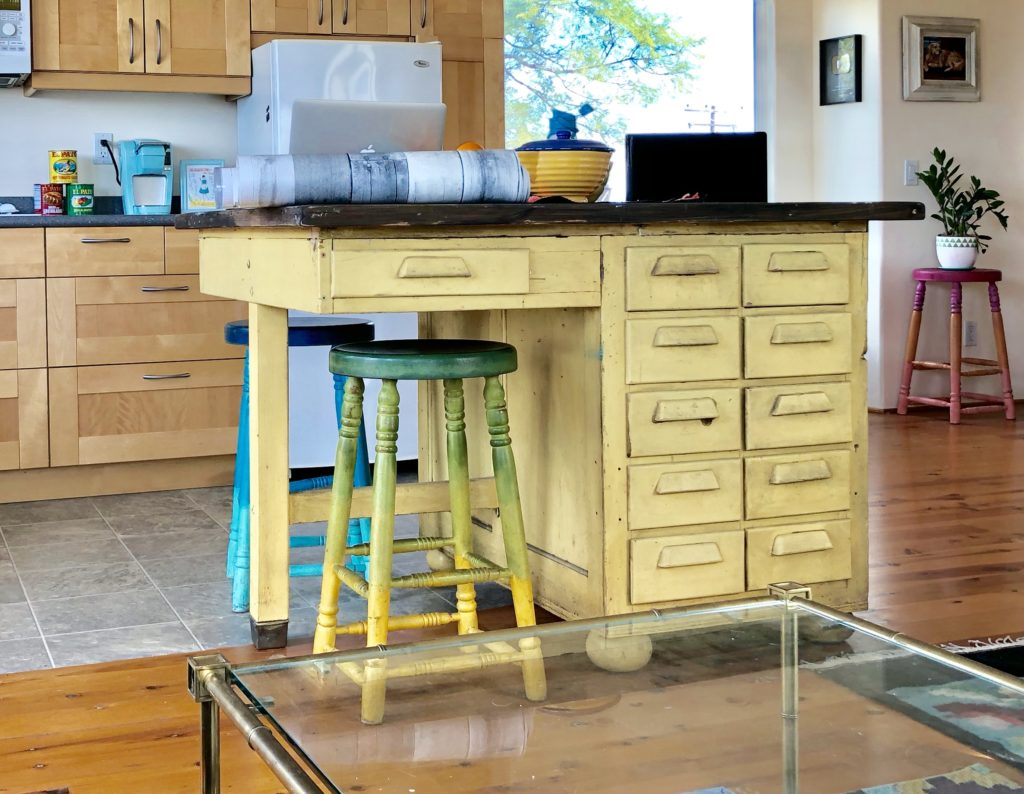
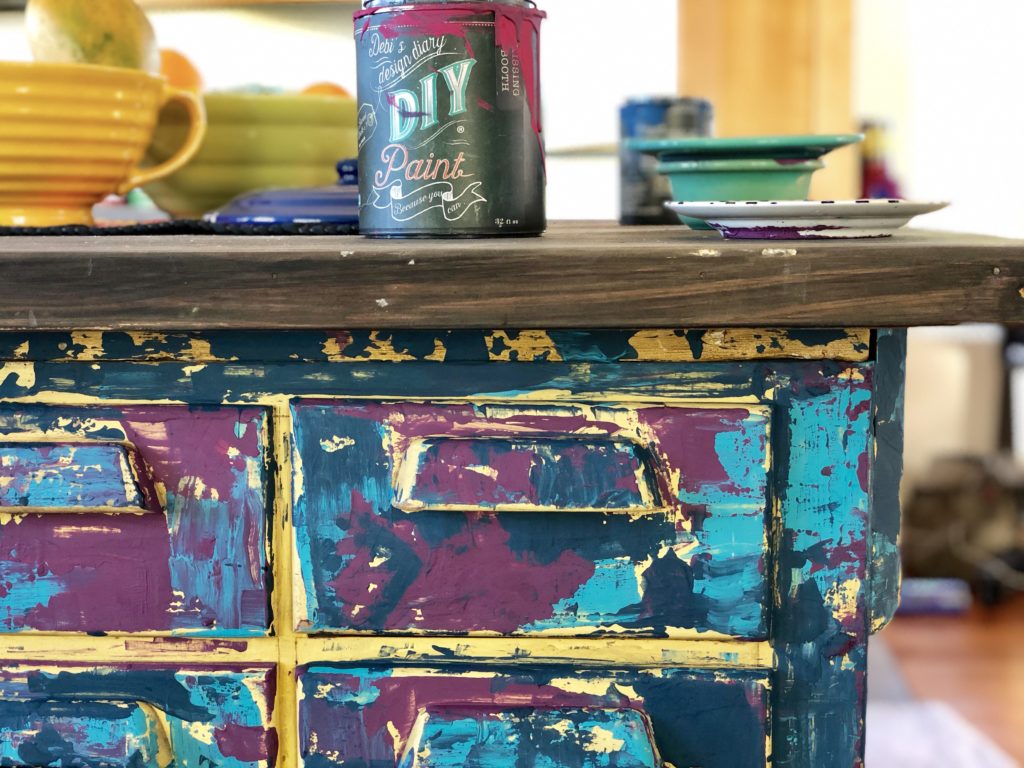
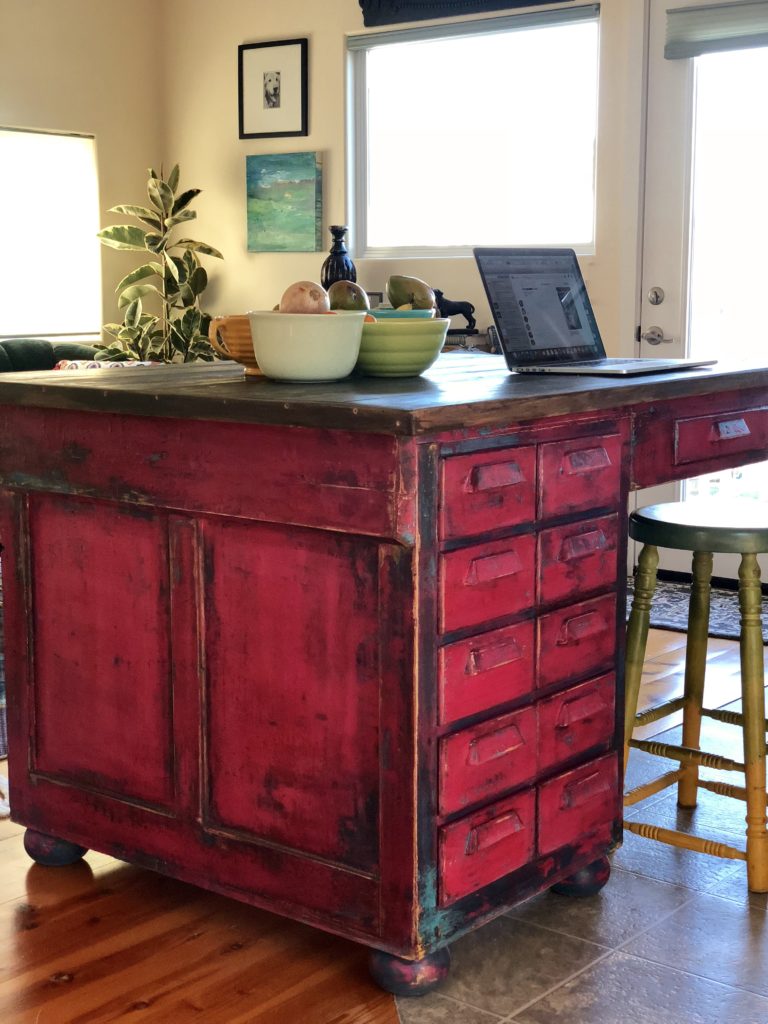
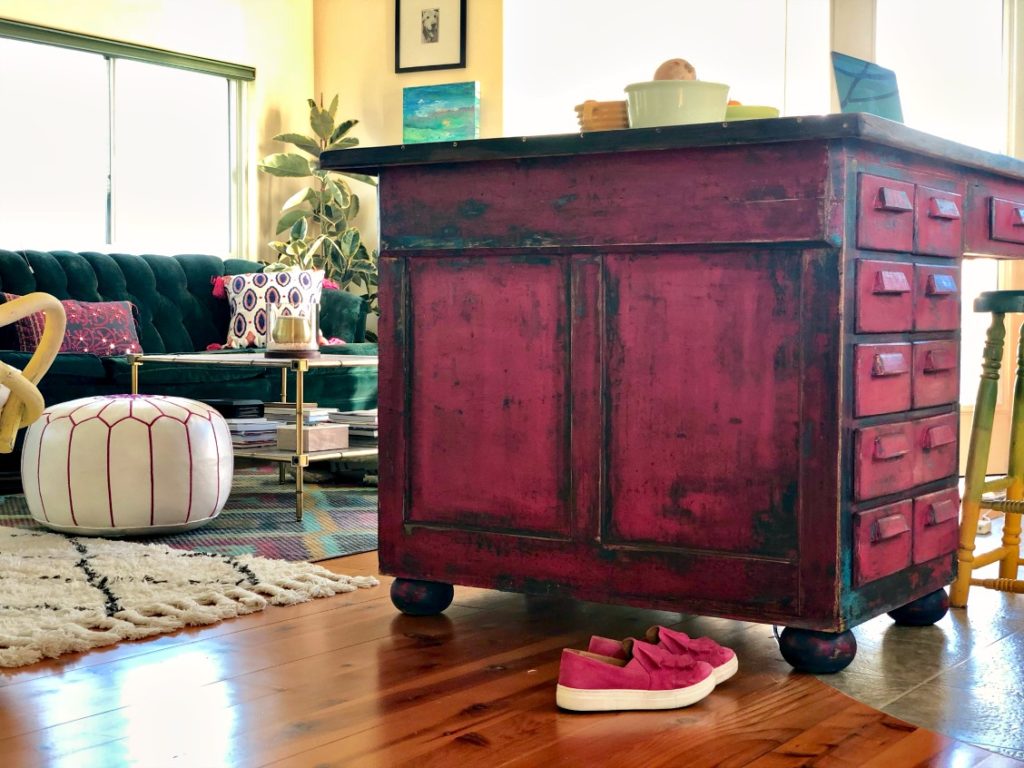
I decided to paint my mom’s favorite kitchen island. I wanted to create a chippy-finish using a rubber squeegee, a putty knife and a spray bottle. I attempted to paint like Q Uitta from All shabbed out, as well as use some modified techniques, by merging two great methods together from The Turquoise Iris and Shizzle Design, to get a blended, layered, chippy-paint finish. Here’s the island before I painted it.
For a more detailed tutorial on this project, watch my YOUTUBE video below.
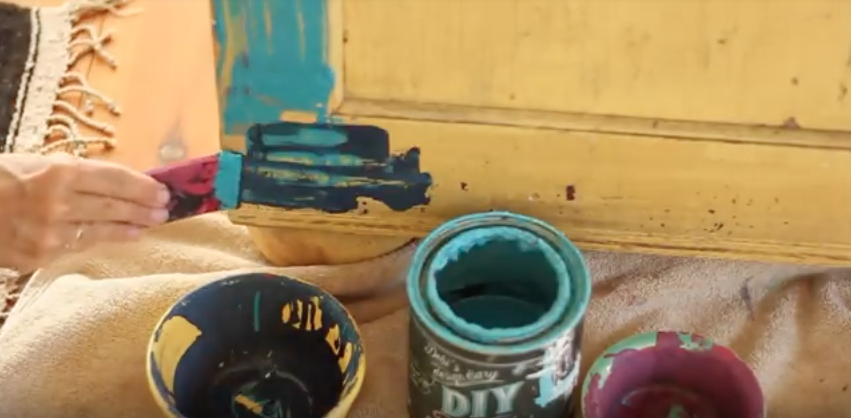
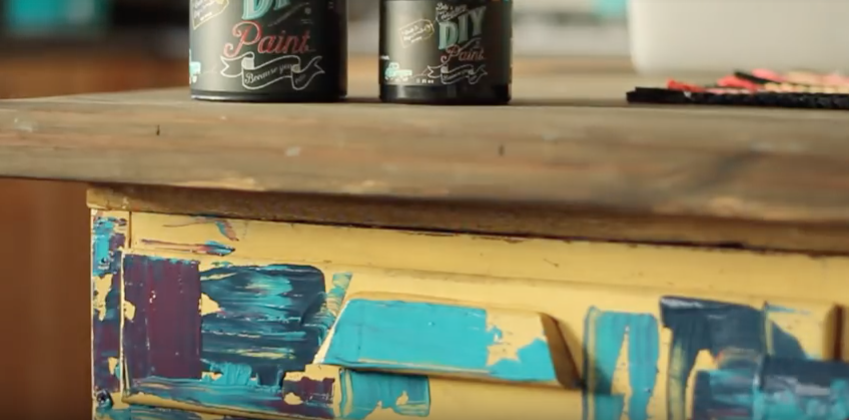
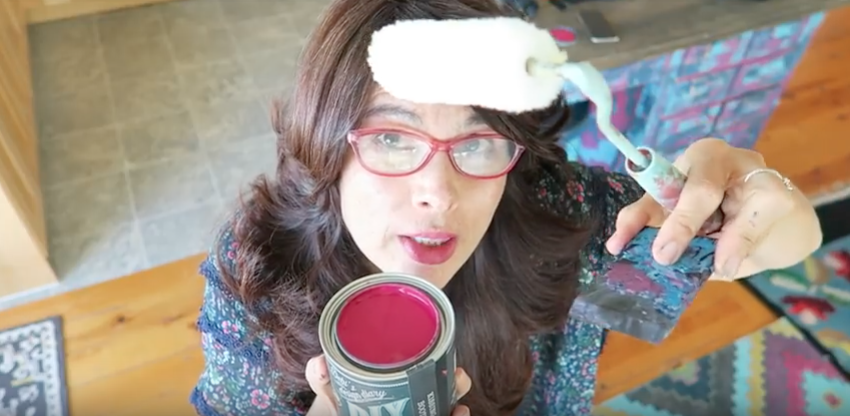
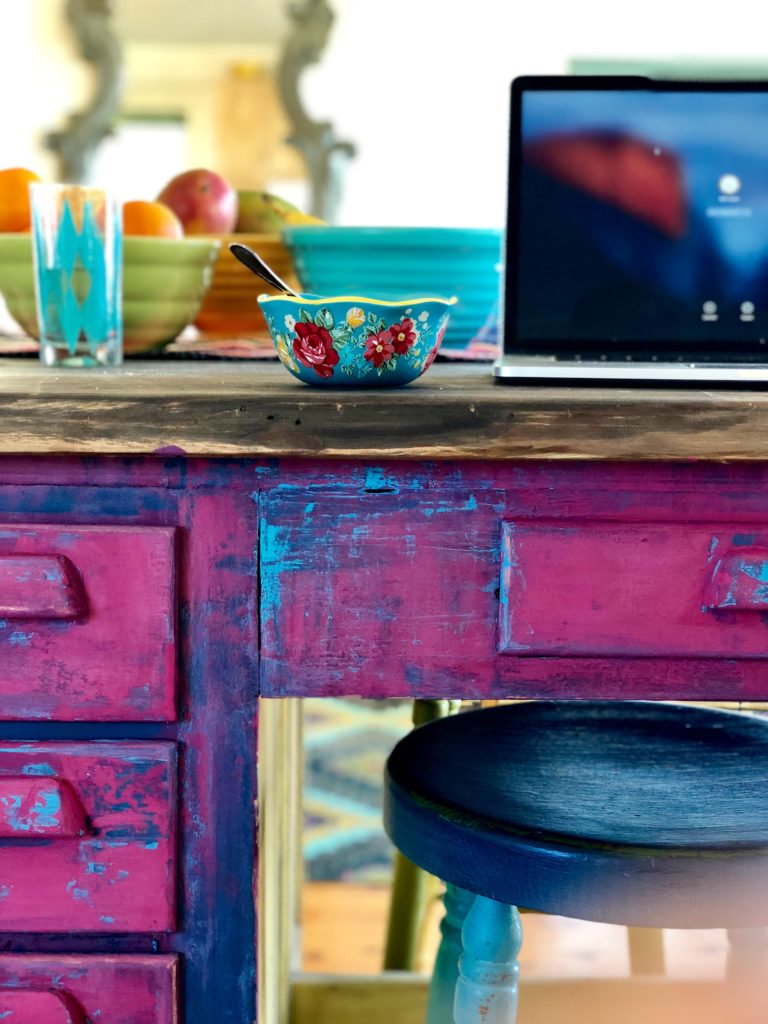
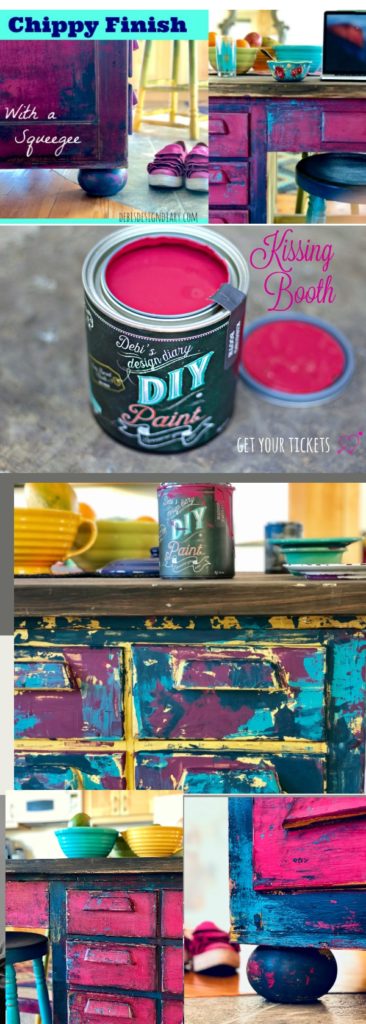
I started by using a rubber squeegee to spread the paint on the cabinet, a teqnigue used by Shelly at Shizzle Design. This creates an artistic texture, as well as helps to overlap color without getting muddy results. I alternated dipping the squeegee in all three colors and covered the entire island this way. It took longer, but I loved the results.
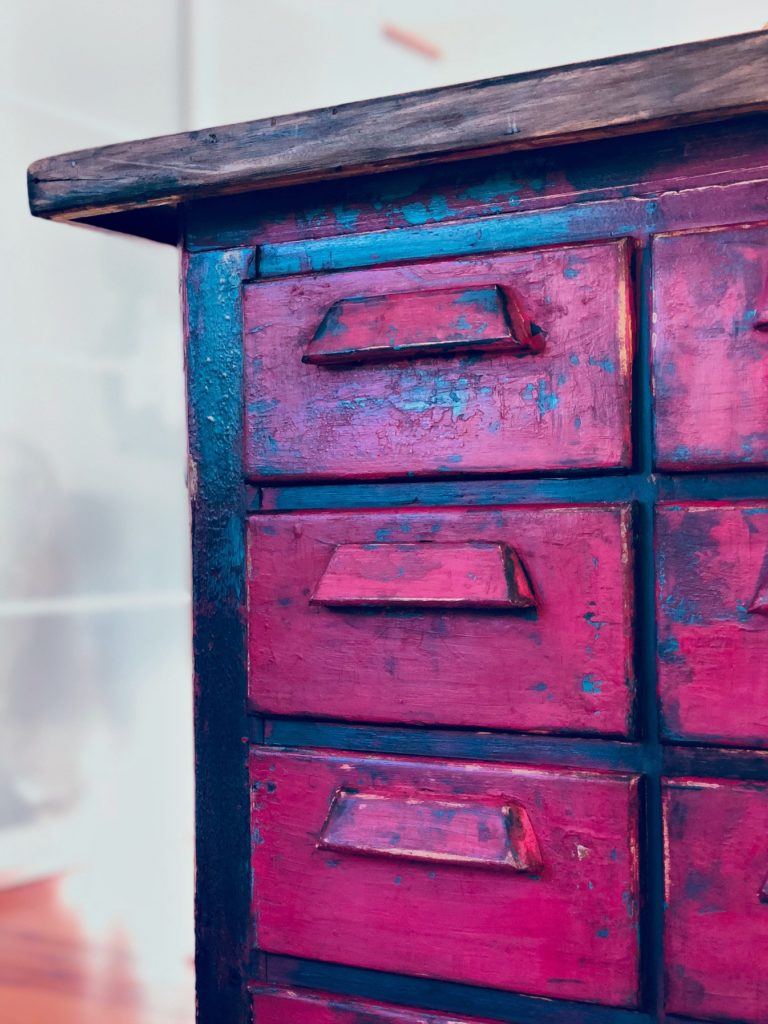
Then, using a paint roller, I rolled on one thin layer of Kissing booth over the whole thing camouflage-looking teqnique and then randomly touched-up and rubbed backed the paint in some areas, using the squeegee again to expose all the colors underneath. The squeegee doesn’t get into the low spots, so it creates a “chippy-boat-wood-finish”. This is much harder to achieve with a common paint brush.
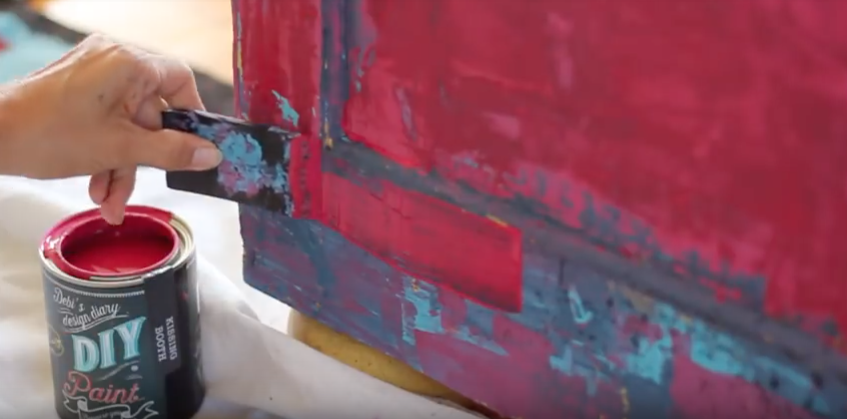
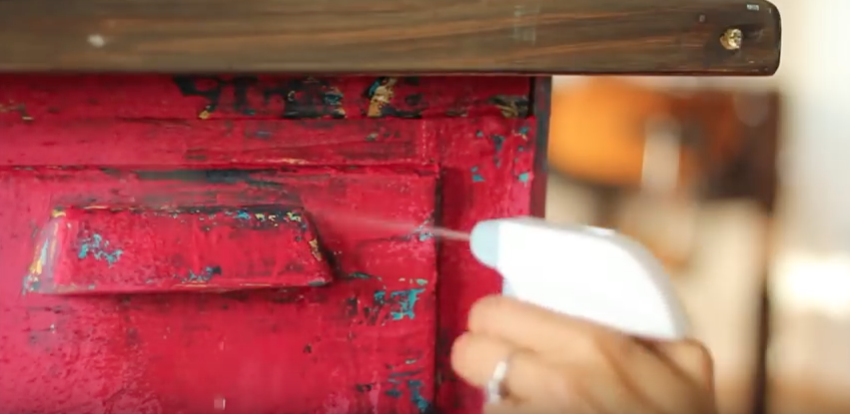
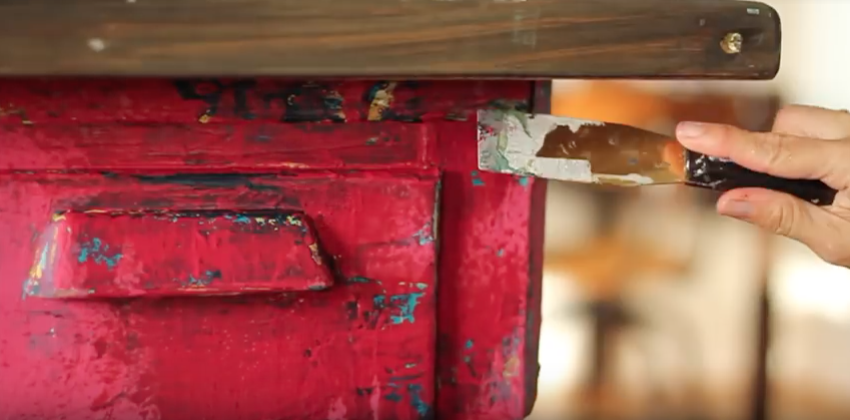
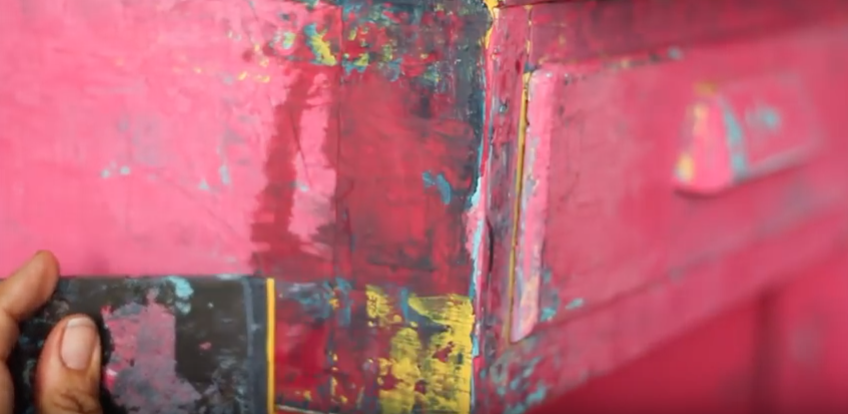
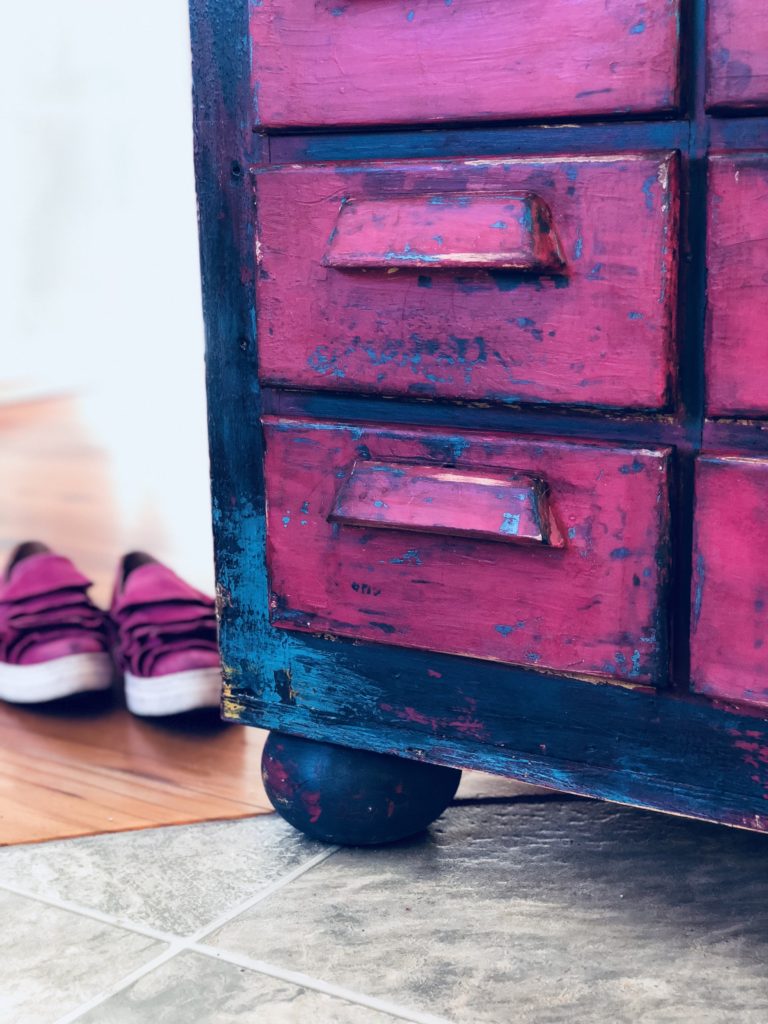
Next, using the spray bottle, I reactivated the paint by spraying it wet and then scraping small areas and corners with a putty knife, to create heavier chippy-paint looks and reveal more color underneath. I alternated three of my favorite distressing methods, using the knife to chip, the water-bottle and a wet rag to rub color away and finally, sand paper to get down to the wood in the edges.After I distressed the entire piece, I went back and used The Turquoise Iris’ method to add more color over the top and in the grooves by dipping my squeegee into the paint and pulling it across the painted areas, then blasting it with the water bottle. For more details on Dionne’s method, click here.
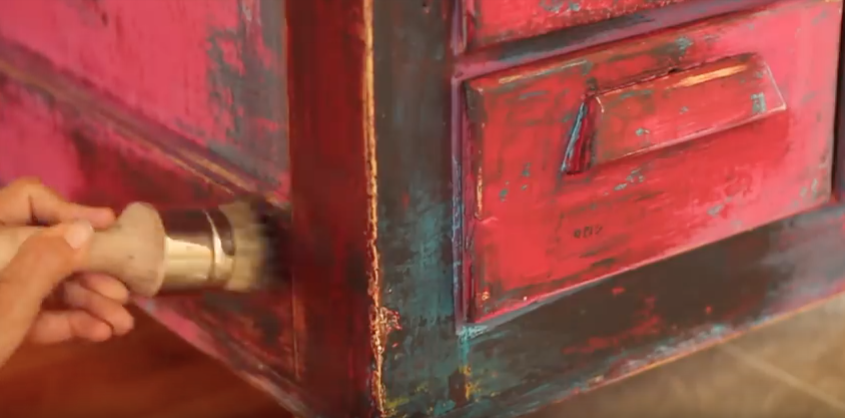
After painting the piece and letting it dry, I used both the clear and dark DIY PAINT WAX’s together. Working in small sections, I started by applying the clear wax with my wax brush, then added a light layer of dark wax over it before it dried and wiped off excess with a rag. I didn’t want to use the dark wax all by itself, because it would’ve been too dark. When using the DIY WAX, don’t let the initial appearance scare you. When it is first applied, it looks dark and transparent, but don’t worry, after it dries it settles back down. Let it dry overnight and then buff it to a beautiful buttery sheen.
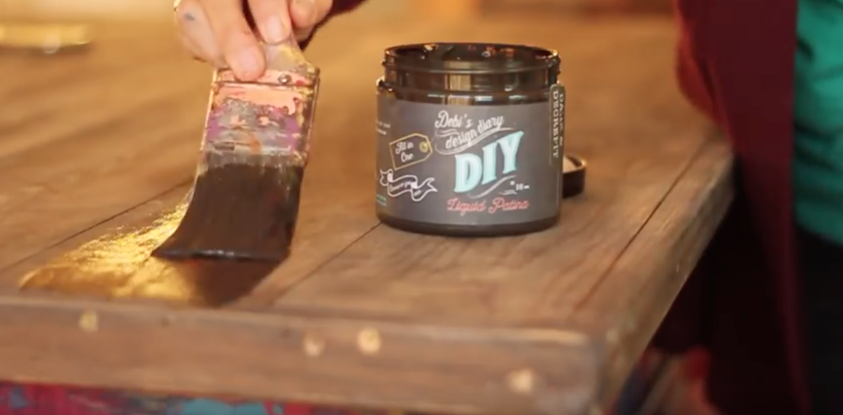
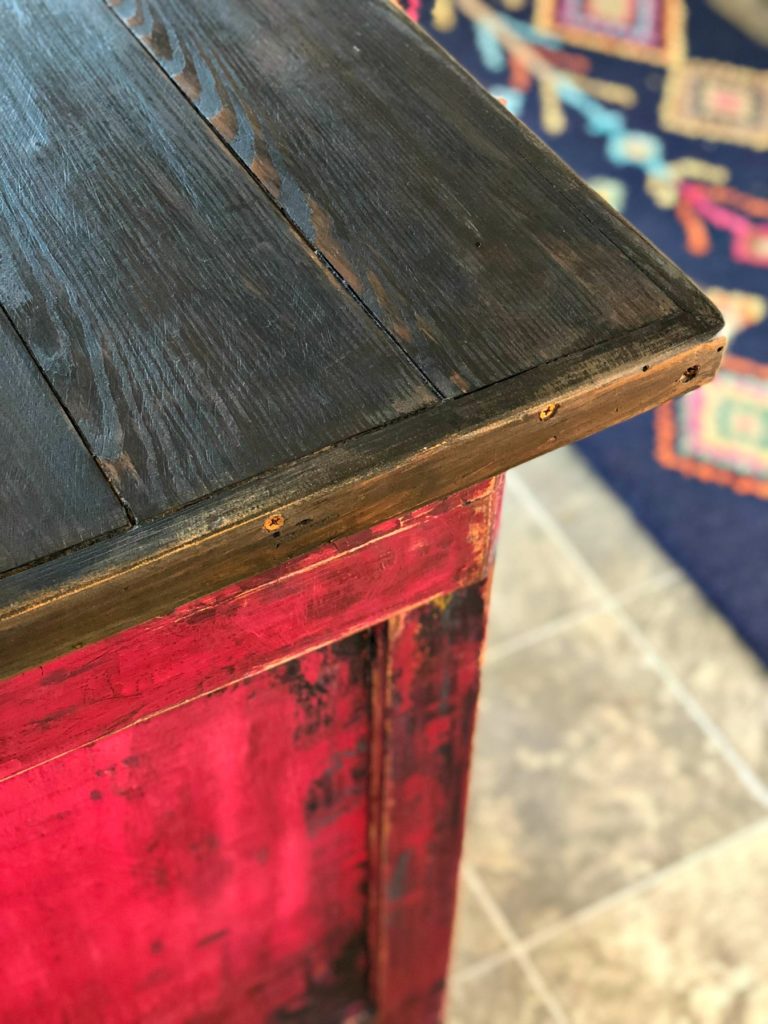
Because the island had been stored outside, the top needed a fresh coat of DIY DARK AND DECREPET. This is a water-based stain, that goes on wood easily with a brush.
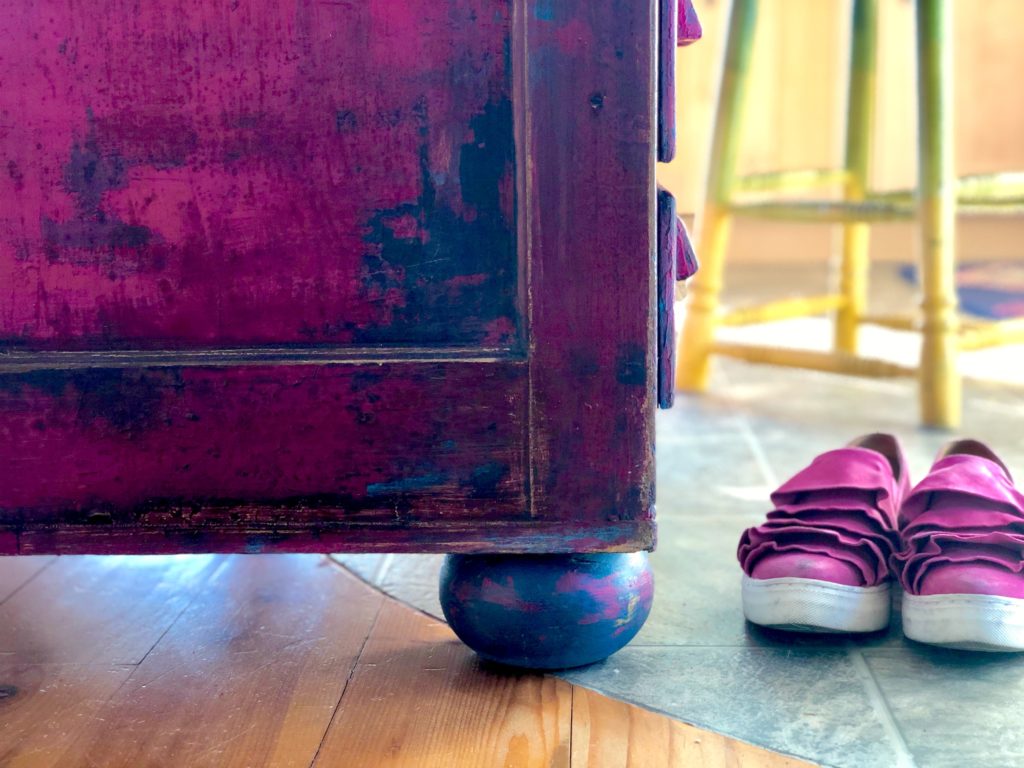
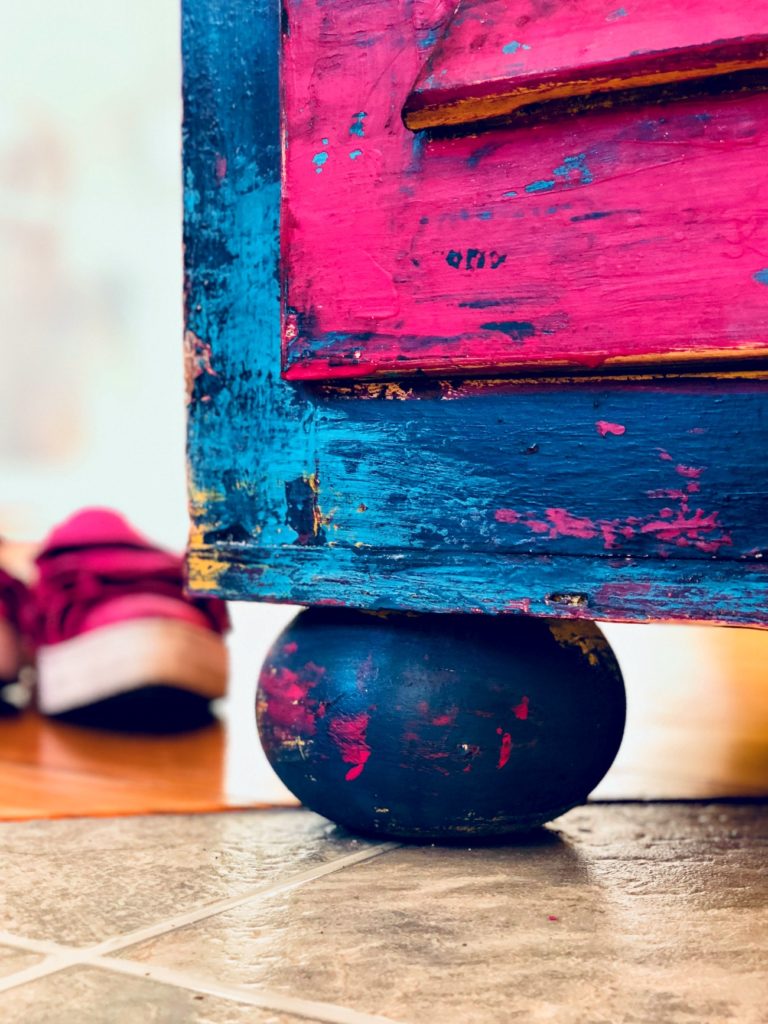
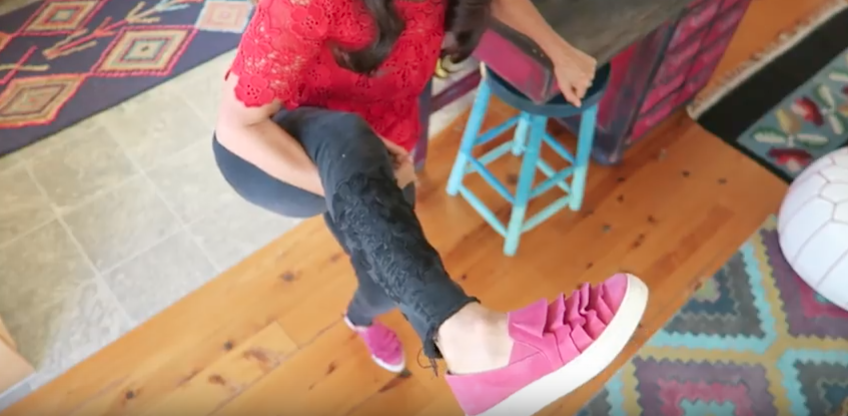
After completing this project, I felt I needed to reward myself. So I found these shoes at Anthropology, that just so happened to remind me of the KISSING BOOTH color in my island. Let me know if you like the color and my new shoes!
Thanks,
Debi

I love your projects. I’m a beginner and looking forward to see more videos. I need some of your paints.
I live in Austin Texas. Any idea where I can find your paint?
Hope aka HopesTreasures