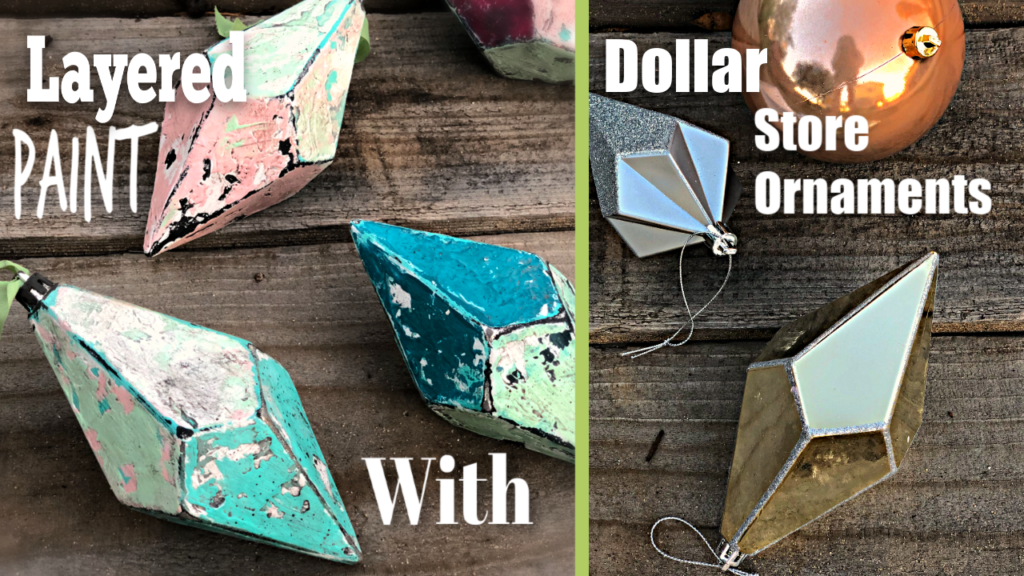
Dollar Store Christmas Ornaments Transformed with Frozen Paint
and the Story of Bobby!
This project was super fun and so easy!

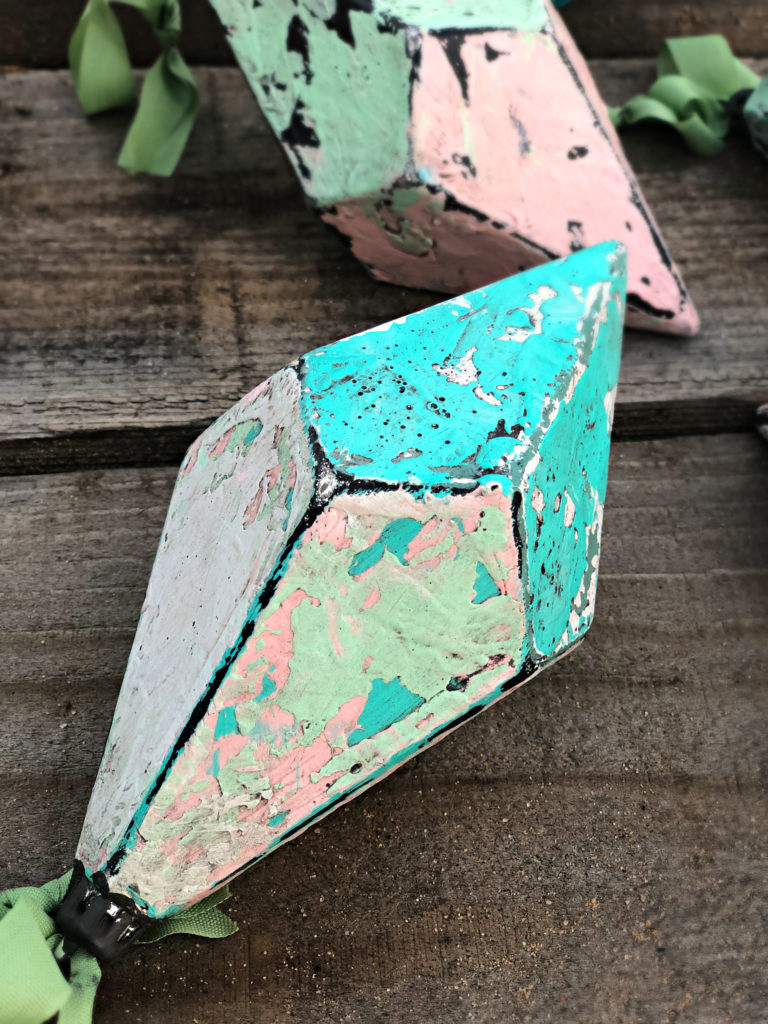
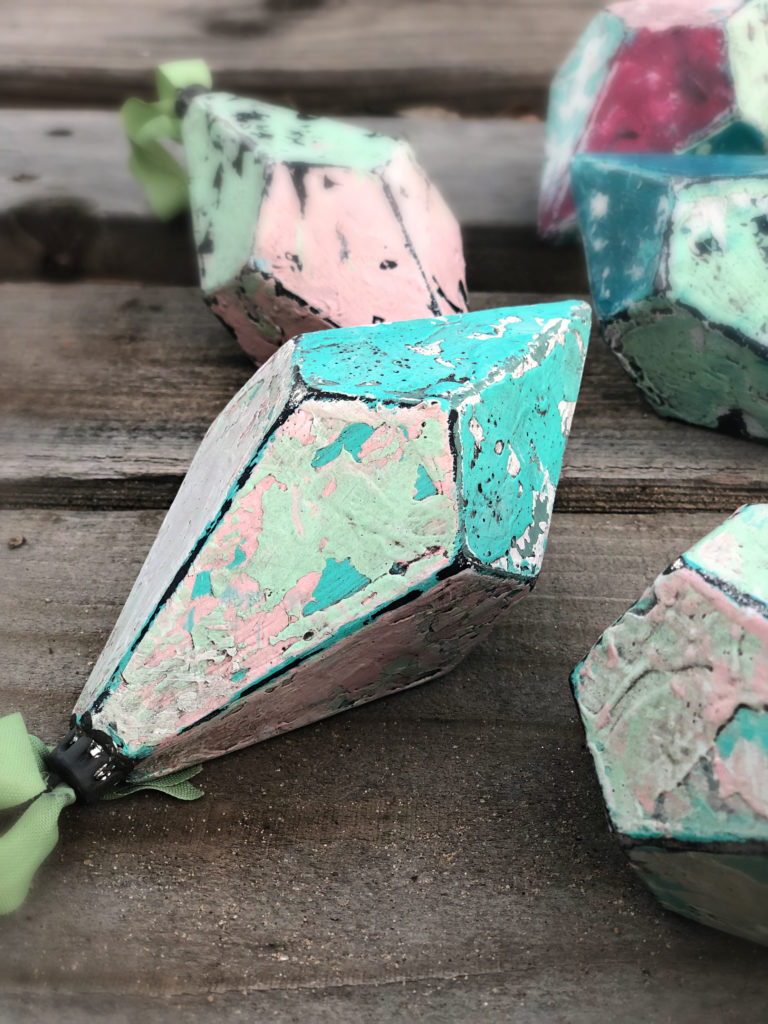
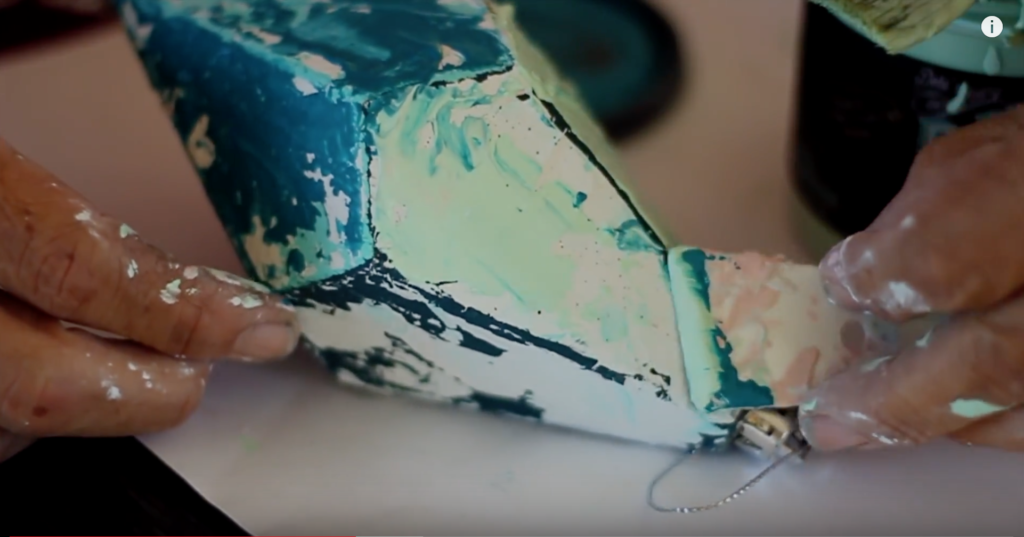
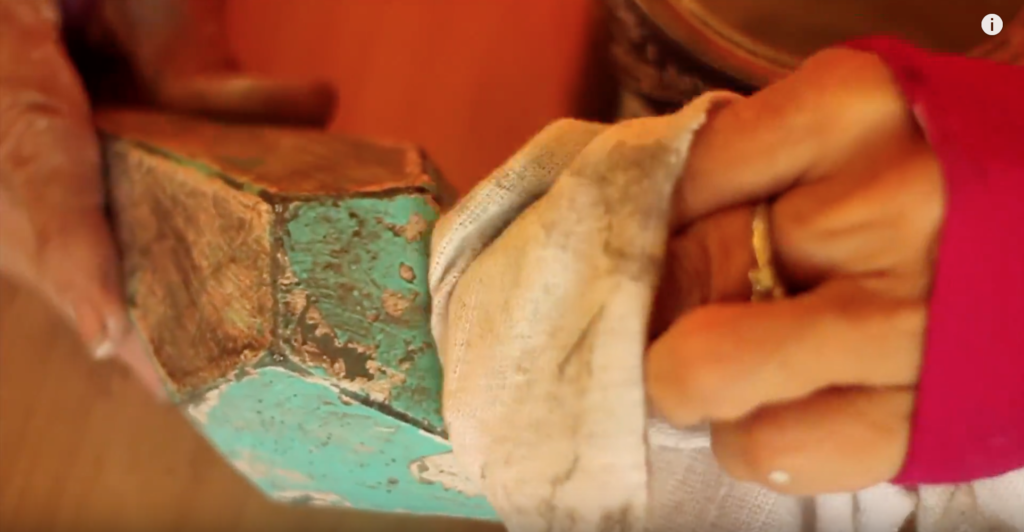
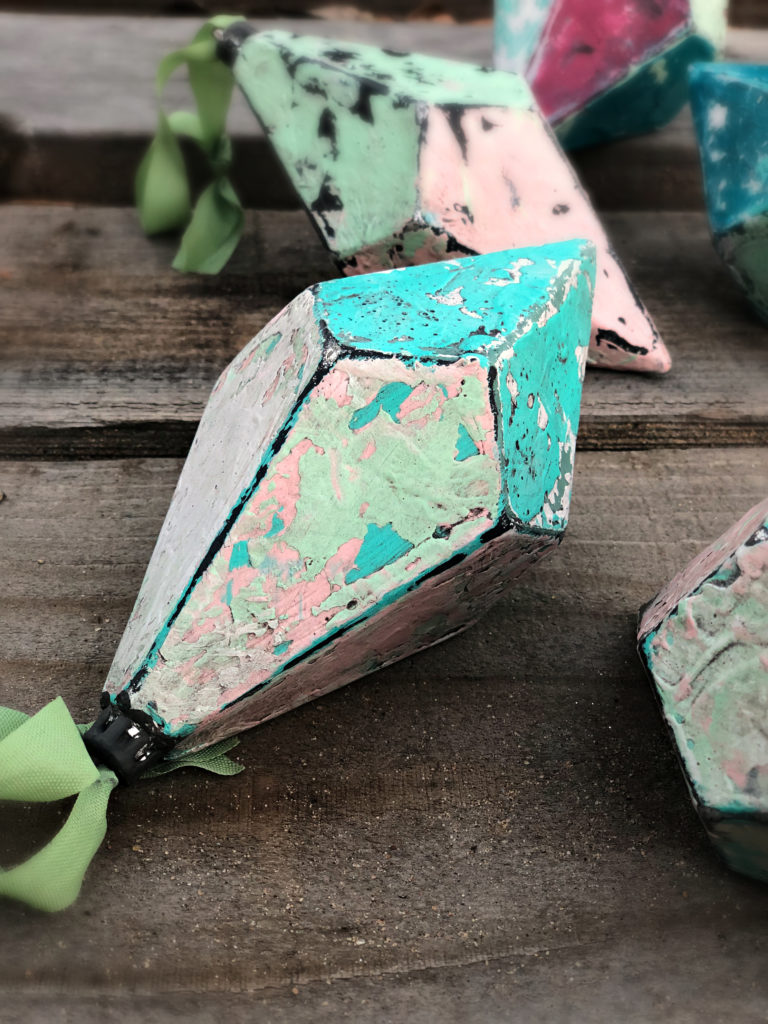
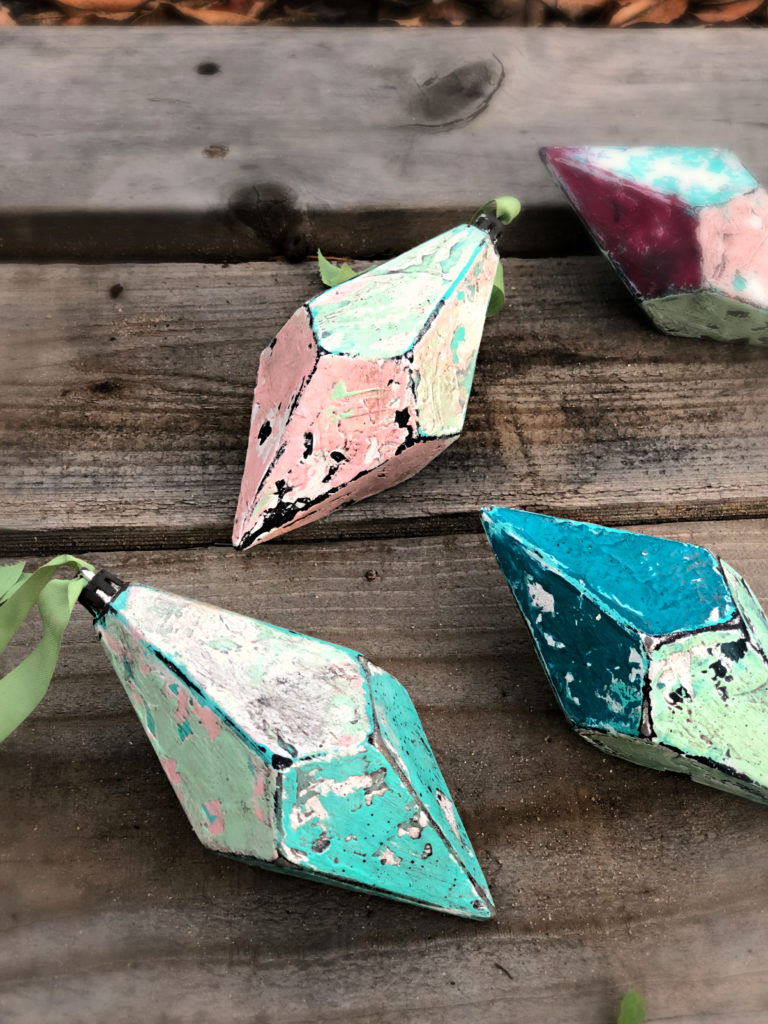
Turn these simple, plastic ornaments into beautiful decorations that look like hand-carved, weathered-wood, to either give as gifts or keep for your own tree, without breaking your budget.
For more detailed step-by-step instructions, as well as the funny story behind the mystery man in my videos, you can watch my YouTube VIDEO by clicking HERE. I reveal some funny details about my friend Bobby, who likes to stay behind the scenes. You’ll never see his face, but I hope to reveal his amazing heart and how he helped me & my business stay alive!
*This blog contains affiliate links
For this project I used the following supplies:
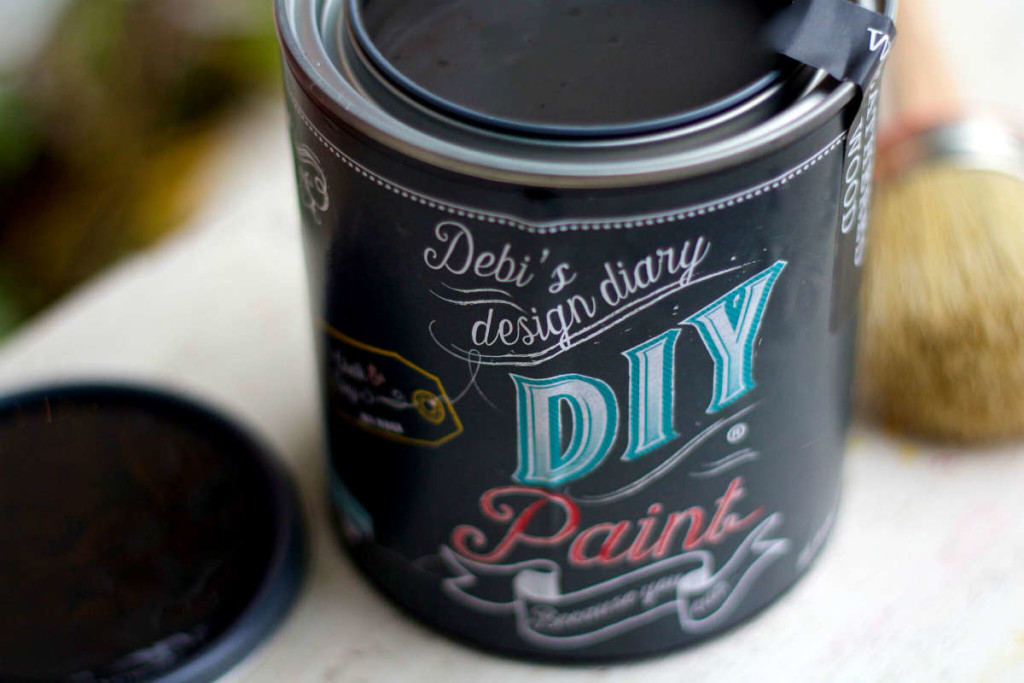
DIY Paint- Weathered Wood
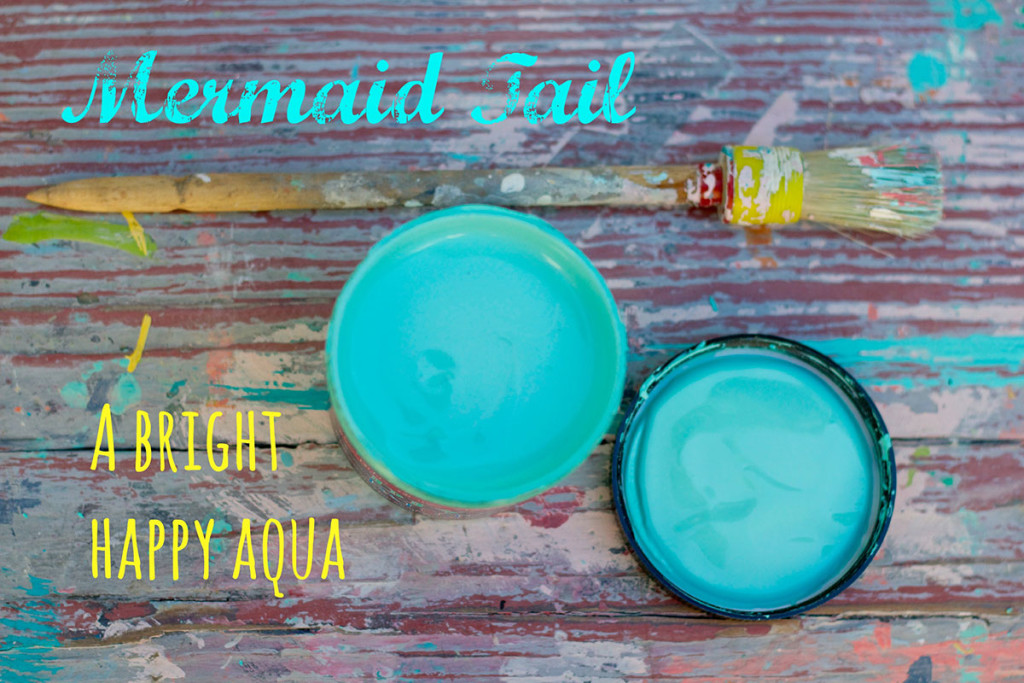
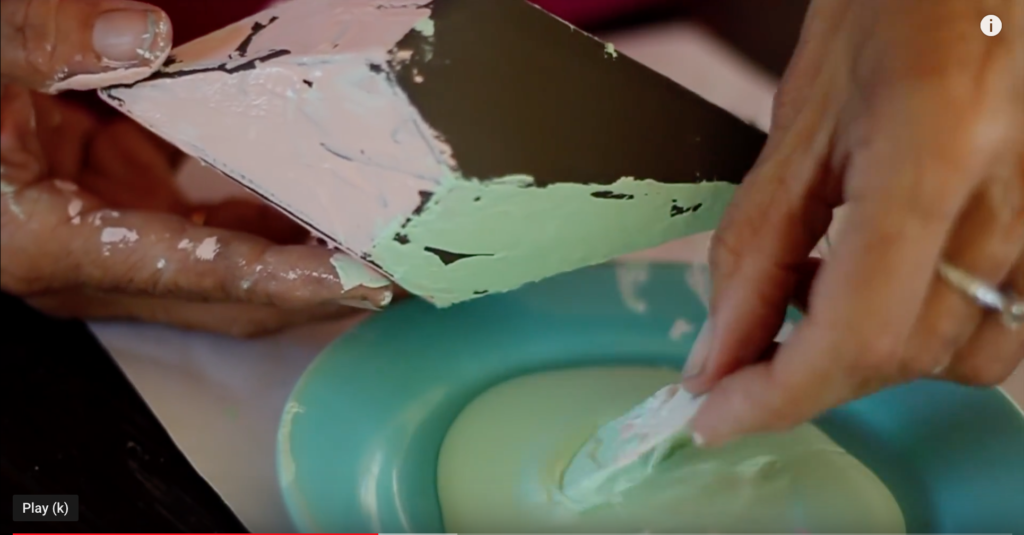
DIY Paint– Mermaid Tail
DIY Paint- Mint Chip
DIY Paint- Bohemian Blue
DIY Paint- Old 57
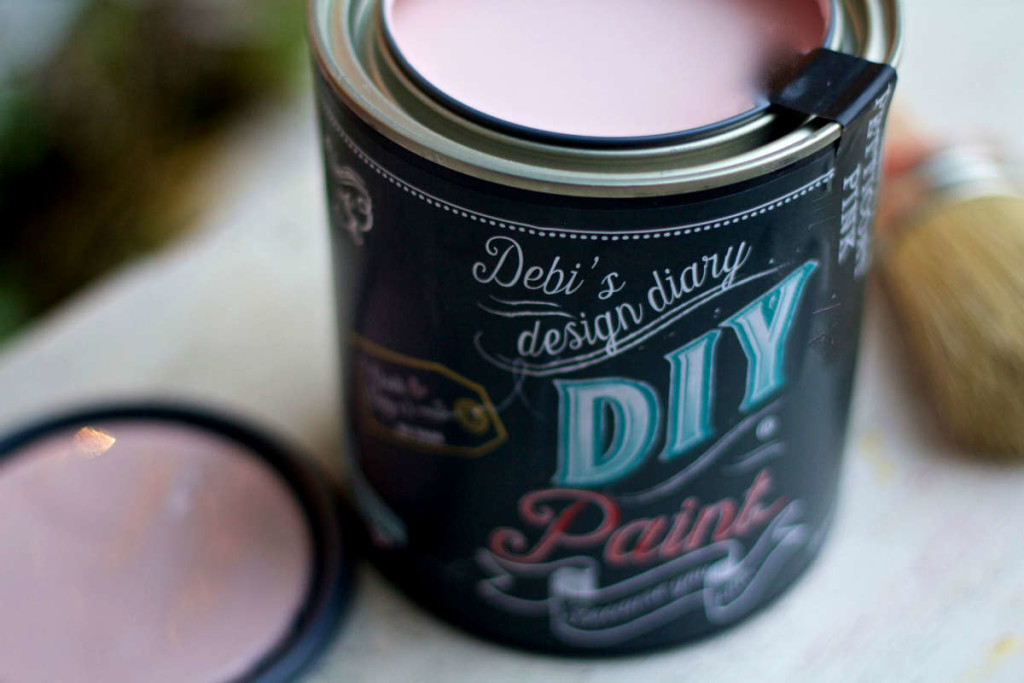
DIY Paint- Petticoat Pink
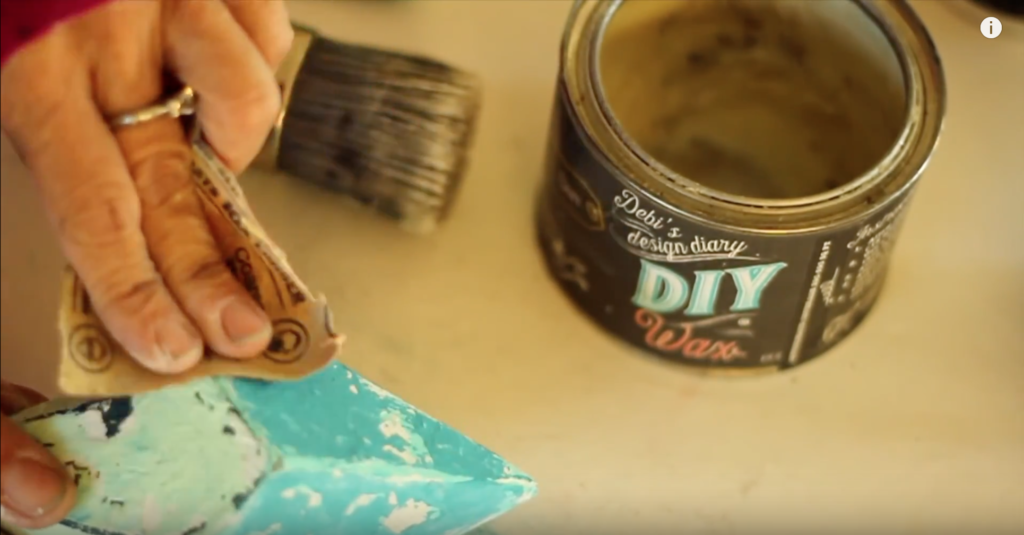
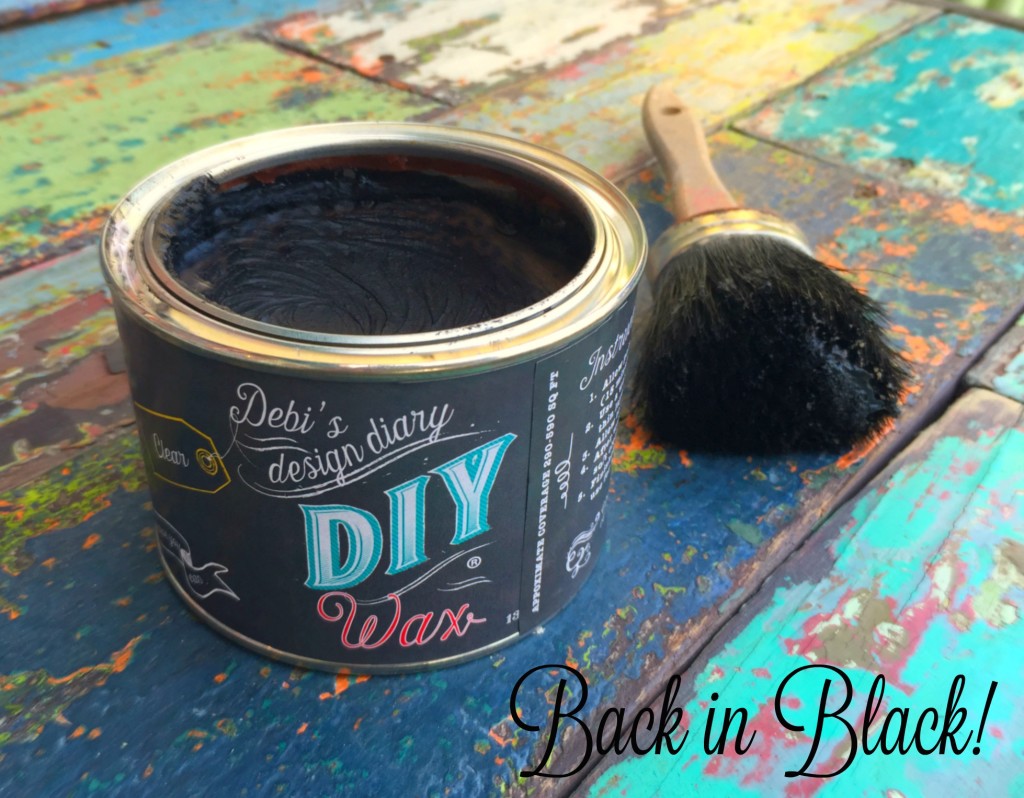
DIY Paint – Clear Wax
Putty Knife, Spatula, Rubber Squeegee or old credit card
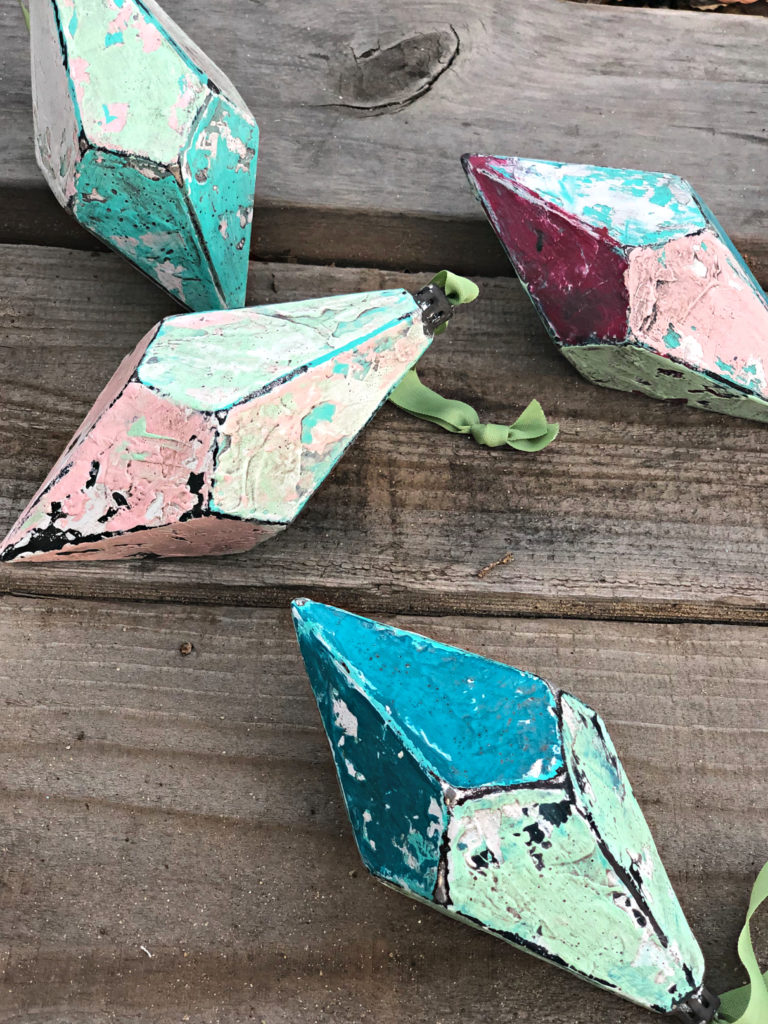
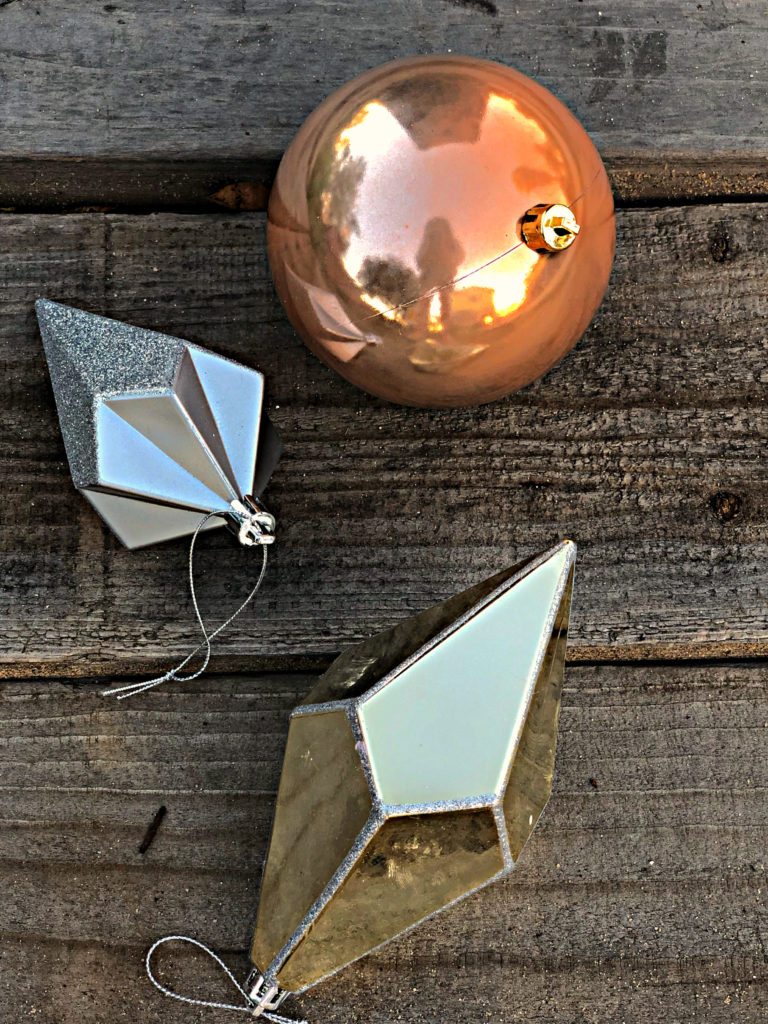
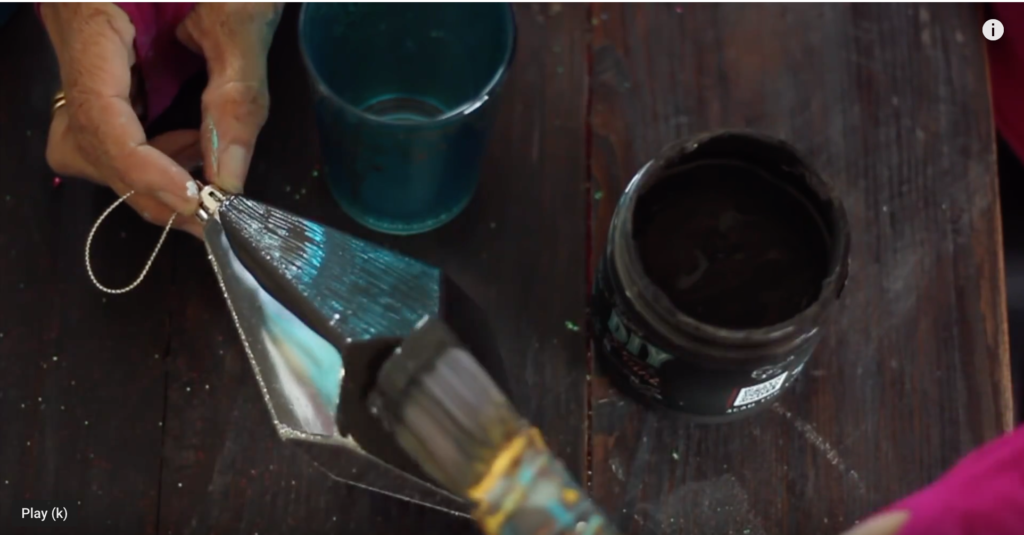
I went to the dollar store to find affordable items to DIY for my house. I found these plastic ornaments that were 2/$.99!
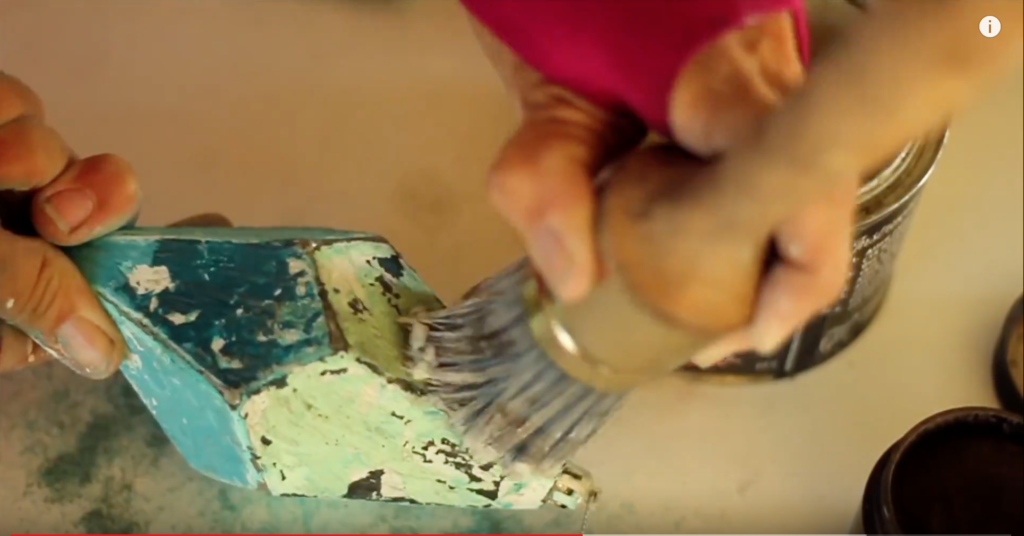
Start by putting a base coat of Weathered Wood over the entire surface and allow to dry. DIY adheres to plastic, because it is clay-based.
Do you have a fun project using things from the .99 cent store? Share in the comments below.
Merry Christmas and Thanks for watching!
~Debi

Click here to find DIY Paint in your area- http://diypaint.net/find-a-retailer/
Click here to sell DIY paint in your store, http://diypaint.net/how-to-become-a-d…
Click here to shop online- https://diypaint.co
Click here to subscribe- https://www.youtube.com/channel/UCIp7… ..
Subscribe for weekly videos and my new house tour Follow me on my social platforms for daily DIY inspiration and behind the scenes sneak peeks!
Facebook https://www.facebook.com/Debis-Design…
Instagram https://www.instagram.com/debisdesign…
Pinterest https://www.pinterest.com/debidesignd…
