Here is a list of products for this project and links to buy them.
DIY paint, you can use any color combo here’s what I suggest for a similar look.
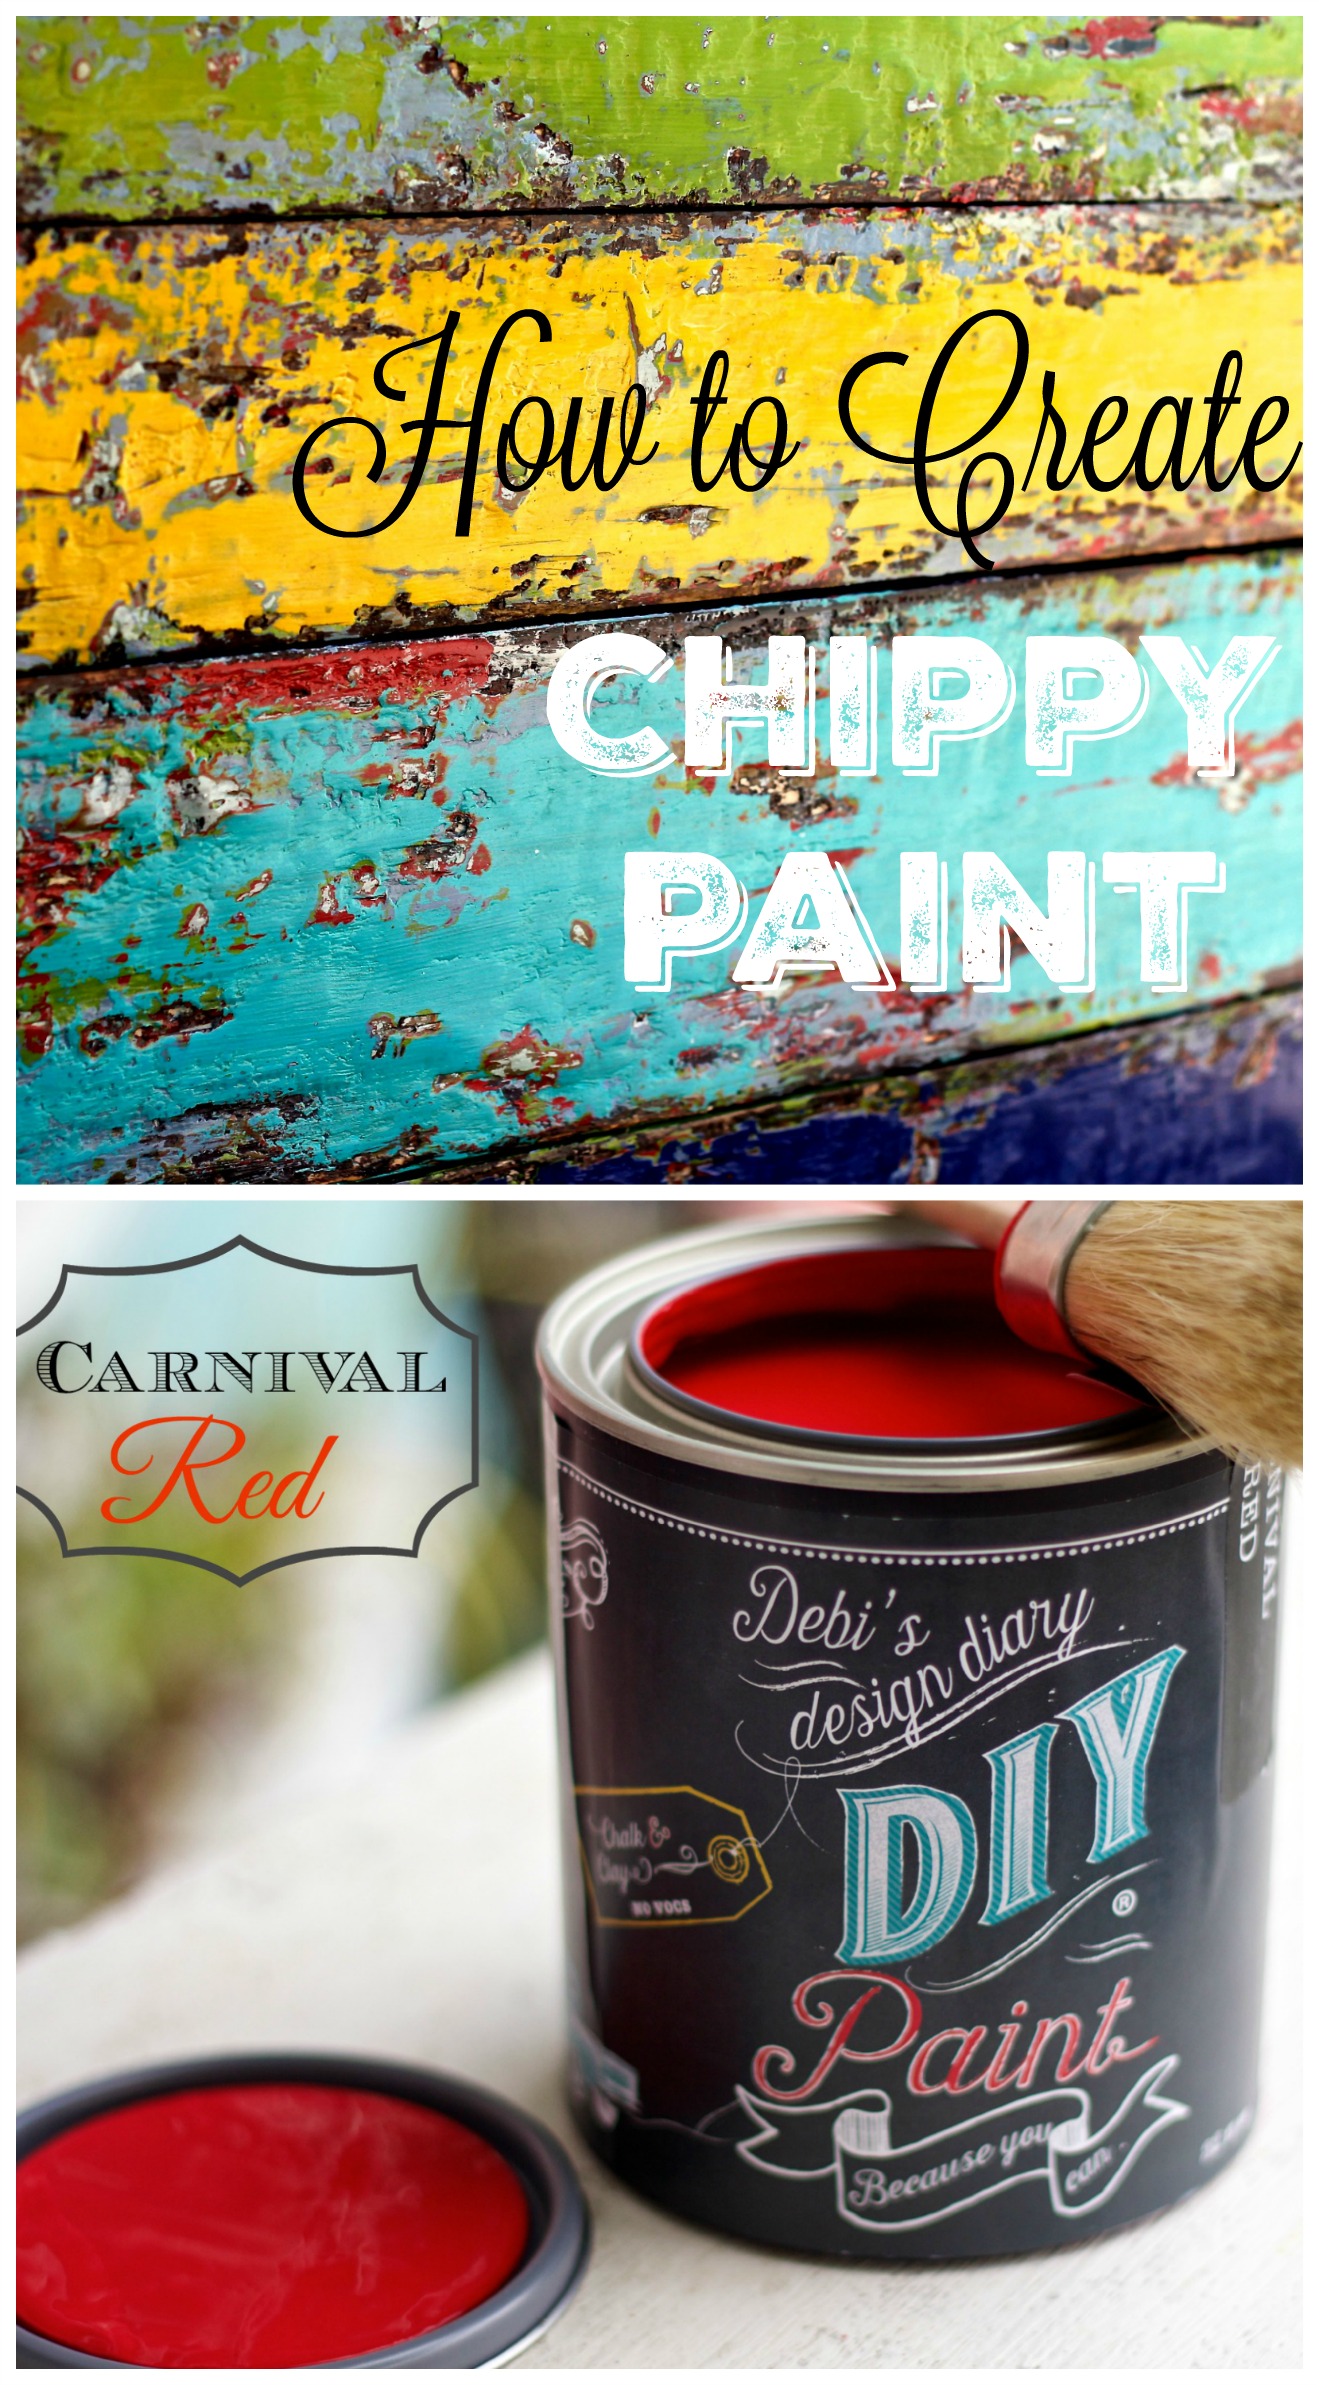
Old’57, Carnival Red, Fancy Farm Girl, Bead Board, Layered Chocolate, Queen Bee, Summer Crush, and Hey Sailor
old chair, pallet wood or any wood surface you would like to paint on.
Palm Sander and or Sand paper
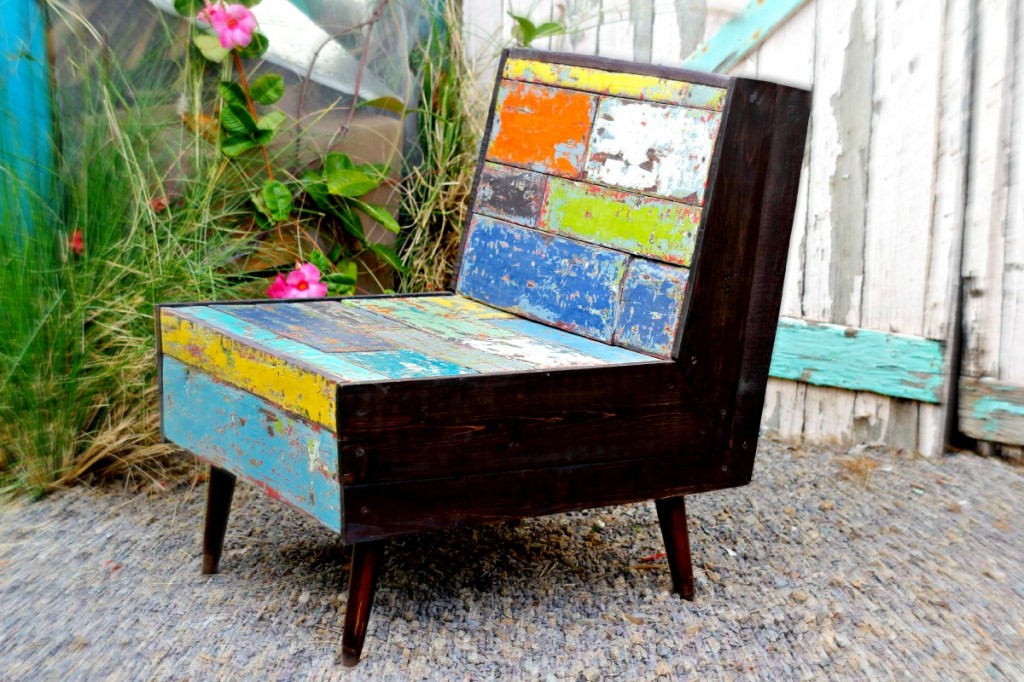
This project was a doozy, it took Bobby and I about two weeks to create this chair, film, and edit the video.
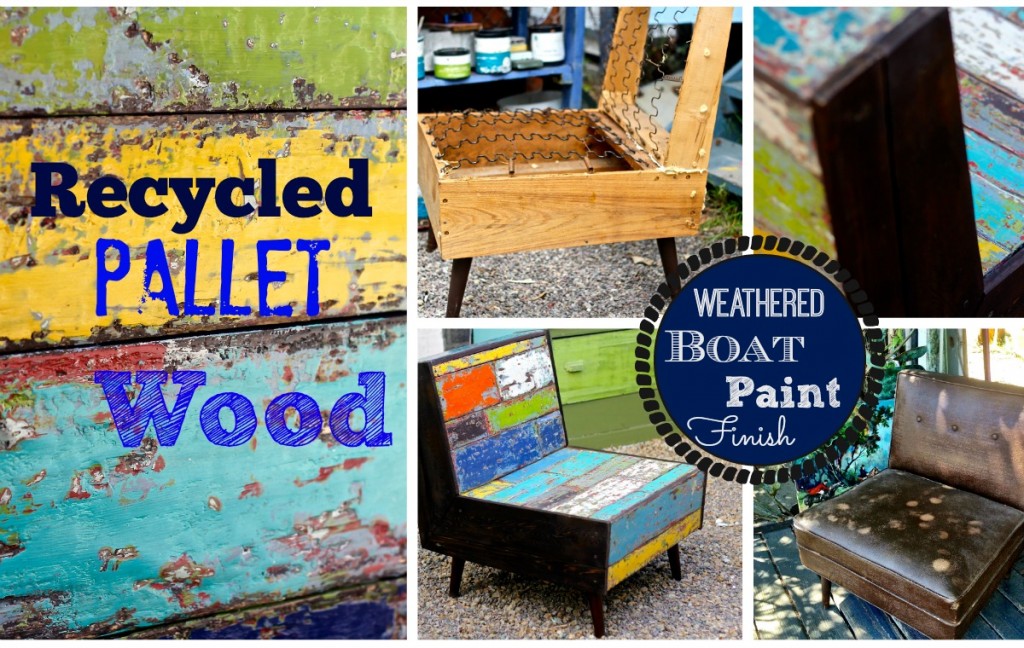
Ever since laying my eyes on all the beautiful furniture made out of recycled boat wood I’ve experimenting with DIY paint, trying to get the look of an old weathered boat.
Here’s the video showing how I did it… get your spatula ready!
I have several tips that were not included in the video if you would like to try this look you will definitely want to keep a few things in mind.
1 The very first layer I painted on using a brush, I recommend Layered Chocolate because I wanted the pallet wood to look like old distressed hardwood I let that dry overnight so that it would cure and not be as easy to chip away.
2. Use thin coats of thick paint. DIY Paint will thicken very easily by simply pouring some out and exposing it to the air, when you open a new can of DIY paint, there is usually a thick layer that collects on the lid, just scrape it off and use it in your project. I had several cans of old paint with just a little bit left at the bottom, there was one container that was very thick because the lid was not put back on tight, it was a thick as frosting and perfect for this. Put the layers on in thin coats as you will be adding several colors and you don’t want to get too much paint on your boards.
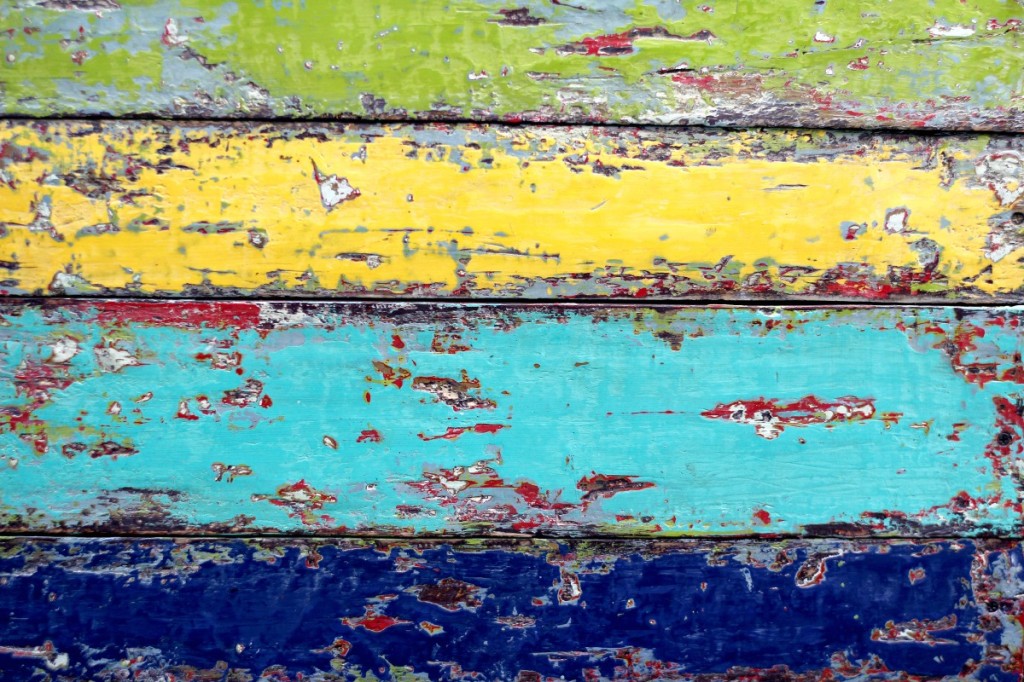
3. The last layer of paint is the magic layer!! I say this because when you apply a new layer of paint it reactivates the layers that are underneath, so you want each layer to dry completely until you get to the very last layer then let that dry about 90{5e62096f11cd115efe5b7844d56c8a16bfa9fa0d3c0285231e5ea9c5a6d2e2c2}, you will feel that it’s cold to the touch, this is the perfect time to start chipping with the putty knife as it will be easy to expose all the beautiful layers of color on your project. If you don’t let each layer of paint dry completely, they will blend together and create an entirely different look (like tie-dye).
4. Why the spatula? because you want uneven coverage without brush marks. This really helps create an authentic look, You don’t want each layer of paint to cover the entire board, and the lack of brush marks will add to the…, “I’m an old boat out at sea for 100 years, Ive been painted and repainted, banged up and pushed around” look.
5. Use the sander with caution, I alternated chipping with a putty knife and using my sander however I used the sander primarily to remove large areas of paint and then I went back with the putty knife again and rechipped. The chipping is what makes it look wonderful but it’s a fine line between chips so chippy that they may flake off and the perfect amount of chipping that you need to make it look like magic. If you sand too much it will look like a distressed piece but it won’t look “boaty”.
5. DIY paint will get the job done right. I have not attempted to achieve this look with any other paint brands however most paint has laytex in it (even most other chalk type brands) the laytex will interfere with getting this done easily. When you sand paint that has latex and it balls up like a cheap sweater or it will rip a hole in your project that looks like a wound, ( imagine a balloon or a rubber glove with a hole in it ) and when you attempt to chip it stretches like rubber.
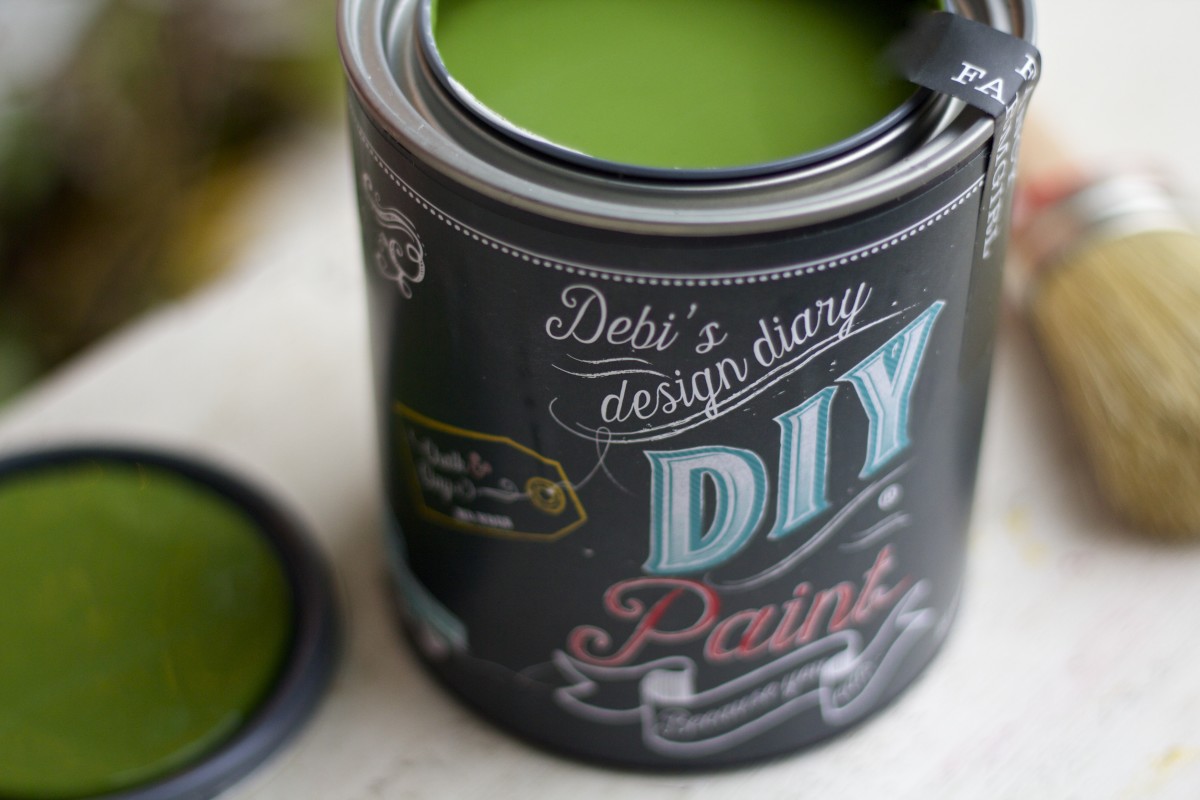
DIY paint is really soft and pliable until it has cured completely it’s easy to manipulate it dries quickly and most importantly it has zero laytex, chemicals or VOC’s which allows you to do so many things with it that you cannot do with other brands of paint.
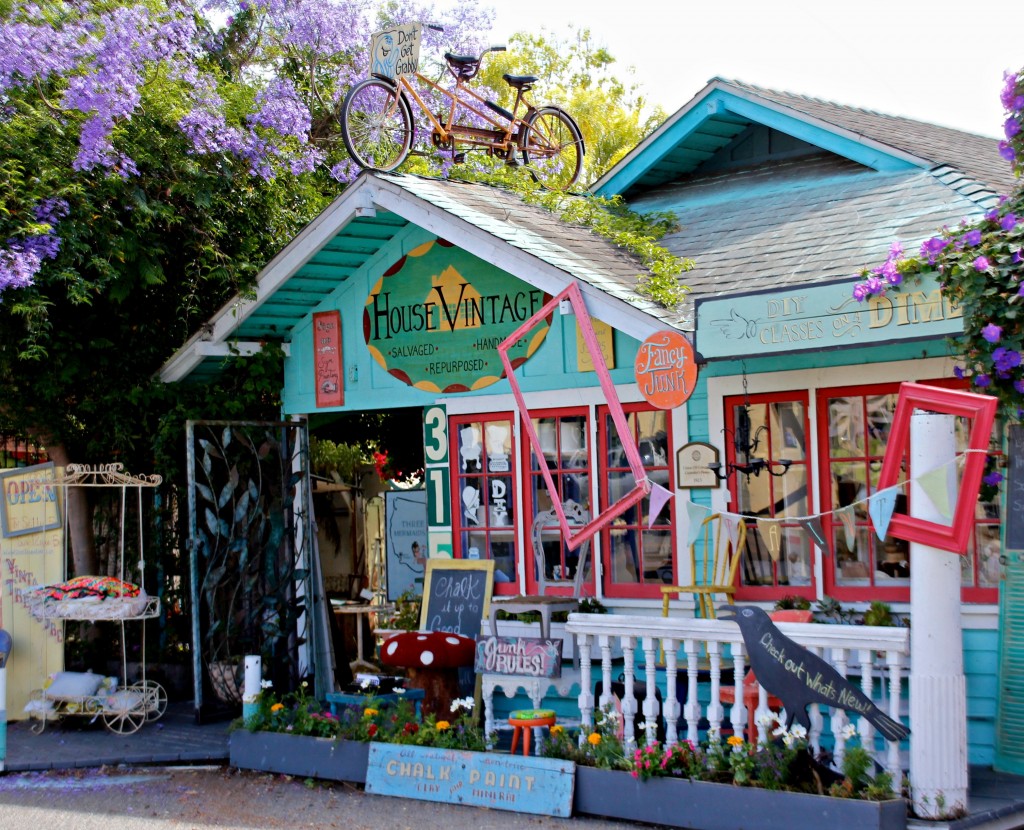
I put together a boat wood paint kit, for all of you who may be skeptical or curious or just not ready to invest in a full quart of paint. BTW on quart painted the entire front of my shop, a little really does go a long way! (see photo below.)
This kit includes ALL the products I used in my video in 1 ounce taste test sizes, that’s seven colors of CeCe Caldwell paint, a 5 x 7 frame, wood pieces sandpaper endurance and complete instructions and more! You can re-create this awesome boat wood finish for yourself and see why I’m so excited about this paint.
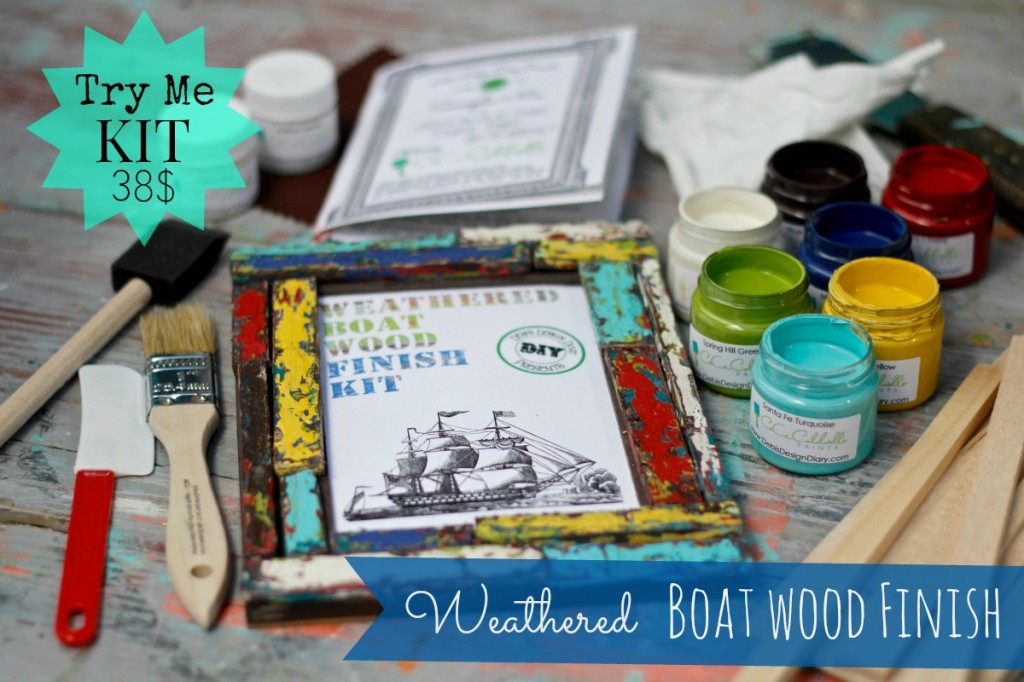
One more thing this kit is just 38$ If you were buy all of these items separately in regular sample sizes the cost would be over 100$ the paint included in the kit is enough to complete the frame with lots left over. you will be amazed at how far one ounce of paint will go, I kid you not!
If you want to try DIY Paint but just want the paint, and finishes you can order my starter kit for just 30$
Have a creative week everyone!
I’m linked up at Redoux Interiors and Miss Mustard Seed this week, check out these awesome blogs for more DIY goodness!
Debi
I’m posting a pic of my finished project and trying to tag you in a photo and include your FB link when I type in your name but the link doesn’t come up. I suspect it’s because while I have ‘liked’ your page and am a follower, you have not ‘liked’ mine so your it will not allow me to tag you. 🙁
Debi, you are SO entertaining!! I watch you when I need a pick me up. Some of your projects are too complex for me to actually do, but I love watching you!!! Thank you for your genius!
I’m still trying to decide which piece I should do this on. I love the look! Thanks for taking the time to create the cool projects you do!
hello,
I live in the Reunion Island and I just found your site and your videos. It’s great !! You are funny and very clever ..
I have a question for WEATHERED BOAT PAINT FINISH.
In the video where you make the chair, what do you apply in the end to finish
Thank you a lot !!
I see that the kit is not available anymore ! Do you make your paint per request ??